Mounting a Monitor Arm on a Metal Frame Desk With Adapter Plates
You can securely mount a monitor arm on your metal desk frame using an adapter plate-just use a 3/16-inch cobalt or titanium-coated drill bit for clean pilot holes and M6 or M8 screws that match your frame’s gauge. Tighten evenly but don’t over-torque, especially on thin steel. The plate spreads load, reduces vibration, and prevents wobble when flush-mounted to solid frame sections. Confirm compatibility with your arm’s VESA pattern and check for full screw engagement. For long-term stability, pick steel plates over aluminum if supporting heavier arms. There’s more to get right for lasting performance.
Notable Insights
- Use a 3/16-inch cobalt or titanium-coated drill bit to create precise pilot holes in the metal desk frame.
- Select an adapter plate that mounts securely to solid frame sections like crossbeams for optimal support.
- Attach the monitor arm to the adapter plate using compatible screws, typically M6 or M8, without drilling into the desk surface.
- Ensure full bolt engagement and use thread-locking compound to prevent loosening and protect thin metal from damage.
- Confirm adapter plate and monitor arm compatibility with standard VESA patterns and verify weight capacity before installation.
Gather the Right Tools for Metal Desk Mounting
You’ll need the right tools from the start to mount a monitor arm securely on a metal desk, and skipping this step risks damage or instability. Use cobalt or titanium-coated drill bits-they handle metal better than standard bits and reduce drill wandering. A 3/16-inch bit usually works for pilot holes on steel frames. Match your screw types to your desk’s gauge; most arms include M6 or M8 screws, but verify thread compatibility first. Over-tightening damages threads, especially in thinner metal. Use a torque-limiting drill setting or tighten by hand with a hex wrench. Include thread-locking compound to prevent loosening over time. Always check the arm’s load rating-most hold 15–25 lbs-don’t exceed it. Mounting near the desk’s rear edge improves balance. Double-check alignment before drilling. Misplaced holes can’t be fixed easily on metal.
Attach the Adapter Plate to Your Desk Frame
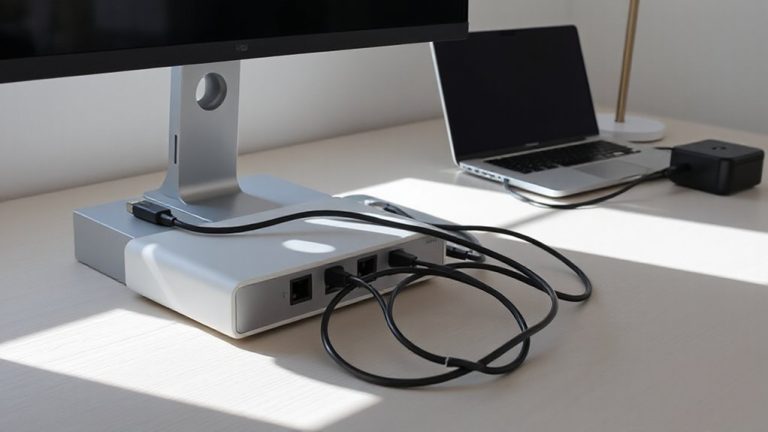
Start by locating a solid section of your desk frame-preferably a reinforced edge or crossbeam-where the adapter plate can anchor without stress on thin metal. Use the included hardware to secure the plate, ensuring screws engage fully with the frame. Proper placement enhances desk stability and aids cable management by anchoring the arm’s base cleanly.
| Feature | Why It Matters | Caveat |
|---|---|---|
| Metal adapter plate | Distributes load evenly | May not fit ultra-thin frames |
| M6 bolts (included) | Standard for most arms | Confirm thread size first |
| Corner placement | Helps cable routing | Avoid near-edge weak spots |
| Reinforced attachment | Boosts desk stability | Overtightening risks stripping |
| Low-profile design | Keeps workspace clean | Can limit cable access |
Tighten evenly, and double-check alignment-misalignment risks stress over time.
Mount Your Monitor Arm Safely (No Damage)
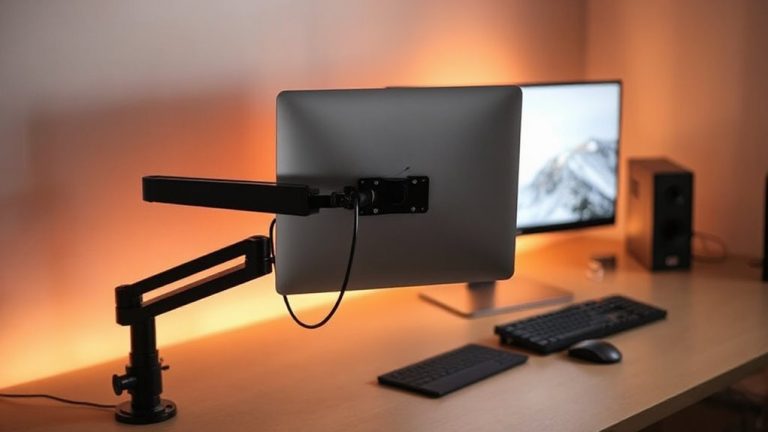
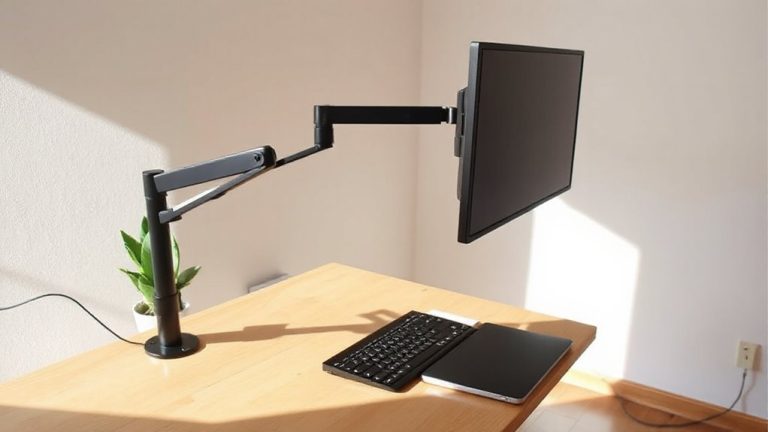
While many worry about damaging their desk during installation, mounting your monitor arm with the adapter plate already secured lets you achieve a stable, clean setup without drilling or adhesive hooks that risk long-term harm. You maintain full reversibility-no scratches, no residue-making it ideal for leased spaces or shared workstations. The plate distributes load across the frame, supporting arms up to 15 lbs without stressing the desk. Integrated Cable management channels keep wires tucked and organized, reducing clutter and improving workflow efficiency. Proper workspace ergonomics improve too, since you can position your screen at eye level and arm’s length without stability trade-offs. Just confirm your arm’s mounting pattern (usually 75x75mm or 100x100mm) matches the adapter. Note: clamps must stay tightened; periodic checks every few months prevent loosening, especially on frequently moved desks.
Why Adapter Plates Prevent Wobble and Slippage
A well-designed adapter plate’s stability hinges on its full-frame contact, spreading the monitor arm’s load evenly across the desk’s metal structure instead of concentrating stress at clamp points. You get better structural integrity because the plate bonds with the frame over a wider surface, reducing flex and fatigue over time. This design also improves vibration damping, minimizing subtle shakes when typing or adjusting the monitor. Without it, even tight clamps can slip under off-center loads or sudden movements. Adapter plates, especially those with non-slip coatings or integrated gaskets, reduce micro-movements that degrade performance. Just make sure your desk frame can support bolt-through mounting-some hollow or thin-walled frames won’t hold thread properly. While plates add minor setup time, they’re worth it for long-term stability. They won’t fix poor build quality, but with the right desk, wobble and slippage drop noticeably, giving you reliable, precise arm movement day after day.
Choose the Best Adapter for Your Metal Desk
Most metal desks need the right adapter plate to enable stable, wobble-free monitor arm performance, and your best bet is a rigid steel or aluminum mounting plate that matches your desk’s frame profile. Material compatibility guarantees secure attachment without damaging the desk’s finish or structure. Poor weight distribution leads to tipping or sagging, especially with dual-arm setups or heavy monitors. Choose an adapter that spreads load evenly across support beams.
| Adapter Type | Best For | Caution |
|---|---|---|
| Steel plate | Wide frames, heavy arms | Adds weight |
| Aluminum plate | Lightweight setups | Less durable under stress |
| Custom-fit bracket | Unique desk profiles | Limited availability |
Check fit before buying-many brands offer compatibility tools. Look for powder-coated finishes to prevent scratches and verify load ratings. A solid plate improves posture and workspace function, but only if it aligns with your desk’s construction and daily use demands.
Fix Common Mounting Problems Fast
If your monitor arm feels shaky or won’t stay in position, start by checking the tightness of all mounting bolts and the adapter plate’s fit against your desk’s frame-loose hardware is the most common culprit, especially on metal desks where vibration can loosen connections over time. Make sure the plate sits flush and use thread-locking adhesive if bolts keep slipping. Poor desk stability often stems from mismatched plate size or thin frame walls, so confirm compatibility before final tightening. For cable management, route cords early using clips or sleeves to avoid repositioning the arm later. Some arms include built-in channels, but they may not suit thicker bundles. If wobble persists despite secure mounting, the arm’s internal tension may need adjusting-refer to the manual. Don’t over-tighten, as this can strip threads or deform metal. Test adjustments gradually. Real-world use shows most issues resolve with proper setup, not upgrades.
On a final note
You should mount your monitor arm with an adapter plate on a metal frame desk-it’s secure and avoids damage. Strong clamping force and reinforced brackets prevent wobble, even with heavier screens. Choose plates with rubber padding and a thickness of at least 0.1 inches to protect the frame. Most kits include M6 bolts and fit 1.2 to 3.5-inch crossbars. Check bolt length to avoid over-tightening, which can strip threads. Warranties often cover 1–2 years, but misuse voids protection.