How to Position a Monitor Arm to Free Up Desk Real Estate in a Small Room
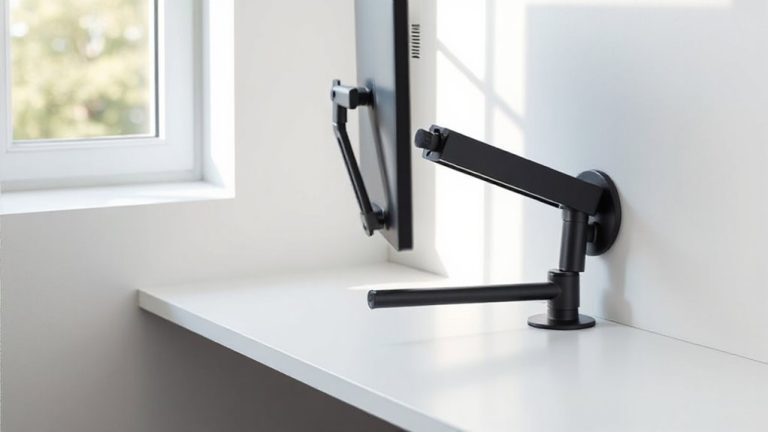
Mount a clamp-on monitor arm near the back edge of your desk to free up space, ensuring your desk has at least 5–7 cm of overhang and supports the arm’s weight. Pick one with 30–50 cm reach to position your screen comfortably without crowding your workspace. Confirm your monitor fits the VESA pattern and doesn’t exceed the arm’s capacity. Adjustable height and tilt help maintain eye level, reducing neck strain. Use built-in cable management to keep wires tidy and movement smooth. Lower-cost arms may sag over time, so check reviews for long-term reliability. You’ll see how small tweaks can make a big difference in tight setups.
Notable Insights
- Mount the monitor arm to the rear desk edge using a clamp to maximize front workspace in small rooms.
- Ensure at least 5 cm of desk overhang behind the arm for stable clamp attachment and clearance.
- Position the arm so the monitor sits at an optimal viewing distance of 50–100 cm without encroaching on desk space.
- Use built-in cable management to route cords along the arm, reducing clutter and freeing up surface area.
- Choose a compact, extended-reach arm to pull the monitor forward only when needed and tuck it back when idle.
Pick a Monitor Arm for Your Desk Type
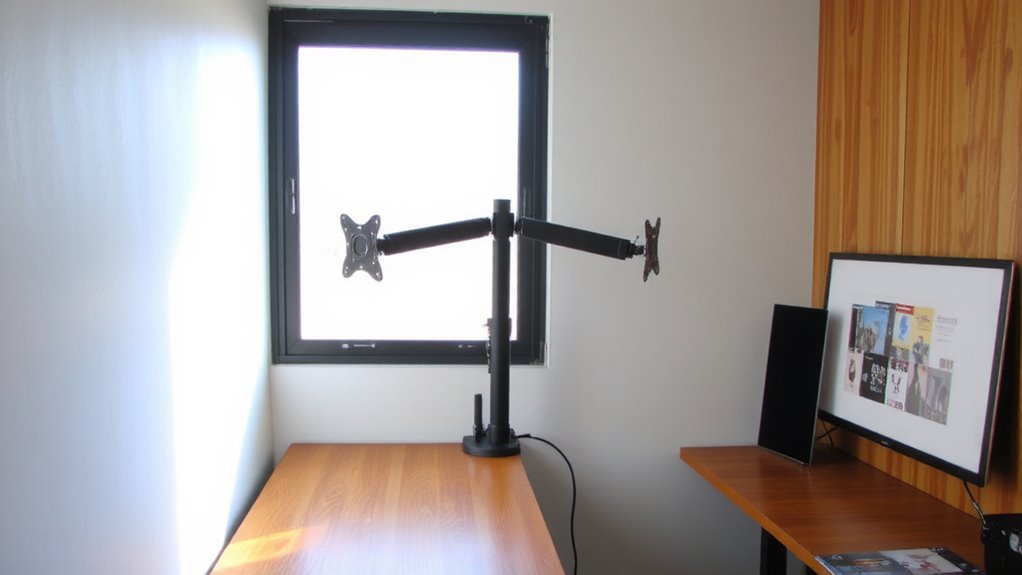
A monitor arm that fits your desk type makes all the difference in setup stability and long-term comfort, so choose carefully. You need one that supports your monitor’s weight capacity without sagging or straining the mount. Clamp-on arms work well for standard desks with solid edges, typically handling up to 9 kg, while grommet mounts suit thinner desks but require drilling. For sit-stand desks, pick arms with extended range and balanced spring tension to maintain ergonomic posture through height changes. Metal arms last longer than plastic, and models with 360° swivel and tilt let you position screens precisely. Check warranty length-three years or more shows manufacturer confidence. Avoid lightweight models if you use large monitors; they often fail over time. Some arms wobble on glass desks unless paired with a reinforced clamp. Always double-check your desk’s material and thickness before buying. A reliable choice is to look for best monitor mounts that combine durability, adjustability, and compatibility with your specific desk setup.
Measure Space to Maximize Desk Room
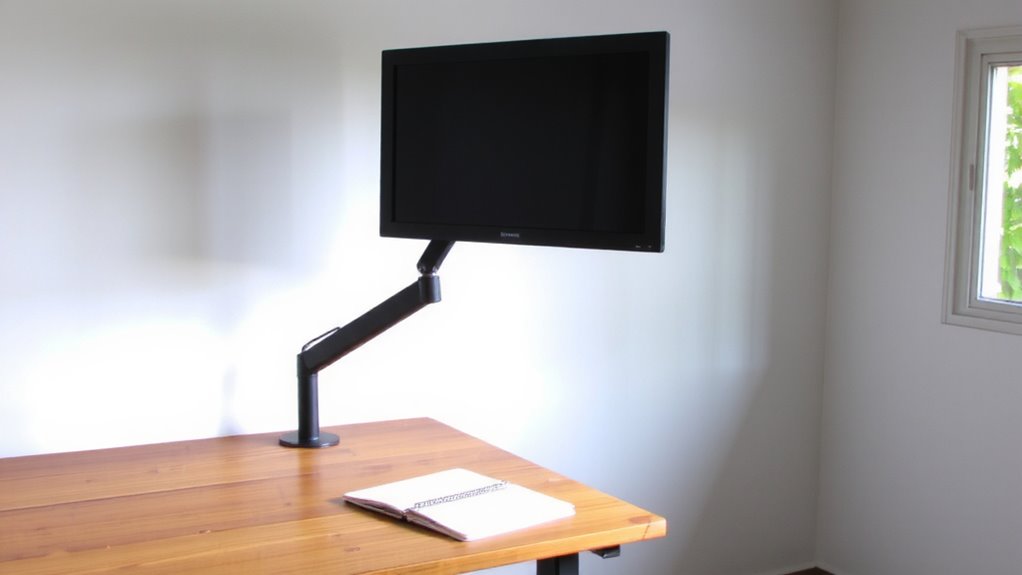
You’ll want to measure at least 5–7 cm of overhang behind your desk’s edge before mounting a clamp-on arm, since that’s the minimum clearance most models need to secure properly without tipping. This guarantees stability, especially when adjusting monitor position. Check your arm reach-most extend 30–50 cm, so confirm it covers your ideal viewing distance without straining. If wall placement is tight, guarantee the arm’s range doesn’t clash with nearby furniture or outlets. Also, verify that your desk thickness is within the clamp’s specs, usually 1–8 cm. Keep in mind that longer arms offer more flexibility but may sag over time if not well-balanced. Measure your available depth, especially in small rooms, so the monitor doesn’t crowd your torso. Accurate measurements prevent poor ergonomics and maximize desk room.
Mount the Arm to Clear Your Desk
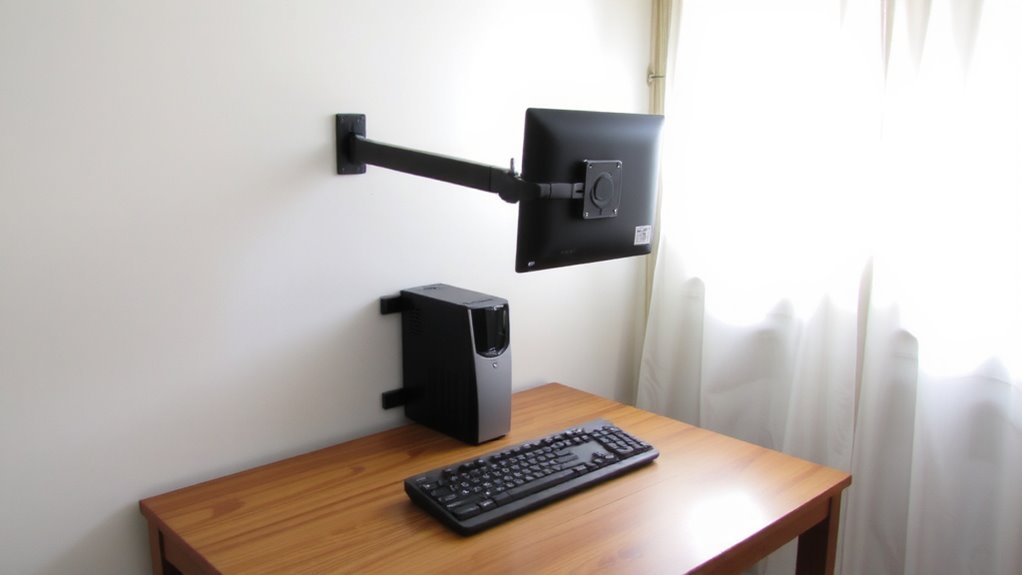
Your desk’s clean, open surface starts with a solid mount-position the clamp precisely along the rear edge where it grips best without overhanging. Guarantee your desk material and thickness match the clamp’s range, usually 1.5 to 3 inches, for secure holding. If your desk is too thin or weak, consider wall mounting-but check wall stability first. Drywall alone won’t support heavy loads; you’ll need studs or mounting anchors rated for the arm’s max weight. Confirm arm compatibility with your monitor size and VESA pattern, typically 75x75mm or 100x100mm. Most arms support 13–27-inch displays up to 20 lbs. Misalignment here risks drooping or detachment. Always test the mount with the monitor attached before finalizing placement. A poorly secured arm compromises both safety and workspace efficiency, so double-check every connection.
Set the Monitor Arm at Eye Level
Get it right the first time-position the monitor so the top of the screen sits at or slightly below eye level, about 15 to 20 degrees below your natural line of sight when seated. This alignment supports proper ergonomic posture, reducing neck and shoulder strain during long work sessions. Your eyes should look slightly downward, minimizing glare and boosting visual comfort. Most monitor arms let you adjust height precisely, often from 5 to 20 inches, so tailor the setting to your chair and desk setup. If the arm lacks sufficient range, you may need a thicker desk grommet mount or a different base. Don’t assume all arms fit every monitor-check weight limits and VESA compatibility. While height adjustment is reliable across mid-tier and premium arms, lower-end models may sag over time, affecting long-term positioning.
Adjust the Monitor Arm’s Tilt and Swivel
Why settle for a rigid viewing angle when small tweaks in tilt and swivel can make hours at the desk feel noticeably easier? Adjusting your monitor arm’s tilt and swivel boosts both ergonomic comfort and visual clarity. Most arms let you tilt the screen up to 90° or down to -90° and swivel 180° or more, letting you align the display perfectly with your line of sight. A well-chosen monitor arm model can significantly enhance range of motion and stability. Below are common adjustments and their benefits:
| Adjustment | Benefit |
|---|---|
| Tilt forward (up) | Reduces glare from overhead lights |
| Tilt back (down) | Improves ergonomic comfort for seated posture |
| Swivel left/right | Enhances multi-tasking with dual monitors |
| Centered swivel | Maximizes visual clarity for straight-on viewing |
Always lock adjustments securely-loose joints drift over time. Test movements fully before finalizing. Not all arms offer smooth motion; check pivot points for sturdiness.
Route Cables Neatly on Your Monitor Arm
A clean cable setup is essential for both function and aesthetics when using a monitor arm. You’ll want to secure cables along the arm’s mounting brackets using built-in Cable clips or aftermarket ones that match your model’s groove system. These clips prevent snagging and reduce visual clutter, but make sure not to overtighten and pinch insulation. For flexible bundling, Velcro ties let you group power, HDMI, and USB cables without permanent strain. Unlike zip ties, they allow easy adjustments when repositioning the monitor. Route cables before final arm calibration, leaving slight slack at pivot points to avoid tension during tilt or swivel. Some arms include internal channels-use them, but verify cable thickness compatibility first. Poor routing can limit range of motion or cause wear over time. Real-world testing shows setups with organized cabling last longer and perform more smoothly. Consider using Top Cable Management Solutions for even greater control and a clutter-free workspace.
On a final note
You should get a monitor arm if you’re tight on desk space-it’ll free up room and improve posture. Pick a gas-spring arm with 75–100mm VESA compatibility and at least 20 lbs lift capacity. Mount it to a 1.5-inch-thick desk or use a grommet hole. Set the screen at eye level, about 20–30 inches away. Adjust tilt to reduce glare. Route cables with built-in clips. Note: arms cost $60–120 and wear over 3–5 years.