How to Mount a Laptop on a Monitor Arm for a Seamless Multi-Device Setup
You can mount your laptop on a monitor arm using a VESA-compatible adapter plate, but only if your arm supports 75x75mm or 100x100mm patterns and the combined weight stays under its limit-most arms handle 10–17 lbs. Pick a rigid aluminum plate with anti-slip padding, center your laptop, and tighten screws gradually to avoid damage. Set the screen at eye level, tilt it 10–20 degrees, and align it with your external monitor for smooth shifts. If stability or cable drag becomes an issue, adjustments in balance or routing may be needed-there are proven fixes that make a real difference once you know them.
Notable Insights
- Ensure your monitor arm supports VESA standards (75x75mm or 100x100mm) for secure laptop mounting.
- Use a high-quality mounting plate or adapter rated for your laptop’s weight (typically 10–20 lbs).
- Position the laptop at eye level with the top edge aligned to reduce neck strain and improve posture.
- Center the laptop on the mount and tighten screws gradually to ensure stability and weight balance.
- Route cables neatly and align the laptop with external monitors for a seamless multi-device workflow.
Mount Your Laptop to Save Desk Space and Reduce Strain
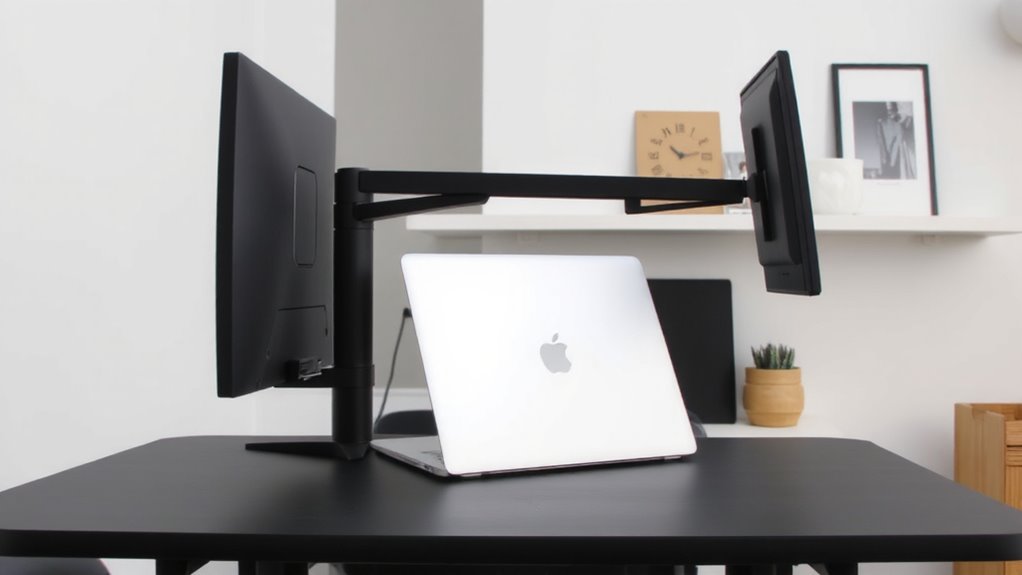
Mounting your laptop on a monitor arm isn’t just for show-it’s a practical upgrade that frees up desk space and helps you maintain a healthier posture. You’ll position the screen at eye level, reducing neck strain during long sessions. With extra room, your mouse and keyboard setup becomes more ergonomic. Good cable management is essential-use clips or sleeves to secure charging and data cables, preventing tangles and accidental pulls. Keep ports accessible for quick connections. Elevating your laptop also improves device ventilation; airflow underneath prevents overheating, especially during heavy multitasking. But don’t block intake grills-ensure the base remains unobstructed. Most arms support 4–20 lbs, so check your laptop’s weight. Stability varies by model, and thinner devices may need added grip pads. While the setup enhances comfort, it’s not ideal if you frequently move your laptop.
Confirm Your Monitor Arm Supports VESA Mounting
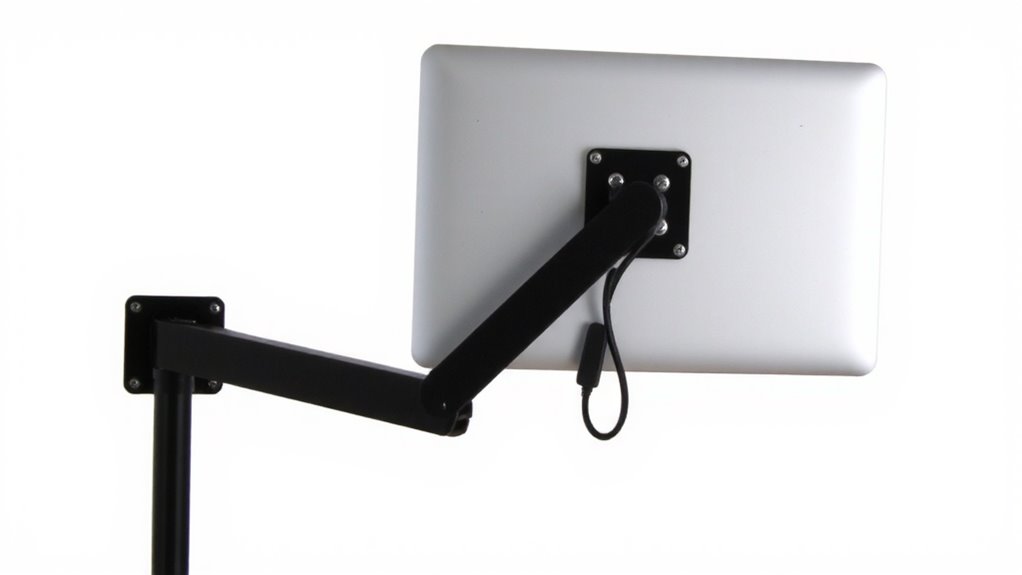
You’ll need to verify that your monitor arm uses a VESA-compatible mount before attaching your laptop, since most arms are designed for traditional displays, not laptops. Check the back of your arm or its specs sheet for a VESA compatibility label-common standards are 75x75mm or 100x100mm. Without this, the adapter needed won’t attach securely. Confirming VESA compatibility isn’t just about fit; it directly affects arm stability, especially with a laptop’s uneven weight distribution. A mismatched setup can cause drooping, wobbling, or long-term joint wear. Even high-quality arms may struggle if the load isn’t balanced correctly. While many premium arms support VESA out of the box, budget models sometimes skip this feature. Test arm stability under simulated load if possible, or consult independent reviews. Never assume compatibility-confirming saves setup time and prevents equipment damage. A reliable option is to choose from the best monitor mounts based on expert testing and user feedback.
Pick a Laptop Mounting Plate or VESA Adapter
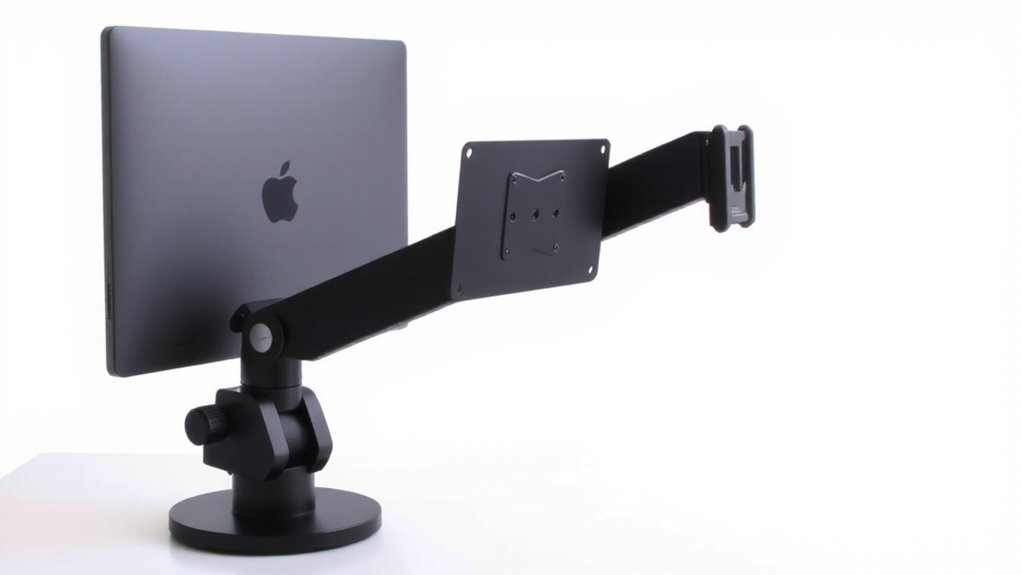
A solid laptop mounting plate or VESA adapter is essential for securely attaching your laptop to a monitor arm, and not all options deliver the same level of stability or compatibility. You’ll want one that matches your laptop’s size and respects its laptop weight limits-most mounts support 10–20 lbs, so check your device’s specs. Look for models with anti-slip padding and adjustable clamps to prevent scratches and guarantee a snug fit. Always perform VESA compatibility checks: the adapter must align with your arm’s 75x75mm or 100x100mm pattern. While universal plates offer flexibility, dedicated VESA adapters provide stiffer, wobble-free connections. Some include tool-free installation, but read reviews-long-term durability varies. Warranty length (often 1–3 years) hints at build quality. Avoid ultra-cheap versions; they often fail under daily use.
Attach Your Laptop to the Mount Safely
Getting your laptop securely fastened to the mount starts with double-checking alignment and stability before you tighten anything fully. You’ll want even weight distribution to prevent tipping, especially with heavier laptops-many mounts support up to 17 pounds, but always confirm your setup stays within limits. Center the laptop on the mounting plate to avoid strain on the arm joints. Once aligned, gradually tighten the screws or clamps to secure it without over-torquing, which could damage your device. Good cable management matters here: route charging or data cables neatly along the arm using included clips to reduce drag and prevent accidental tugs. Avoid letting cables hang freely, as that can shift balance over time. While most quality mounts hold firm, long-term use may reveal slight drooping if weight distribution isn’t optimized. Always test movement and stability with your laptop powered on.
Align Laptop and Monitor for Seamless Viewing
Proper alignment between your laptop and external monitor makes a real difference in comfort and productivity. You’ll want both screens at the same eye level so you’re not tilting your head up or down, reducing neck strain over time. Match the viewing distance, ideally 20–30 inches from your eyes, so both displays feel like a single workspace. Keep the laptop flush with the monitor’s plane-too far forward or back breaks visual continuity. Use the monitor arm’s lateral adjustment to align the laptop beside or below the monitor without awkward gaps. Be mindful: smaller laptops may sit too low, requiring a riser, while larger ones might obstruct the monitor if not positioned carefully. Most arms offer fine-tuning, but check load limits and stability. This setup trades minor space efficiency for better posture and smoother shifts between screens. A well-positioned laptop stand can enhance ergonomics and is often key to achieving optimal alignment, especially when using one of the best laptop stands for comfort and productivity.
Set the Right Height and Angle for Comfort
The ideal height and angle for your laptop on a monitor arm starts with positioning the screen’s top edge at or slightly below eye level when you’re seated-this helps maintain a neutral neck posture and cuts down on long-term strain. Proper ergonomic positioning reduces fatigue and supports better posture over extended work sessions. Tilt the screen 10–20 degrees back for ideal visual comfort, minimizing glare and aligning the display with your natural line of sight. Sit about an arm’s length away to avoid eye strain without sacrificing screen readability. Most quality arms let you fine-tune height and tilt smoothly, but always check your laptop’s weight and VESA compatibility first. Note that heavier laptops may limit range of motion. Achieving the right setup takes minor adjustments, and personal comfort varies-what works for one person might not suit another. There’s no universal setting, so test small changes over time. A well-chosen monitor arm can significantly enhance workspace ergonomics and flexibility.
Fix Wobbling, Misalignment, or Mount Failure
Even with perfect height and tilt, a shaky or loose monitor arm can throw off your whole setup-so it’s worth checking stability as part of your final adjustments. Wobbling usually stems from poor weight distribution or inadequate mounting. Make sure your laptop plate is centered and tightened, and confirm the arm supports your laptop’s weight-many arms list load limits (e.g., 17.6 lbs). Misalignment often comes from uneven cable management or loose joints. Check all pivot points and snug the bolts without over-torquing.
| Issue | Likely Fix |
|---|---|
| Wobbling | Rebalance weight distribution |
| Mount failure | Verify clamp or grommet fit |
| Tilt drift | Tighten tilt pivot screw |
| Cable sag | Use clips for cable management |
Some arms hold steady for years; others sag within months. Test stability weekly.
On a final note
You’ll save desk space and improve posture by mounting your laptop on a VESA-compatible monitor arm. Use a solid aluminum VESA adapter plate with rubber-lined clamps to secure your laptop without damage. Align the screen just below eye level, matching your external monitor’s height. Expect minor wobble with lightweight arms-double-check load ratings. Most kits include lifetime warranties, but always test stability before long-term use.