Choosing the Right Thickness of Acoustic Panels for Home Office Noise Control
You’ll want at least 2-inch acoustic panels to cut mid-bass noise and sharp echoes in most home offices-they handle speech frequencies well and reduce floor and ceiling reflections. If you’re near loud outside noise or have big windows, 4-inch panels absorb low-end rumble better but take up more space and cost more. Thicker panels improve bass control, yet placement matters just as much. Pair panels with rugs and sealed gaps for real results. The full picture reveals smarter ways to balance performance and practicality.
Notable Insights
- 2-inch panels are ideal for most home offices, effectively reducing mid-bass frequencies and floor reflections.
- Thicker 4-inch panels are best for large rooms or windows with gaps to block low-frequency outside noise.
- 1-inch panels are insufficient for meaningful noise control, especially in larger or hard-surfaced rooms.
- Panel placement at first reflection points and rear walls has greater impact than thickness alone.
- Combine 2-inch panels with rugs and sealing gaps to optimize acoustic performance cost-effectively.
What Home Office Noise Needs Acoustic Panel Thickness?
What Home Office Noise Needs Acoustic Panel Thickness?
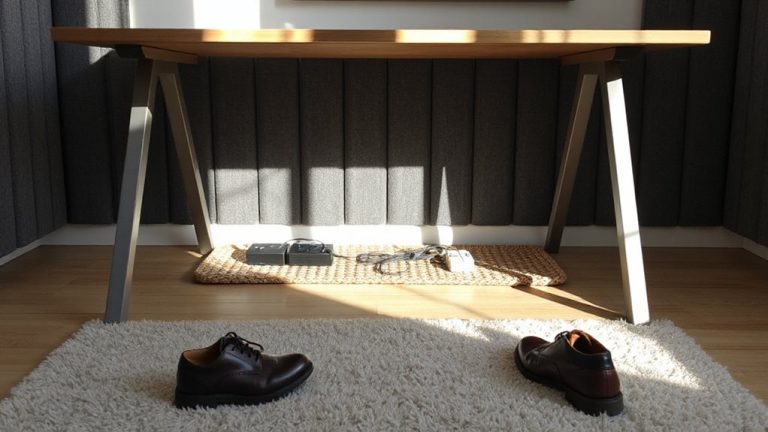
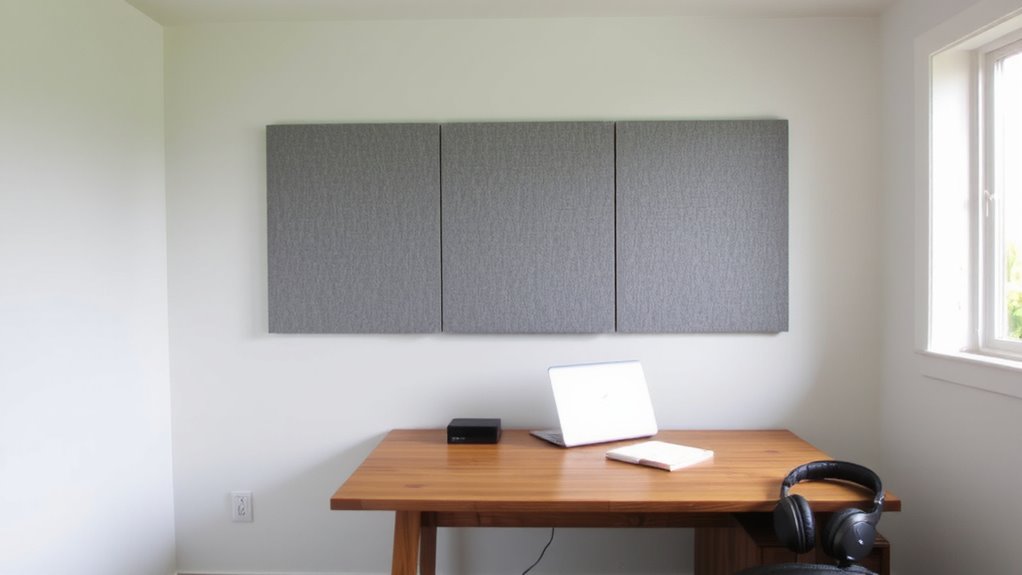
Why tackle noise issues in your home office with acoustic panels if you’re not sure how thick they should be? You need thickness when dealing with persistent floor reflections and sound leaking through window gaps. Thin panels won’t cut low-frequency echoes bouncing up from hard floors, so 2-inch panels are a minimum for mid-bass control. If you’ve got large windows without seals, thicker 4-inch panels help reduce outside noise entering through gaps. But don’t overdo it-thicker panels eat wall space and cost more. They’re effective only if placed strategically: behind your desk, at reflection points. You’ll still need curtains or weather stripping to fully seal window gaps. And carpet or rugs? They’re essential to tame floor reflections even with quality panels. Balance panel thickness with room layout and other materials. Results depend on your setup-measure twice, install once. For optimal results, consider pairing your panels with one of the best acoustic panels for home office setups recommended for balanced sound treatment.
How Thickness Impacts Sound Absorption
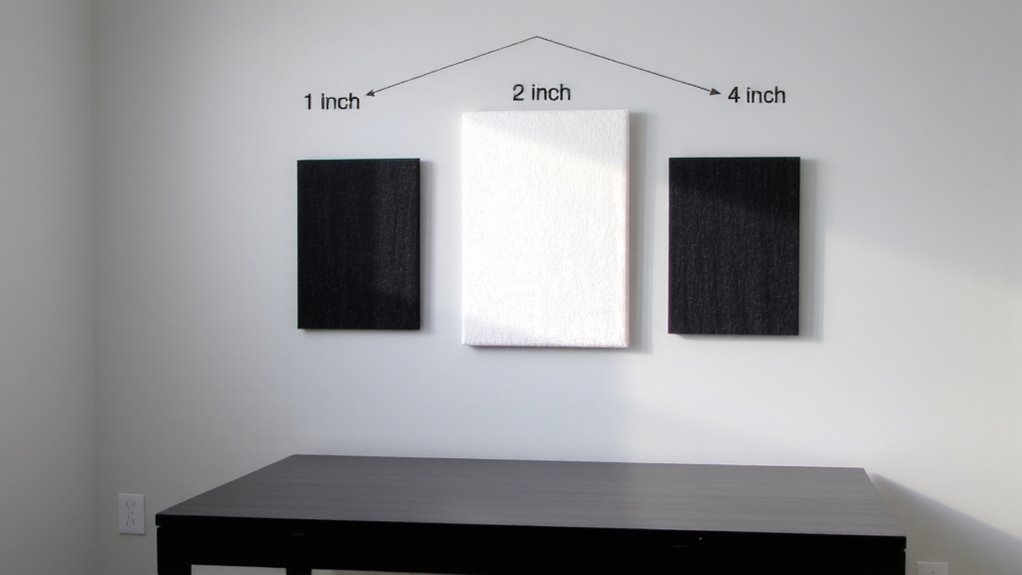
Thicker acoustic panels don’t just look more substantial-they actually absorb lower frequencies better, which is exactly what you need if your home office has a boomy or muddy sound. You’ll notice a real difference in the frequency range below 250 Hz, where thinner panels barely perform. That’s because thickness increases both material density and air volume trapped in the panel, helping it convert more sound energy into heat. At 2” thick, panels start handling midrange well, but 4” panels are far more effective on bass. Just remember, doubling thickness doesn’t double absorption-it’s a diminishing return. Also, higher material density helps, but only up to a point; too dense and the surface reflects more than it absorbs. So go thicker if low-end clarity matters, but don’t ignore placement and total coverage-those often matter more than specs alone.
Best Acoustic Panel Thickness for Your Office
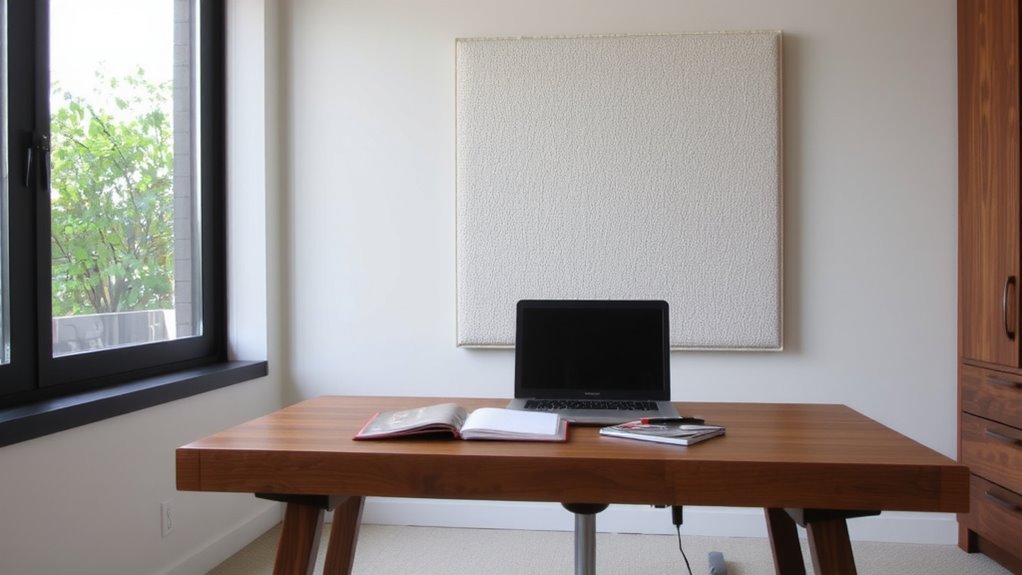
While your office size and sound issues play a big role, you’ll likely get the best balance of performance and practicality with 2” thick acoustic panels-especially if your main concerns are speech clarity and reducing echo during calls. These panels absorb mid to high frequencies effectively, which makes voices sound clearer on Zoom or Teams. Thinner options like 1” panels won’t cut it for consistent noise control, while 4” panels, though better for deep bass, take up more space and cost more. You’ll want a material texture that’s dense but not overly porous-like high-density foam or recycled cotton-for lasting performance. Panel color matters too; choose hues that match your room’s lighting and décor to avoid visual distraction without sacrificing sound quality. They mount easily on walls and don’t require professional installation. Just keep in mind-no panel eliminates all noise, especially from outside sources.
Choose Thickness by Room Size and Work Type
You’re probably noticing that one thickness doesn’t fit every workspace, and that’s where matching panel depth to your room size and daily tasks really pays off. For small rooms under 100 sq ft, 1-inch panels usually handle light work intensity like email or web browsing-just cover 15–20% of walls near reflection points. But in larger spaces or rooms with high ceilings, your room dimensions demand deeper 2-inch panels to manage longer sound waves and reduce echo effectively. If your work intensity spikes with frequent calls, voice recording, or multitasking in open layouts, thicker panels offer noticeably better absorption, especially at lower frequencies. However, don’t over-panel a quiet, compact space-too much absorption can make it feel unnaturally dead. Balance is key: assess your room dimensions first, then align thickness with your actual daily use. Thicker isn’t always better-it’s about fit.
Thin vs. Thick: Which One Do You Need?
If you’re trying to cut down on echo and improve speech clarity without overdoing it, 1-inch panels are usually enough for basic home office tasks. They’re affordable, easy to mount, and work well when speech intelligibility is the main goal. But if you record audio or deal with loud background noise, thicker 2- or 4-inch panels offer better low-frequency absorption. This boost comes from increased material density, which traps more sound energy across a wider range. Thinner panels can still look great-panel color options let you match your decor-but don’t let aesthetics override performance needs. High-density foam or fiberglass in thicker panels delivers measurable improvements, especially in smaller rooms where bass buildup occurs. Just know that thicker panels protrude more and may need stronger mounts. Choose based on your actual use, not just looks.
Where to Place Panels for Best Noise Control
Thicker panels absorb more sound, especially in the low end, but getting the best results means putting them in the right spots-not just wherever they look good. Panel placement is key: start with the first reflection points-where sound bounces off walls from your speakers or voice. Mount panels there, at ear level, to cut echo and improve clarity. Place one on the wall behind your desk to reduce rear-wall reflections. For better sound diffusion, avoid clustering all panels in one area-spread them out across side walls and ceiling if the room feels too dead. Don’t cover entire surfaces; aim for 15–30% coverage to balance absorption and natural acoustics. Keep in mind: over-paneling kills liveliness. Test placement with a mirror or clap to find hot spots. Even the best panels fail if installed wrong.
On a final note
You’ll likely want 2-inch acoustic panels for balanced noise control in most home offices-they absorb mid to high frequencies well and fit standard wall spaces. Thicker 4-inch panels work better if you record audio or have a large, echoey room, but they’re bulkier and cost more. Placement matters as much as thickness: focus on first reflection points and corners. Panels won’t block speech from adjacent rooms-that requires sealing gaps or adding mass.