Summer Reorganization: Managing Outdoor-to-Indoor Cable Transitions
Map your home’s outdoor cable entry points this summer and seal gaps with silicone or polyurethane caulk to block moisture and pests. Install UV-rated PVC or metal conduit with watertight fittings to protect lines, grounding metal at the entry. Indoors, route cables along baseboards using raceways and secure with Velcro, not zip ties, to avoid damage. Add UL 1449-listed surge protection at entry points-look for low clamping voltage and status indicators. Label every line and inspect seals yearly. You’ll find smarter fixes as you go.
Notable Insights
- Plan cable reorganization during low-usage hours and assess all outdoor-to-indoor routes beforehand.
- Seal entry points with weather-resistant caulk and grommets to block moisture, pests, and environmental damage.
- Use UV-rated or metal conduit with watertight fittings to protect outdoor cable runs from physical and weather harm.
- Route indoor cables discreetly along baseboards using raceways and secure with Velcro, avoiding sharp bends.
- Install UL-listed surge protectors at entry points and label all cables for easy maintenance and troubleshooting.
Identify Where Outdoor Cables Enter Your Home
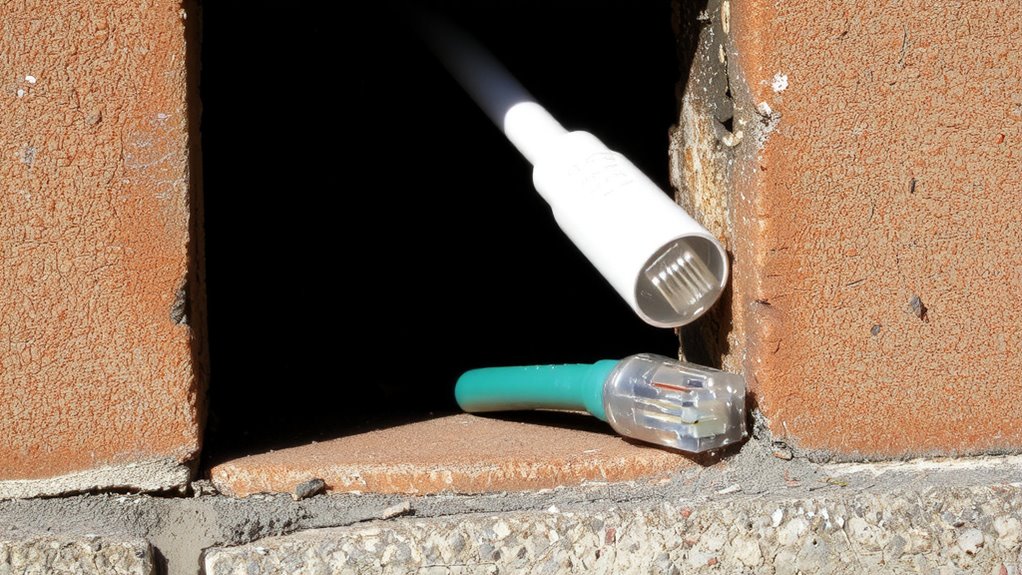
Where exactly are your outdoor cables coming into the house? Pinpointing each entry point is essential for effective cable management and future troubleshooting. Start with a walk-around inspection, noting where coax, ethernet, or power lines penetrate walls or foundations. Use entry mapping to sketch these points-this visual guide helps you plan upgrades and identify vulnerabilities. Don’t overlook cable labeling at each indoor junction; clearly marked lines save time during maintenance or outages. Combine mapping with labeling to create a reliable reference system. While not flashy, these steps prevent confusion, especially in older homes with layered installations. Be precise: mismapped entries or missing labels can derail DIY fixes. Labeling kits and simple floor plans are inexpensive but dramatically improve efficiency. Just remember-accurate documentation only works if you keep it updated as changes occur. Consider using a best cable management solution to maintain organization indoors after cables transition from outside.
Seal Entry Gaps to Block Water and Pests
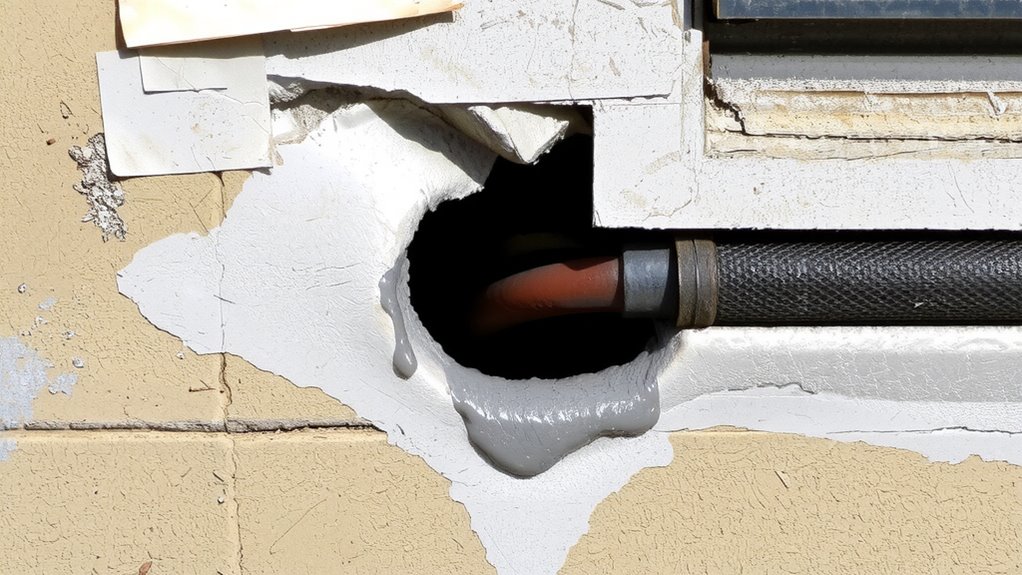
Once you’ve mapped where cables enter your home, sealing the gaps around them is critical to prevent water infiltration and pest intrusion. You’ll want to start by caulking gaps around wall penetrations-use silicone or acrylic caulk for most areas, but pick polyurethane for spots that expand or contract. It seals tightly and lasts years without cracking. For sealing conduits, especially metal or PVC lines carrying multiple cables, use rubber grommets or weather-resistant sealants to close spaces without restricting airflow or stressing wires. These steps block rodents, insects, and moisture that can damage walls or wiring over time. Just be careful not to over-tighten fittings or compress low-voltage cables, which can degrade signal quality. Always leave a slight drip loop outside so water doesn’t wick indoors. Inspect seals yearly, especially after extreme weather. Some materials degrade faster in UV light or high humidity, so factor in local climate when choosing products. Proper cable management for clean desk aesthetics begins with protecting your cables where they enter the home.
Install Weatherproof Conduit for Safe Transitions
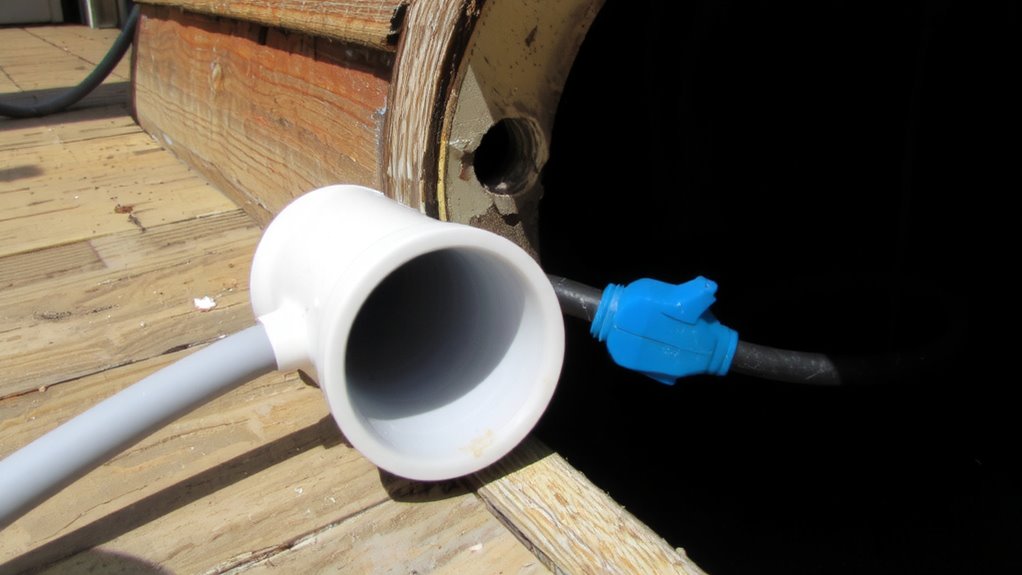
You’ll want to install weatherproof conduit whenever cables run outdoors, as it’s the most reliable way to protect wiring from moisture, temperature swings, and physical damage. Rigid metal or UV-rated PVC conduit guarantees durable cable waterproofing and resists cracking under prolonged sun exposure. Use watertight fittings at both ends to maintain a sealed pathway from exterior to interior. Conduit grounding is essential when using metal types-bond it to your electrical ground to prevent shock hazards and interference. While more visible than direct wall entries, proper conduit reduces long-term risks like corrosion or rodent damage. Schedule 40 PVC is common, but for high-impact zones, consider Schedule 80 for thicker walls and greater durability. Test the run with a fish tape before final assembly. Remember, even with excellent cable waterproofing, improper conduit grounding undermines safety. Permits may be required, so check local codes-especially for runs over 10 feet or near power lines.
Hide Indoor Cables Along Baseboards and Trim
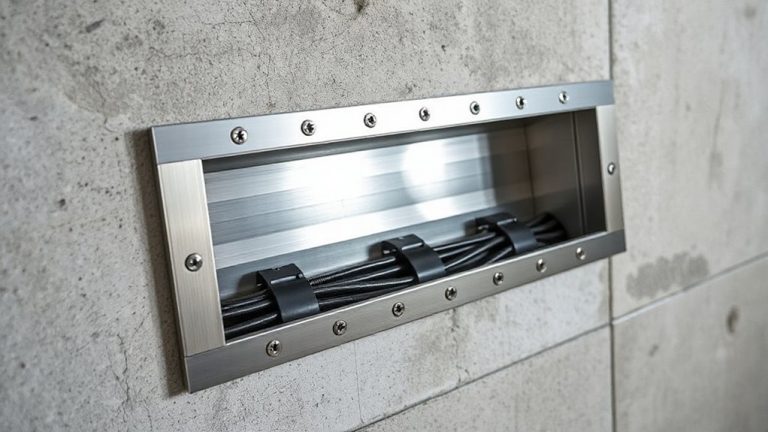
Along baseboards and trim, securing cables neatly keeps them out of sight without permanent damage to walls. This cable routing method offers simple, effective aesthetic solutions for clean indoor setups. Use adhesive-backed raceway channels or low-profile cord clips to guide wires smoothly from entry points to devices. These products mount in minutes, require no drilling, and won’t mar paint or trim when removed. Most raceways support up to four cables and come in white, gray, or brown to blend with baseboards. For best results, follow the natural flow of baseboard edges and avoid sharp bends-this preserves cable integrity and guarantees efficient power or data transmission. While raceways are discreet, they’re still visible up close, so placement matters. In high-traffic areas, guarantee they’re firmly attached to avoid snagging. This solution works well in homes and home offices, though it’s not ideal for textured walls or rented spaces with strict modification rules. For those seeking optimal organization, consider best cable management solutions that integrate seamlessly with baseboard routing strategies.
Add Surge Protection at Entry Points
Though indoor cable management keeps your space tidy, skipping surge protection at entry points leaves your gear vulnerable to voltage spikes from outdoor lines-especially during summer storms. You need reliable surge protector types like UL 1449-listed Type 1 or Type 2 devices, installed where cables enter your home. These handle large surges better than power strips and pair well with proper grounding methods, such as bonded ground rods or panel-level grounding. Without solid grounding, even top-tier protectors can’t divert excess voltage safely. Look for units with low clamping voltage (under 400V), high joule ratings (over 1,000), and indicator lights to confirm function. Most come with connected equipment warranties-check the fine print. They aren’t foolproof, though. Extreme strikes may overwhelm them, so view them as one layer, not total insurance.
Inspect Cable Transitions Twice a Year
Regularly inspecting cable connections twice a year helps catch wear before it leads to failures, especially where outdoor lines meet indoor systems. You’ll want to look for signs of cable abrasion and connection corrosion, both of which can degrade signal quality and shorten equipment life. These issues are most common at junction points exposed to moisture, temperature shifts, or physical stress.
| Issue | What to Check |
|---|---|
| Cable abrasion | Fraying or worn insulation near entry points |
| Connection corrosion | Green or white buildup on metal contacts |
| Loose fittings | Gaps or wobbling at wall penetrations |
| Seal integrity | Cracks in weatherproofing or conduit seals |
Addressing these early means fewer surprises later. While inspections take time, the cost in effort is minimal compared to troubleshooting intermittent outages or replacing damaged gear. Just don’t assume all damage is visible-some corrosion hides beneath connectors.
Avoid Common Outdoor-to-Indoor Wiring Mistakes
You’ve checked for wear and caught the early signs-now it’s time to make sure your setup avoids the most frequent errors when bringing cables indoors. Skipping cable labeling is a fast track to confusion, especially with mixed Ethernet, coax, and power lines. Label both ends clearly using weather-resistant tags so future troubleshooting stays simple. Never skip signal testing after routing-indoor-outdoor shifts often weaken connections due to grounding differences or pinched lines. Test each cable’s throughput with a reliable network tester or speed-check tool to confirm performance matches outdoor specs. Use waterproof entry glands to seal penetration points and prevent moisture migration. Avoid sharp bends near entry points; maintain minimum bend radii (e.g., 1 inch for Cat6). While conduit adds protection, it complicates future upgrades-weigh durability against accessibility. No solution is perfect, but careful cable labeling and consistent signal testing reduce failures and streamline maintenance.
On a final note
You’ll reduce fire and water risks by sealing cable entry points with silicone caulk and installing UL-listed weatherproof conduit-tested to withstand 120 mph winds. Hide indoor runs cleanly using 0.75” low-profile raceways along baseboards. Always add 800+ joule surge protectors within 6 feet of entry. Check seals and conduit twice yearly; cracks or sagging void warranties. Avoid daisy-chaining extenders or piercing coaxial cables-they fail under sustained UV or moisture exposure.