How to Avoid Looking up Your Nose on Camera With Proper Webcam Placement
Place your webcam at eye level or slightly above to avoid an unflattering up-the-nose view-most laptop cameras sit too low, so use a sturdy stand, clamp mount, or stack of books to elevate an external webcam. Angle it slightly downward for a natural look, and test the frame to guarantee your head and shoulders are centered. Avoid tilting up or down too much, since even small shifts can distort your face. Lighting matters too: face a window or soft light source to stay clearly visible without harsh shadows. For best results, check your setup each time you log in-small movements can throw off the angle. You’ll find simple tweaks make a noticeable difference in how you appear.
Notable Insights
- Position your webcam at or slightly below eye level to avoid unflattering upward angles.
- Use a stable stand, stack of books, or clamp mount to securely elevate the webcam.
- Tilt the camera slightly downward for a natural face-on view and improved framing.
- Avoid placing the webcam on low surfaces like desks without raising it sufficiently.
- Test your setup using a video preview to confirm angle, framing, and stability before calls.
Elevate Your Webcam to Eye Level
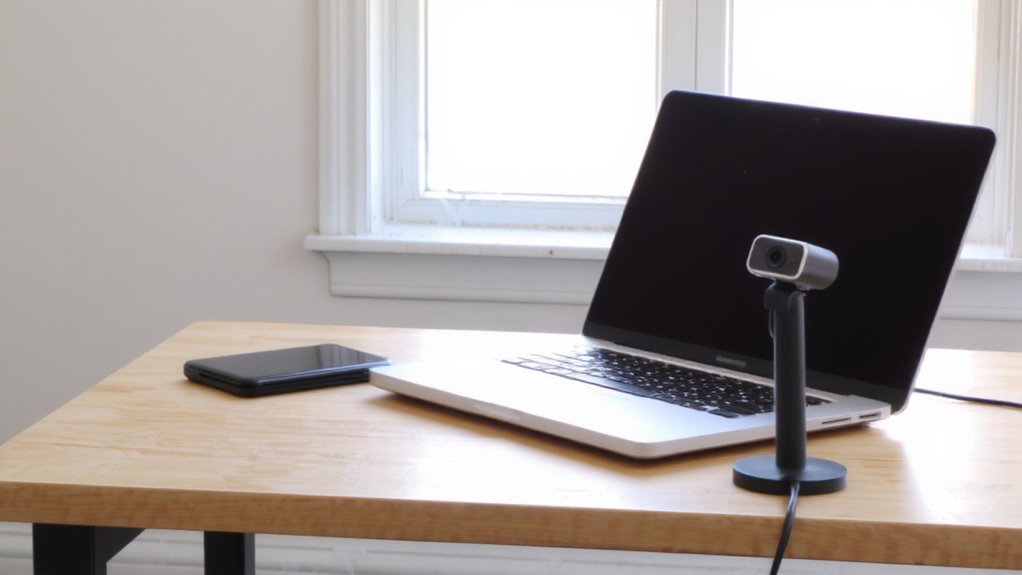
You’ll want to get this right-positioning your webcam at eye level makes a noticeable difference in how professional you look on camera, and it’s easier than you might think. Place your webcam on a sturdy stand or mount that raises it to about eyebrow height, ensuring your face appears natural, not up your nose. Solid webcam stability matters-you don’t want it tipping during calls-so opt for weighted bases or clamp mounts that resist wobble. Tidy cable management keeps your desk clean and prevents accidental tugs; use clips or sleeves to secure cords to your monitor or desk edge. Most premium webcams include threading for tripods or come with small stands, but third-party mounts offer more flexibility. While dedicated arms or stands improve stability and adjustability, they take up space and cost extra. Test tilt and viewing angles before locking placement. A slight downward angle often works best. For even greater flexibility and desk organization, consider using one of the best webcam stands designed to support various camera types and positioning needs.
Fix Placement With Household Items
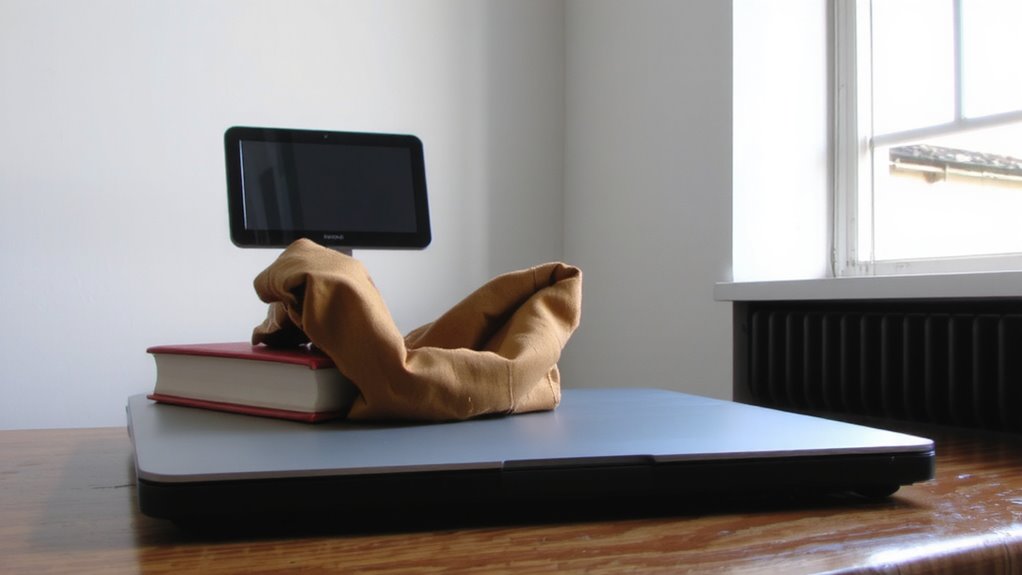
A stable, properly positioned webcam doesn’t require expensive gear-stacked books, a shoebox, or even a sturdy binder can raise your camera to eye level when mounted securely. These DIY mounts work well if you prioritize stability and height control. Repurposed stands like old tripod mounts or clipped phone holders also offer flexibility, though they may lack fine adjustment. Below are common household items and their effectiveness:
| Item | Stability & Adjustability |
|---|---|
| Stacked books | High stability, low adjustability |
| Shoebox | Moderate stability, medium adjustability |
| Binder | High stability, fixed height |
| Tape + mug | Low stability, high risk of tipping |
DIY mounts save money, but always test for wobble and long-term reliability. Repurposed stands offer better control but may require tweaking. Avoid solutions that block airflow or create glare. For more precise setups, consider that best webcam mounts provide durable, adjustable options designed for ergonomic alignment.
Light Your Webcam View Well
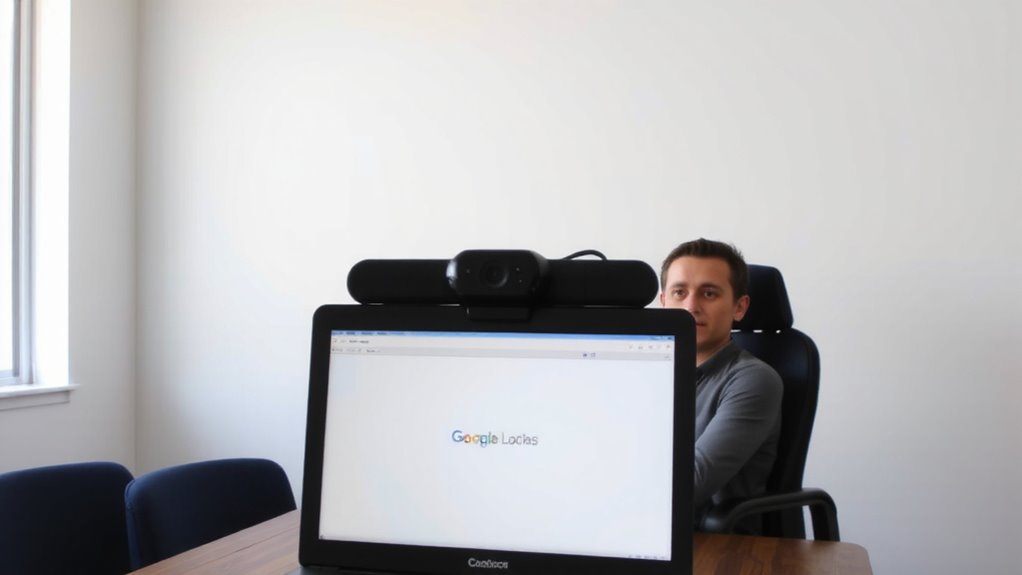
Good lighting makes a noticeable difference in how you appear on camera, often more than the webcam itself. You’ll want to prioritize natural lighting whenever possible-it’s flattering and free. Position your desk so a window is in front of you, not behind, to avoid silhouetting. Ideal window placement means side or front light, reducing harsh shadows and glare. If you’re facing the window directly, adjust blinds to diffuse bright spots. Avoid relying solely on overhead lights or desk lamps, as they create unflattering angles. Natural light changes throughout the day, so reposition as needed. While ring lights can help, they’re not a must-if you use one, set it at eye level and dim it to avoid a “flat” look. Balanced lighting beats gear upgrades, but don’t ignore how room color or window coverings affect brightness. Test different setups at various times to see what works. Upgrading to a high-quality best webcam can further enhance image clarity when lighting is optimized.
Frame Yourself: Head and Shoulders in View
While getting close to the camera might seem like a way to appear more engaging, framing yourself with just your head and shoulders in view works best for most video calls-this setup strikes a balance between visibility and professionalism. It keeps your face clear and your upper body in frame, making gestures natural without inviting distractions like background clutter. Your camera angle matters just as much: position the lens at eye level or slightly above to avoid unflattering perspectives. A phone stand or laptop riser can help achieve this. Avoid placing the camera too low, as it emphasizes your nostrils and amplifies messy surroundings.
| Too Close | Too Far |
|---|---|
| Crops shoulders | Shows background clutter |
| Distorts face | Reduces presence |
| Distracting | Lacks connection |
| Poor camera angle | Weak engagement |
Test Your Webcam Setup Before Each Call
You’ve got your frame right-head and shoulders centered, camera at eye level-so now guarantee it actually works before the call starts. Test your setup every time: open your conferencing app, start a quick preview, and check camera angles to confirm you’re centered and not tilted. Even slight shifts in lighting or desk position can change how you appear. Look for background clutter-books, cords, laundry-anything that distracts viewers or undermines professionalism. A clean background keeps the focus on you, not your surroundings. While built-in laptop cameras are convenient, they often limit adjustment options and capture unflattering angles if the screen is too low. External webcams offer better positioning but require consistent testing. Never assume yesterday’s setup works today. A 15-second check prevents awkward surprises and guarantees you look composed, clear, and ready-even if your desk isn’t.
Avoid Looking Up Your Nose: Position Matters
A poorly positioned camera can leave you looking up your nose-literally. Getting camera angles right is essential for a professional look, and it starts with aligning the lens at or just above eye level. Placing your webcam too low distorts your face due to lens distortion, exaggerating features and making you appear wider or off-center. Pro tip: prop your laptop on a stand or stack of books to raise the camera. If you’re using an external webcam, clip it securely atop your monitor-centered and level. This small fix improves framing and reduces unflattering angles. But beware: raising the screen too high strains your neck over time. Balance good optics with ergonomics. Built-in laptop mics and cameras deliver decent quality, but external gear usually offers better clarity and flexibility. Test angles before calls, and remember-perfect positioning beats expensive gear any day.
On a final note
You’ll look more professional by positioning your webcam at eye level-use books or a small box to elevate it if needed. Frame your head and shoulders clearly, and face a natural light source to avoid shadows. Test your setup before calls to catch glare or awkward angles. Even the best webcam won’t fix poor placement, and no added gear replaces good lighting. Results vary based on room conditions, so adjust as needed.