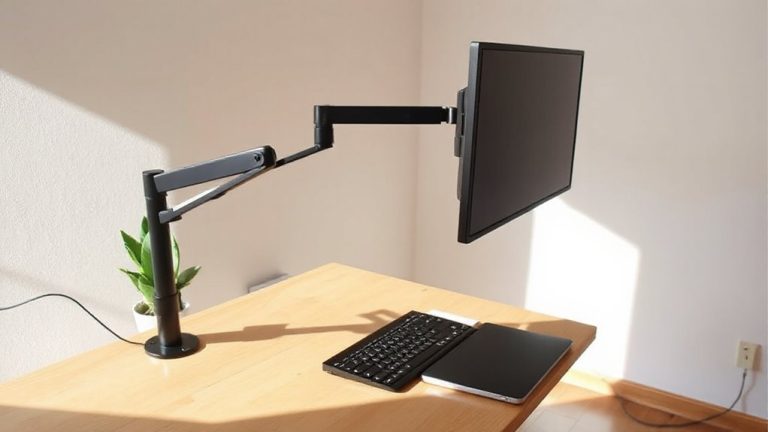
How to Arrange a Laptop Stand for Ergonomic Use in Both Sitting and Standing
Set your laptop stand so the screen’s top aligns with your brow height, keeping your neck neutral and gaze slightly downward to prevent strain. Use an adjustable stand with telescoping legs or a gas spring to switch smoothly between sitting and standing every 30–60 minutes. Pair it with an external keyboard below elbow level to keep wrists flat and avoid upward tilt. Choose a sturdy, aluminum stand with non-slip feet, rated for your laptop’s size and weight-up to 15 lbs for most models-and verify it has a secure lock and at least a one-year warranty. Route cables neatly using adhesive clips or a desk grommet to reduce clutter and maintain stability. Look for models tested for wobble under real-world use, and balance adjustability with base width to prevent tipping. Your ideal setup adapts precisely to your body’s needs while staying rock-solid during typing or screen touches. Small adjustments now lead to better comfort over time-refining each element activates long-term posture gains.
Notable Insights
- Position the laptop screen at eye level with the top of the screen aligned to brow height to prevent neck strain.
- Use an adjustable laptop stand with a secure lock to safely transition between sitting and standing positions.
- Support a neutral wrist posture by connecting an external ergonomic keyboard placed below screen level.
- Choose a sturdy stand with non-slip feet and sufficient weight capacity to ensure stability during height changes.
- Organize cables with clips or sleeves to maintain a clutter-free workspace and preserve stand mobility.
Set Your Laptop Stand at Eye Level
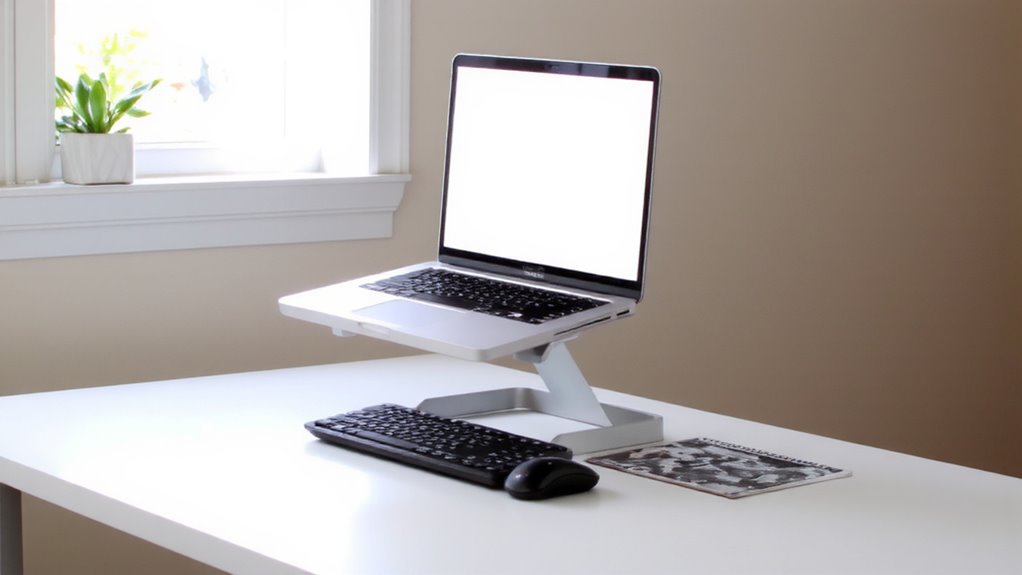
Why is your neck sore after hours at the laptop? Because your screen’s too low. Set your laptop stand at eye level to fix posture alignment-top of the screen even with your brows. That way, you’re not hunching or craning forward. It’s a simple shift, but it cuts muscle strain and supports spine health over time. Positioning correctly also aids eye strain prevention by reducing glare and keeping your gaze slightly downward, where eyes stay comfortable. Most adjustable stands let you lift the laptop 6 to 12 inches, enough for seated or standing use. Look for stability, rubber grips, and vent clearance-some models block airflow, which hurts performance. Even the best stand won’t help if your keyboard’s still up high; pair it with an external one. Results? Noticeably less fatigue-but only if setup is consistent. No magic fixes, just smart, sustained alignment. For optimal ergonomics, consider one of the best laptop stands based on expert testing and user feedback.
Switch Between Sitting and Standing Easily
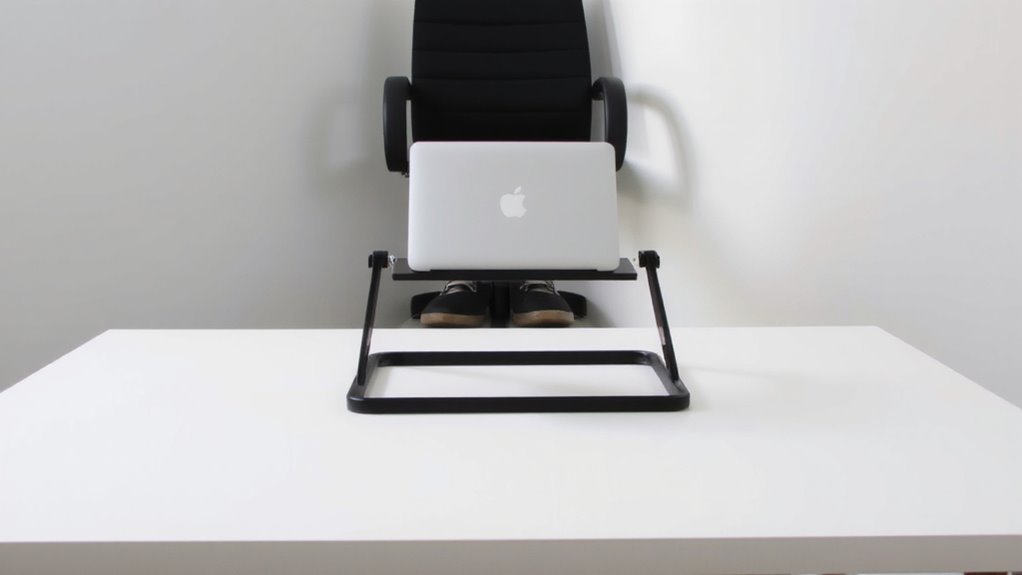
You’ve set your laptop at eye level to protect your neck and shoulders, but staying in one position for hours still puts stress on your body-so it’s time to build in movement. An adjustable laptop stand makes height shift simple, letting you shift between sitting and standing every 30–60 minutes. This frequent change supports better posture balance by reducing lower back strain and encouraging subtle core engagement. Look for models with gas-spring mechanisms or telescoping legs that adjust smoothly and lock securely-some tested stands hold up to 15 lbs and move 8–12 inches vertically. Check stability: a wobbly stand disrupts workflow and harms long-term comfort. Most reputable brands offer 1–3 year warranties, though lighter builds may wear faster. Don’t assume portability means durability-some hinges fail after repeated adjustments. Pair your stand with a separate monitor or external keyboard for best results, since ergonomics rely on full setup alignment, not just screen height.
Keep Wrists Neutral With Proper Keyboard Angle
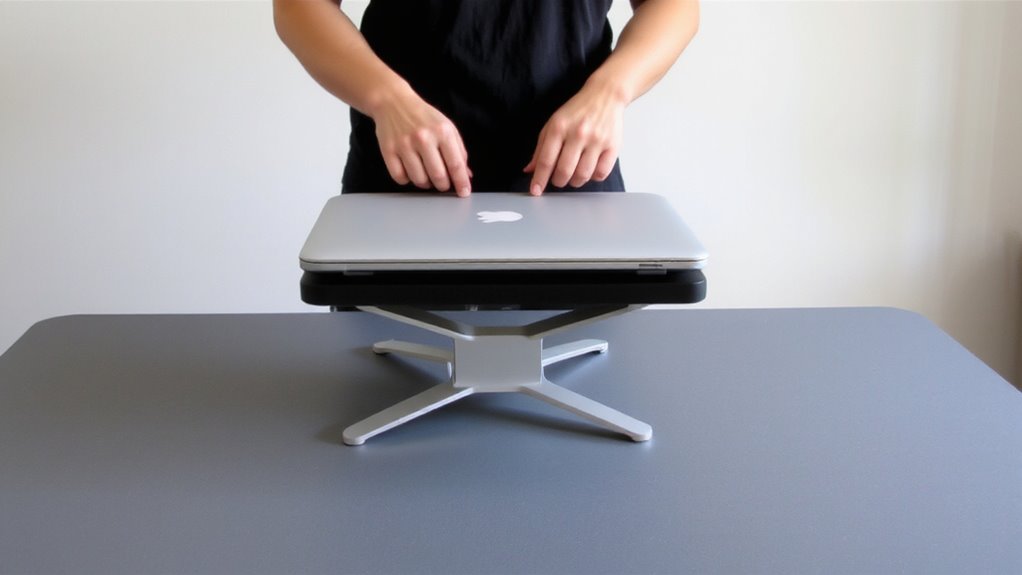
While screen height often takes priority, getting your keyboard angle right is just as critical to avoiding wrist strain during long work sessions. You need to keep your wrists neutral-flat and in line with your forearms-to maintain healthy typing posture. Most laptop stands don’t adjust the keyboard angle, so you’ll likely need a separate ergonomic keyboard placed below screen level. This setup improves wrist support and reduces ulnar deviation or flexion. Avoid propping your laptop on books or stands that tilt the keyboard upward, as that increases strain. A detachable keyboard with a negative tilt (angled slightly downward) helps, but remember that wireless ones add latency. Wired models offer stability but limit mobility. Trade portability for comfort if you’re working long hours, and test setups for at least 30 minutes to assess real-world fatigue. For reliable performance without lag, consider a best wireless mouse that balances responsiveness and ergonomics.
Pick an Adjustable Laptop Stand for Stability
A stable, adjustable laptop stand gives you the control you need to maintain proper alignment-especially since even the best keyboard setup can’t fix a wobbly or poorly positioned screen. You’ll want one with adjustable height to seamlessly shift between sitting and standing without straining your neck. Look for a sturdy base-preferably weighted or with non-slip feet-that resists tipping, even when you’re typing firmly or adjusting angles. Aluminum models tend to balance durability and weight better than lightweight plastic ones. Most quality stands support laptops from 10 to 17 inches and hold up under daily use. Check for a warranty of at least one year, and read user reviews that mention real-world stability. Avoid overly compact designs-they often sacrifice sturdiness. While higher-priced stands deliver better build quality, some mid-range options perform just as well if they include these core features.
Tame Cables for a Cleaner Desk
Many desk setups suffer from tangled cords snaking across the workspace, but a few well-chosen organizers can cut the clutter and improve both safety and efficiency. Good cable management isn’t just about looks-it reduces tripping hazards and makes it easier to adjust your laptop stand between sitting and standing positions. Use fabric sleeves or braided wraps to bundle power, USB, and HDMI cords together neatly. Adhesive-backed cable clips let you route wires along the desk edge or stand base without damage. For cord organization, consider a desk grommet kit if you can drill, or a cable tray under your stand if you can’t. Note that cheaper ties may crack over time, and oversized solutions can bulge awkwardly. Look for ones with 6–12 inch lengths and reinforced stitching. Solid cable management means less daily fuss and easier repositioning-just don’t over-tighten. A product roundup can help identify the most effective solutions for your specific setup.
Test and Adjust Your Setup for All-Day Comfort
You’ve got your cables tidy and out of the way-now it’s time to make sure your posture matches the upgraded look. Test your setup with attention to posture alignment and desk lighting to avoid strain. Sit for 20 minutes, then stand for the same. Notice any discomfort. Adjust your laptop stand height so your screen’s top is at or slightly below eye level. Your elbows should bend at 90°, shoulders relaxed. Check lighting: avoid glare on the screen, but guarantee your workspace is bright enough.
| Feeling | Cause | Fix |
|---|---|---|
| Neck pain | Screen too high/low | Adjust stand height |
| Eye strain | Poor desk lighting | Use soft ambient light |
| Back ache | Poor posture alignment | Engage core, use lumbar support |
| Fatigue | Prolonged static position | Switch sitting/standing hourly |
Small tweaks now prevent bigger issues later.
On a final note
You’ll get the best results using an adjustable laptop stand that brings the screen to eye level, whether sitting or standing. This reduces neck strain and keeps your posture neutral. Pair it with an external keyboard to maintain a flat wrist angle. Look for stable models with rubber grips and a weight capacity of at least 15 lbs. Cable management clips help, but don’t skip testing the setup for a full workday-some stands wobble or overheat laptops.