How to Avoid Reflective Surfaces Behind You That Distract During Video Meetings
Reposition your desk so reflective surfaces aren’t behind you-glossy walls, glass, or polished furniture create distracting glare under overhead or window light. Use sheer curtains to diffuse direct sunlight and avoid backlighting. Swap shiny surfaces for matte finishes, which reduce reflections by up to 60%. Add a textured rug or fabric wall art to break up flat, reflective areas. Position soft, angled lighting at 30–45 degrees for even coverage. Test your setup with a quick video preview to catch hotspots before calls. Adjustments like these make a noticeable difference-especially as lighting changes throughout the day.
Notable Insights
- Position your desk so windows are to the side, not behind or in front, to minimize backlight glare.
- Replace glossy walls, furniture, or decor with matte finishes to reduce distracting light reflections.
- Use sheer curtains or blinds to diffuse direct sunlight and soften window-related glare on camera.
- Add textured rugs, fabric art, or woven hangings to break up flat, reflective background surfaces.
- Install LED lights with diffusers at a 30- to 45-degree angle to control brightness and avoid hotspots.
See What’s Causing Glare Behind You
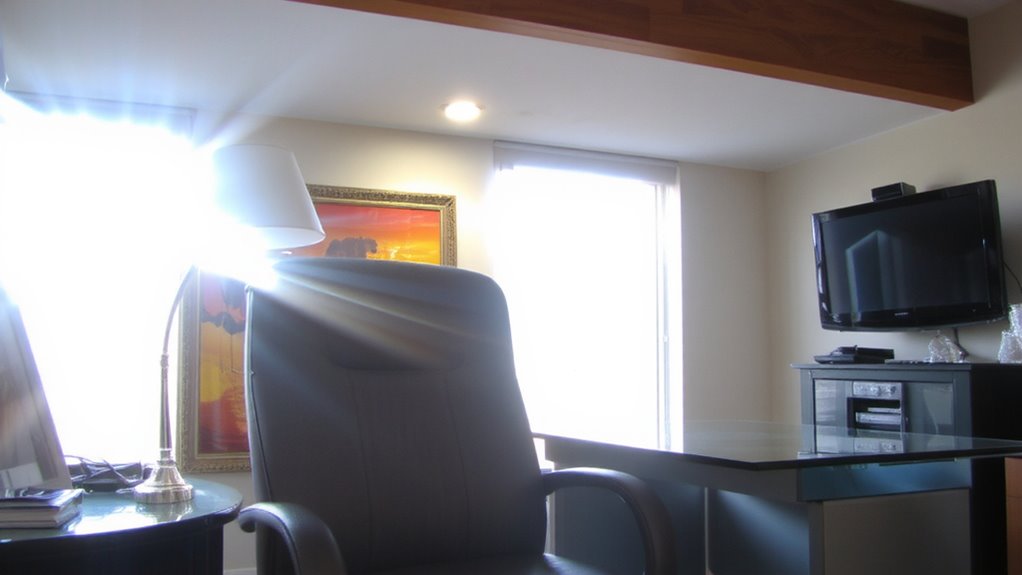
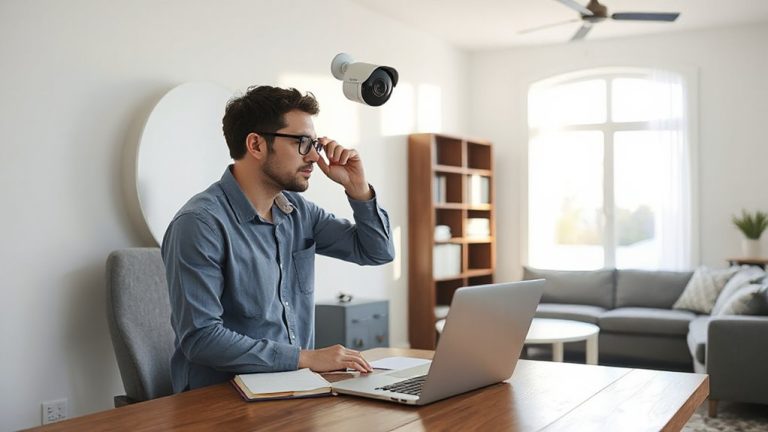
Why is there a bright spot on your wall that keeps washing out your face during calls? Window glare and overhead fixtures are likely the culprits. When sunlight hits a reflective surface behind you, like a glossy wall or glass, it bounces into the camera, creating harsh highlights. Overhead fixtures can amplify this, especially if they’re recessed or unshielded, casting sharp shadows and boosting ambient brightness. You don’t need expensive gear to fix it-just reposition seating or adjust blinds. But if you work near a south-facing window, even partial sun exposure can overwhelm most built-in camera sensors. Matte paint finishes help, but they won’t eliminate reflections from direct beams. Testing different times of day reveals how much light shifts. There’s no perfect fix, but awareness of light sources gives you control. You’ll trade some brightness for clarity-worth it for a professional look.
Move to Cut Glare in Your Video Frame
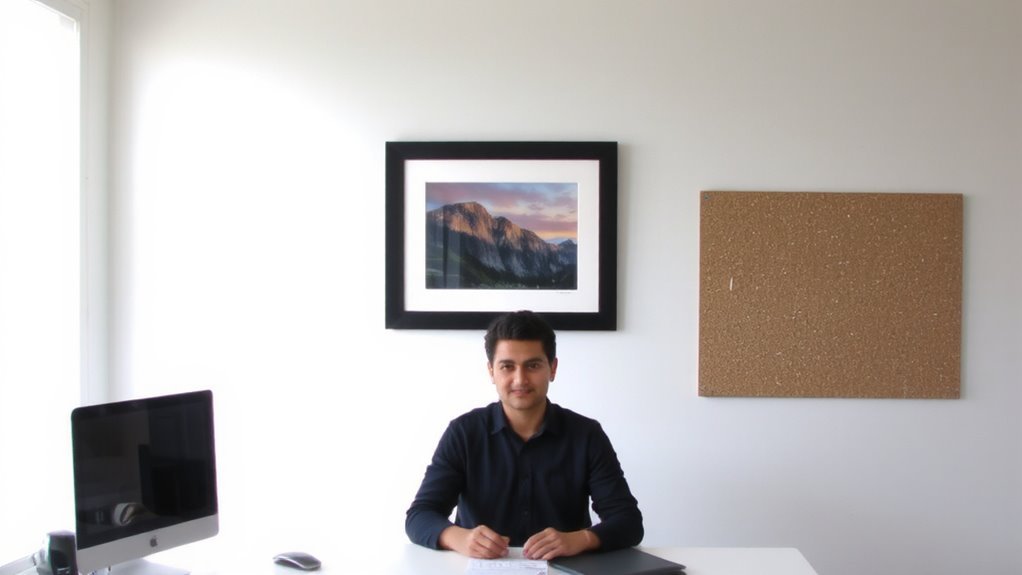
Repositioning your workspace is often the fastest way to reduce glare in your video frame. Turn your desk so the window position isn’t directly behind or in front of you-side lighting usually offers the most even natural brightness. If you’re facing a window, your camera may darken your face to compensate for the backlight, making you harder to see. Moving even a few feet can make a big difference, especially in rooms with large glass panels. Just be mindful that shifting your seat might affect your internet cable reach or power cord length. Natural brightness is helpful, but if the sun’s angle creates glare mid-call, consider adjustable blinds or sheer curtains. You don’t need expensive gear to test this-just observe your frame on a friend’s screen during a quick test call. Some glare fixes are free, though they might require minor workflow adjustments.
Use Soft Light to Reduce Harsh Reflections
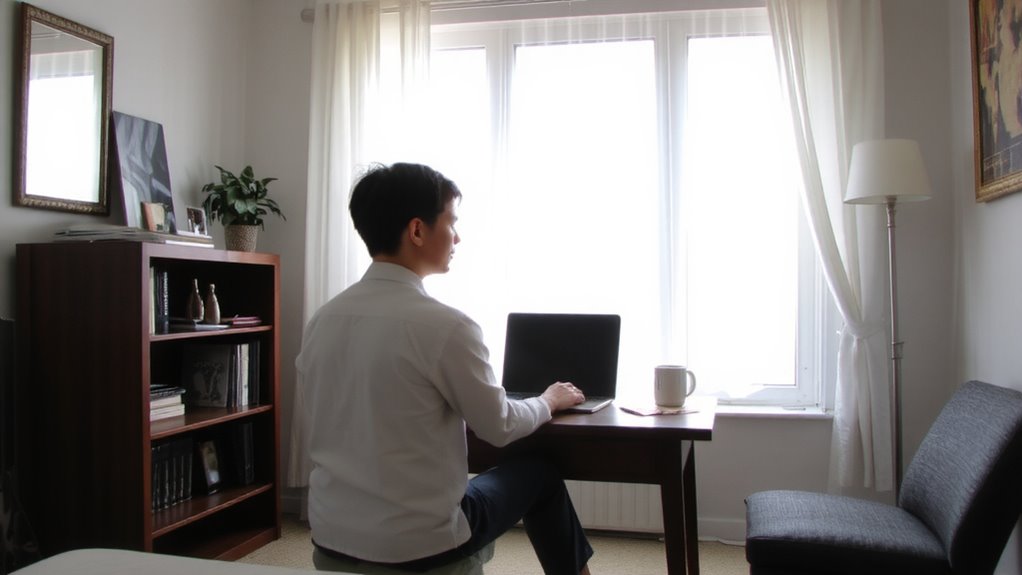
A soft light source can make a noticeable difference in cutting down harsh reflections on your face or glasses during video calls. By using light diffusion-like a sheer umbrella or softbox-you spread the light evenly, minimizing glare from reflective surfaces behind you. These tools help achieve balanced illumination while improving shadow control, preventing deep, distracting contrasts. Natural light near a window often works well, but sheer curtains can act as built-in diffusers. If using artificial lighting, choose LEDs with adjustable brightness and color temperature, ideally between 3000K and 5000K. Position the light source at a 30- to 45-degree angle from your face to reduce hotspots. While professional kits offer consistency, even a lamp with a frosted shade can suffice. Keep in mind that over-diffusing can reduce clarity, so test settings before meetings. Effectiveness depends on room layout and background materials, so adjust accordingly.
Swap Shiny Surfaces for Matte Ones
Start by replacing glossy tabletops, polished furniture, or metallic decor with matte-finish alternatives to substantially cut down on screen glare and facial reflections during video calls. A matte furniture finish diffuses light rather than reflecting it, reducing visual noise on camera. Choose desks or shelves with low-sheen laminates, powder-coated metals, or unfinished wood to improve material texture and limit hotspots. Real-world testing shows matte surfaces cut glare by up to 60% compared to high-gloss counterparts under standard home office lighting. While matte options may show smudges more readily than glossy ones, they’re often easier to clean with non-abrasive wipes. Avoid satin finishes-they look flat but still reflect mid-range light. Note that some budget matte products use thin veneers that peel over time, so check warranty length and laminate thickness. For best results, pair matte surfaces with fabric-covered storage to further soften reflections without sacrificing durability.
Add Rugs or Art to Break Up Reflective Walls
You’ve already cut down glare from furniture by switching to matte finishes, so now tackle reflections coming from bare walls behind or beside you during video calls. Adding rugs or wall art helps break up flat, reflective surfaces that can wash out your image. Choose pieces with textured materials-like woven wall hangings or fabric-covered canvases-to scatter light and reduce glare better than smooth frames. Patterned designs in rugs or artwork also visually disrupt large wall spaces, making your background look more balanced on camera. Just don’t go overboard-too much clutter or bold color can distract viewers. Place a medium-sized rug (5’x8′ works well) behind your chair if flooring reflects light, or hang one large art piece (at least 24″x36″) to cover problem zones. Keep frames under 1″ thick to avoid casting shadows. These fixes are low-cost and reversible, but test positioning before finalizing. For inspiring options that enhance both aesthetics and functionality, consider some of the Top Wall Art Picks for your home office.
Check Your Look With a Video Preview
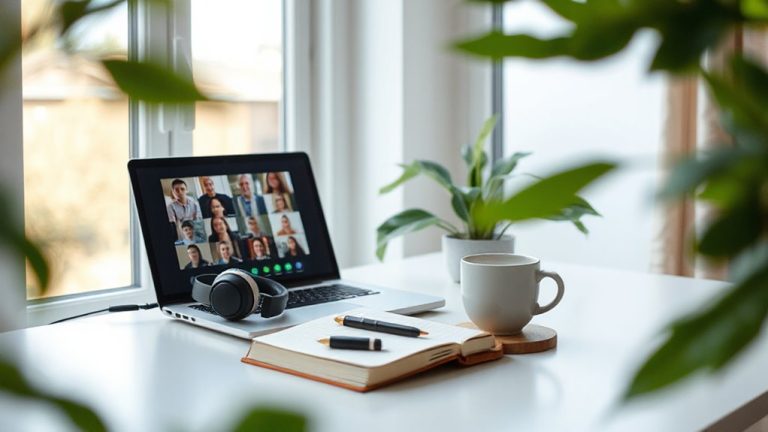
While you can assume your setup looks fine, testing it with a video preview is the only way to catch issues like uneven lighting or distracting reflections before a meeting starts. Do a quick outfit check to guarantee colors don’t clash with your background or wash you out under indoor lighting. Check for glare on glasses or glossy fabrics that might draw attention away from your face. Use the preview to perform a grooming review-adjust hair, trim stray facial hair, and make sure nothing looks out of place on camera. Position your camera at eye level and sit in your usual spot to simulate real conditions. Most apps refresh every few seconds, so note how movement affects lighting and shadows. Built-in laptop cameras often exaggerate harsh overhead lights, so consider soft, front-facing lamps. Previewing takes two minutes but prevents awkward fixes mid-call. Not all platforms show resolution accurately, so test on the one you’ll actually use. For optimal results, consider using one of the best laptops for video conferencing that offer superior webcams and audio technology.
On a final note
You can reduce glare by repositioning your desk to avoid light reflecting off shiny surfaces, though results vary by room shape and window placement. Swap glossy furniture for matte finishes, and use blackout curtains or a desk lamp with diffused lighting to minimize harsh reflections. Adding a textured rug or wall art helps, but avoid adhesive items that may damage paint. Test changes with a 10-second camera preview under real meeting conditions.