Calibrating Camera Field of Views to Exclude Personal Living Areas While Covering Work Zones
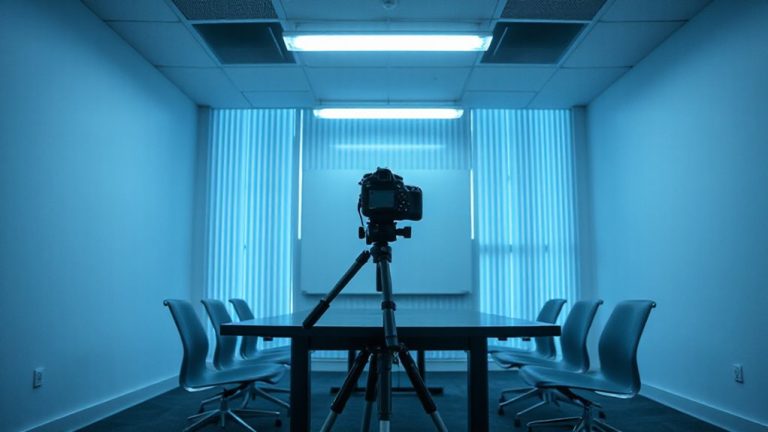
Position your webcam to frame just your desk and face by mounting it higher or tilting it down, using a 360° swivel base for precision. Exclude beds or dressers from view by adjusting angle or cropping digitally-models like the Logitech Brio handle this well. Test with Zoom’s preview, ensuring lighting from the front avoids silhouettes. Performance depends on room layout and camera quality, so small tweaks matter-your next step reveals how to fine-tune every detail.
Notable Insights
- Position the camera to face the desk directly, ensuring the field of view excludes beds and personal items.
- Mount the webcam higher to narrow focus on the work zone and reduce background visibility.
- Use room layout markings to define and align the camera’s field of view with the designated work area.
- Adjust tilt and swivel settings to precisely frame the desk while excluding sensitive or private spaces.
- Test the setup with video call previews to confirm coverage, lighting, and absence of private areas.
Frame Your Camera to Hide Private Areas
Your camera’s field of view is only useful if it keeps private spaces out of frame-so position it carefully. Tilting or rotating the camera slightly can adjust camera angles to exclude beds, dressers, or personal items without sacrificing visibility of your desk. Mounting the camera higher often helps narrow the focus down to just your work zone. Many built-in privacy filters let you black out portions of the image digitally, but they reduce effective resolution. Physical privacy filters offer pixel-perfect blocking without performance trade-offs, though they require manual adjustment. Test different positions using video calls or recording a short clip to confirm nothing private appears. Keep in mind that ultra-wide lenses increase coverage but complicate framing-you may capture more than intended. Always double-check angles after moving furniture. Reliable models often include 360° swivel bases and ±30° tilt, giving precise control. Warranties rarely cover misuse, so follow setup guides closely.
Map Your Room: Mark Work Zones and No-Cam Zones
Mapping your room’s work zones and no-cam areas isn’t just about placing a camera-it’s about defining what stays visible and what doesn’t. You need clear privacy boundaries to protect personal space while keeping your work setup visible. Start by sketching your room layout, marking where you sit, your equipment, and sensitive areas like beds or dressers. Use tape or small signs to label work zones (where the camera should focus) and no-cam zones (areas to exclude). This helps align your webcam angle with actual use. Remember, even wide-angle lenses can be adjusted through positioning, not just digital cropping. Mounting height and desk depth directly affect coverage. Be precise-small shifts change what’s captured. Test your setup during calls to guarantee consistency in light and framing. Over-mapping now saves awkward moments later.
Aim Your Webcam at Your Desk, Not Your Bed
While it might seem convenient to place your webcam wherever it fits, pointing it directly at your desk-instead of your bed-makes a noticeable difference in how professional your video presence feels. Proper bed placement matters because an open bedroom view can distract others or expose private spaces unintentionally. Aiming at your desk naturally frames you in a work-ready setting, reinforcing focus and boundaries. You also gain better lighting control: overhead lights or natural daylight from windows typically align with desk areas, reducing harsh shadows or unflattering under-lighting common when facing away from key light sources. Positioning your camera here avoids backlighting from windows behind you. Most webcams, like the Logitech C920 or built-in laptop models, perform best with frontal illumination. Just make certain your chair height and desk depth allow eye-level alignment. Still, test angles first-some small desks may limit ideal setups. For enhanced flexibility in positioning, consider using a webcam mount that securely attaches to your monitor or desk.
Crop Your View to Exclude Sensitive Backgrounds
Framing your desk properly sets a strong foundation, but tight control over what appears on screen matters just as much. You should crop your view tightly to keep sensitive areas-like beds or personal items-out of sight. Digital zoom or camera apps let you adjust the field of view without losing clarity, especially with HD sensors. Virtual backgrounds can help, but they often glitch under uneven lighting angles, making movement distracting. A well-lit backdrop reduces the need for software fixes. Position lights in front or slightly to the side to avoid shadows. While virtual backgrounds offer quick fixes, relying on them may hurt professionalism if your system lags. Physical framing beats digital tricks. Built-in privacy shutters or lens caps add security. Most webcams tested-like the Logitech Brio or Anker PowerConf-support manual cropping. Check software like OBS or Zoom for framing tools. Some include memory presets. A precise field of view looks intentional, not cluttered.
Test Your Setup With a Practice Video Call
How does your setup hold up when the camera’s actually rolling? Test it with a practice video call-don’t wait until the real meeting. Start with a lighting check: face the light source so your features are clear, but avoid harsh backlighting that turns you into a silhouette. Natural light works well, but a soft LED panel at 5,000K can add balance. Next, run an audio test. Speak at normal volume and playback the recording-listen for echo, distortion, or low levels. A lavalier mic boosts clarity over built-in laptop mics, especially in noisy rooms. Check if your camera frame stays stable when you move slightly. Use software like Zoom or Teams to preview the live feed and confirm no personal areas creep in. Not all webcams perform equally: test resolution, focus lag, and FOV consistency. Results vary by model, room size, and lighting conditions-your mileage may differ. For reliable performance, consider one of the best webcams based on expert testing and user feedback.
Stay Private and Look Professional on Camera
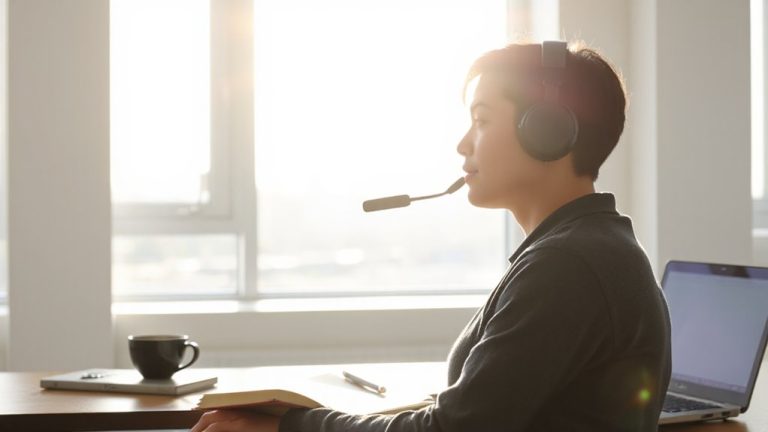
If you want to maintain privacy and project professionalism during video calls, start by controlling what’s in your camera’s field of view-anything behind or beside you could be visible, especially with wide-angle webcams that capture up to 90 degrees. Position your camera to frame only your work zone, avoiding beds, clutter, or personal items. Use solid walls or neutral backgrounds when possible. Good lighting control is essential: face a window or use a soft lamp in front to avoid shadows and harsh glares. Avoid backlighting, which degrades image quality. For audio clarity, use a headset or standalone mic-built-in laptop mics often pick up keyboard clicks and ambient noise. Test levels beforehand. While virtual backgrounds save space, they demand strong processors and can glitch. Physical setup beats digital fixes. A tidy, well-lit frame with clear sound signals competence-without over-investing. For added security beyond visual framing, consider installing home office security cameras to monitor access and protect sensitive work materials.
On a final note
You’ll want to aim your webcam carefully to cover just your work zone-desk, monitor, notes-while excluding beds or personal clutter. Most built-in cameras have fixed 60–78° fields of view, so slight angle shifts matter. Test with a quick recording to confirm what’s visible. A privacy-conscious frame boosts professionalism, but don’t sacrifice eye contact or lighting. Some webcams offer digital cropping or physical privacy shutters; they help, but test real-world performance before relying on them.