How to Build a DIY Vocal Booth Using Moving Blankets and PVC Frames
You can build an affordable vocal booth using 1-inch PVC pipes and thick 70” x 80” moving blankets to reduce echo and outside noise. Assemble a 7-foot frame with T-joints and cross beams, then drape overlapping blankets tightly with Velcro to seal gaps. Place your mic 6–8 inches from your mouth, slightly off-center, and away from corners. It’s not fully soundproof, but layering blankets and adding corner padding helps. For best results, pair with a reflection filter-there’s more to fine-tuning your setup than just the frame.
Notable Insights
- Use 1-inch PVC pipes cut to size and connect with T-joints to build a sturdy frame.
- Assemble a rectangular base and attach vertical corner posts with horizontal cross beams for full structure.
- Drape thick, quilted moving blankets over the frame, overlapping edges by at least 6 inches.
- Secure blankets tightly with Velcro or clips to eliminate gaps and reduce sound leakage.
- Position the microphone 6–8 inches from the mouth, slightly off-center, to minimize plosives and reflections.
Gather PVC and Moving Blankets for Your DIY Vocal Booth
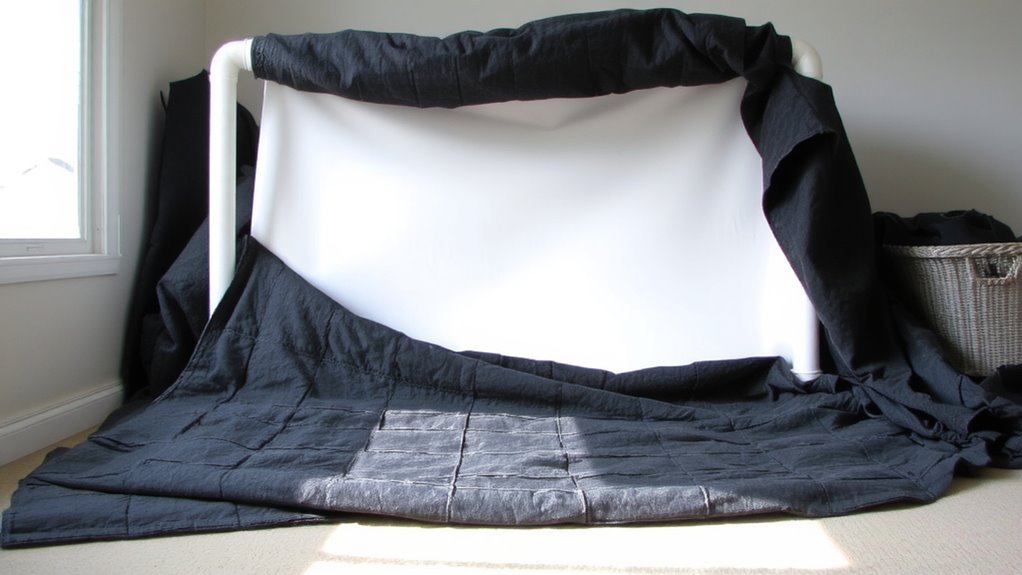
PVC pipe and moving blankets form the backbone of most budget vocal booths, and for good reason-they’re cheap, easy to find, and simple to assemble. Your material choices directly affect sound absorption and structural stability. Use 1-inch diameter PVC pipes for durability, and pick thick, quilted moving blankets-ideally 70” x 80”-for better noise dampening. For budget planning, expect to spend $30–$60 total, depending on whether you need connectors and duct tape. While this setup won’t match professional foam-lined booths, it reduces echo and outside noise noticeably. Just be aware: PVC can flex under pressure, and blankets may slip without proper fastening. Test your setup by recording speech or vocals and adjusting placements as needed. Reusing old blankets or buying discounted ones keeps costs low, but inspect for wear-thin spots reduce effectiveness. This method balances function and affordability, ideal for home recording beginners.
Build the PVC Frame in 5 Simple Steps
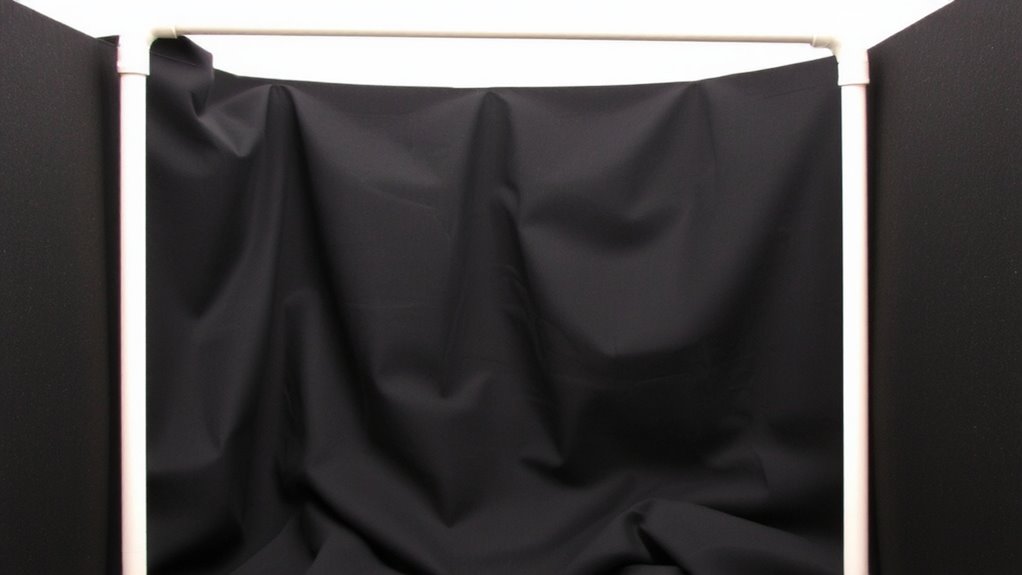
While setting up your DIY vocal booth, building a sturdy PVC frame is essential for maximizing sound isolation on a budget-so get it right the first time. Use 1-inch diameter PVC pipes and standard connectors to create a freestanding cube or panel frame. This structure will support moving blankets and allows future upgrades like acoustic panels or foam insulation.
| Step | Action | Tool/Item Needed |
|---|---|---|
| 1 | Cut PVC to size (e.g., 7 ft tall) | PVC cutter |
| 2 | Assemble base with T-joints | PVC pipes, connectors |
| 3 | Add vertical supports | 4 corner posts |
| 4 | Connect top frame | Cross beams |
| 5 | Reinforce joints | PVC cement (optional) |
Frame rigidity guarantees stability when hanging heavy blankets. While PVC isn’t as soundproof as rigid walls, it supports absorption materials effectively. Keep in mind: it’s portable but can wobble without bracing. Combine with foam insulation later for extra dampening-ideal for quiet home office use.
Drape Blankets for Maximum Sound Isolation
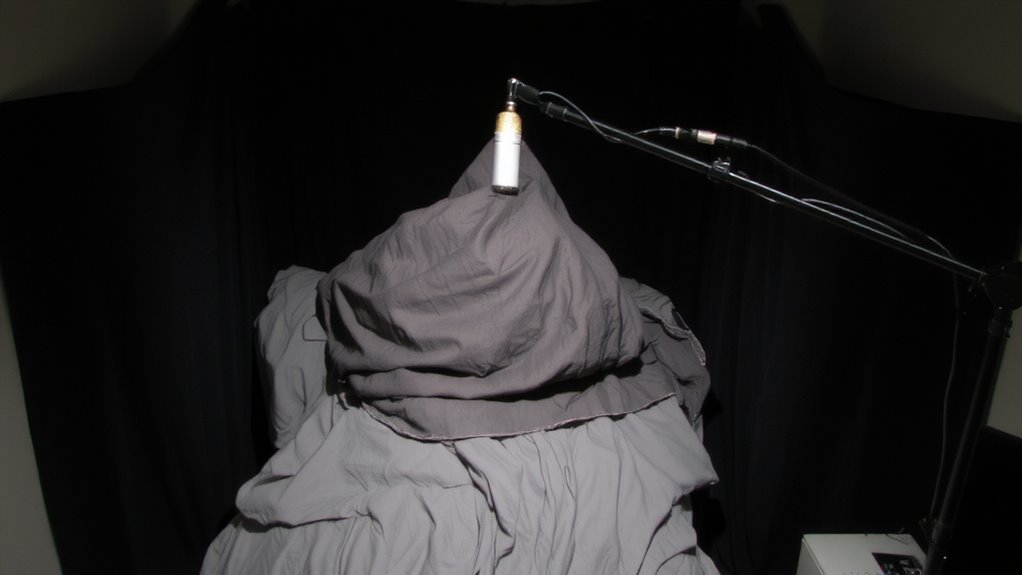
Your vocal booth’s sound isolation hinges on how well you drape the blankets-get this step wrong, and even the sturdiest frame won’t stop sound leakage. Start by layering moving blankets evenly across the frame, overlapping edges by at least 6 inches to block sound bleed. Use Velcro or clips to secure them tightly-loose fabric flaps reduce effectiveness. For better results, pair blankets with purpose-built acoustic panels on the interior, which absorb mid to high frequencies more efficiently than fabric alone. While not as dense as commercial soundproof curtains, heavy-duty moving blankets offer a budget-friendly alternative if layered well. Avoid gaps around corners or seams; even small openings compromise isolation. Keep in mind: this setup reduces echo and outside noise but won’t fully soundproof like a professional studio. Results depend on room acoustics and noise source. Test with a mic prerecord to gauge real-world performance.
Position Your Mic Inside the Vocal Booth
Now that you’ve layered and secured your blankets to minimize sound leakage, it’s time to focus on mic placement-how and where you set up your microphone inside the booth makes a noticeable difference in clarity and tone. Position your mic about 6 to 8 inches from your mouth, slightly off-center from your body to reduce plosives and direct breath noise. Good mic placement helps control acoustic reflection by keeping the capsule away from flat surfaces that bounce sound back. Angle the microphone slightly upward or use a mic clip with gooseneck flexibility to fine-tune alignment. Avoid placing it too close to the blanket-covered PVC corners, as uneven absorption can color the sound. While this setup reduces room noise and flutter, it won’t match a professional treated studio. Performance is solid for voiceover or podcasting, but test levels beforehand-some audio interfaces may still pick up subtle resonances depending on mic sensitivity and source volume.
Boost Recording Quality With Booth Tweaks
If you want noticeably cleaner recordings, small adjustments to your DIY vocal booth can make a real difference-adding a reflection filter behind the mic or layering an extra moving blanket on the rear wall often tightens up the low-mids and reduces bleed. These tweaks enhance acoustic treatment and improve sound absorption, minimizing reflections that muddy vocals. For best results, focus on corners with rolled towels or foam, and avoid overloading thin walls. Keep in mind that while added layers help, excessive blankets can over-dampen and deaden tone.
| Upgrade | Benefit | Trade-off |
|---|---|---|
| Double-layer blankets | Boosts sound absorption | Reduces booth space |
| Corner padding | Improves low-frequency control | Adds clutter |
| Mic reflection filter | Cuts rear reflections | Requires positioning care |
| Gaps sealed with tape | Enhances isolation | May damage surfaces |
On a final note
You’ll get decent vocal isolation with this setup, especially if you use thick moving blankets (at least 0.5 inches) and seal all gaps. The PVC frame (1.25-inch diameter) is light but stable when anchored. It’s not a pro booth-low-end rumble still gets through-but it cuts room echo well. Test mic placement: 6–8 inches from the fabric typically works. Just remember, it’s temporary. Don’t expect full soundproofing; it blocks reflections, not outside noise.