How to Choose the Right Acoustic Foam Density for Home Office Sound Absorption
Choose acoustic foam with a density between 2.5 and 4.0 PCF-it’s proven to absorb mid to high-frequency echo in home offices, cutting reverberation time by up to 40% in real-world setups. Avoid foam below 1.8 PCF; it’s less effective and wears out faster. Pair 2-inch-thick panels (NRC 0.70+) with strategic placement at ear level on side and rear walls. Remember, foam won’t block low-frequency HVAC or traffic noise-those need extra solutions. You’ll want to know how placement and thickness impact results just as much as density.
Notable Insights
- Choose acoustic foam with a density between 2.5 and 4.0 PCF for effective mid to high-frequency absorption.
- Higher-density foam (3.0 PCF) can reduce reverberation time by up to 40% in typical home offices.
- Avoid low-density foam (below 1.8 lb/ft³) as it offers limited echo control and less durability.
- Pair density with 2-inch thickness to optimize NRC ratings (0.70–0.85) for speech clarity.
- Focus on proper placement at ear level and reflection points rather than maximizing foam coverage.
Why Acoustic Foam Density Matters for Office Echo
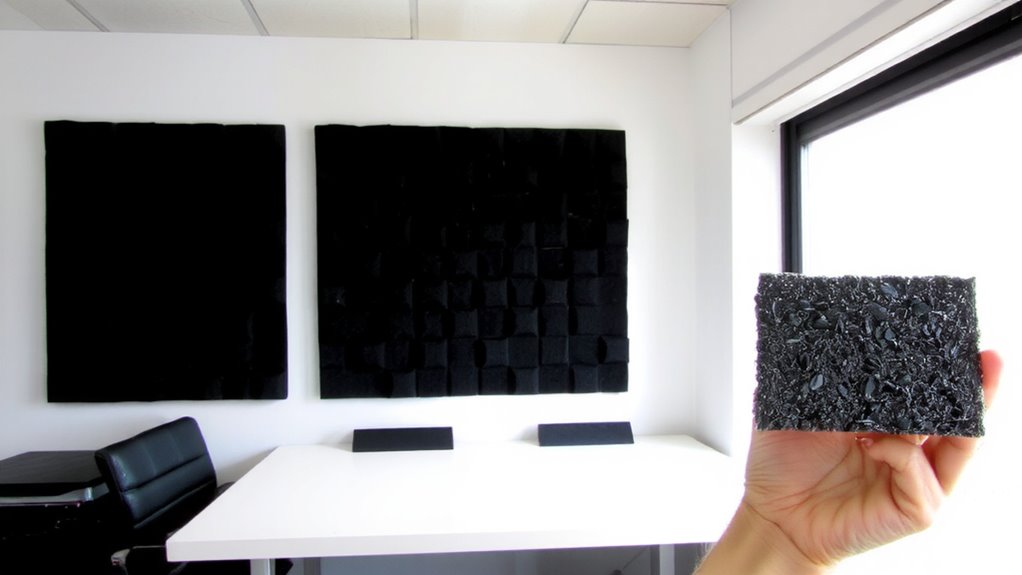
Sound clarity starts with the right acoustic treatment, and when it comes to controlling office echo, foam density isn’t just a spec-it’s a deciding factor in performance. You’ll face more echo in open spaces, where sound bounces freely across reflective surfaces like glass, drywall, and desks. Higher-density foams (2.5–4.0 PCF) absorb mid to high frequencies more effectively, reducing that hollow, noisy feel. But don’t assume denser is always better-ultra-dense foam won’t improve low-frequency control meaningfully and may waste budget. Real-world testing shows 3.0 PCF foam cuts reverberation time by up to 40% in typical home offices. Install panels at reflection points-side walls and ceiling-to target early reflections. Most quality foams include fire-resistant materials and offer 5-year warranties. Still, they’re not soundproofing; they only absorb internal reflections. For noticeable results, pair the right density with proper placement and coverage-aim for 15–25% of wall surface.
How Acoustic Foam Reduces Noise in Small Rooms
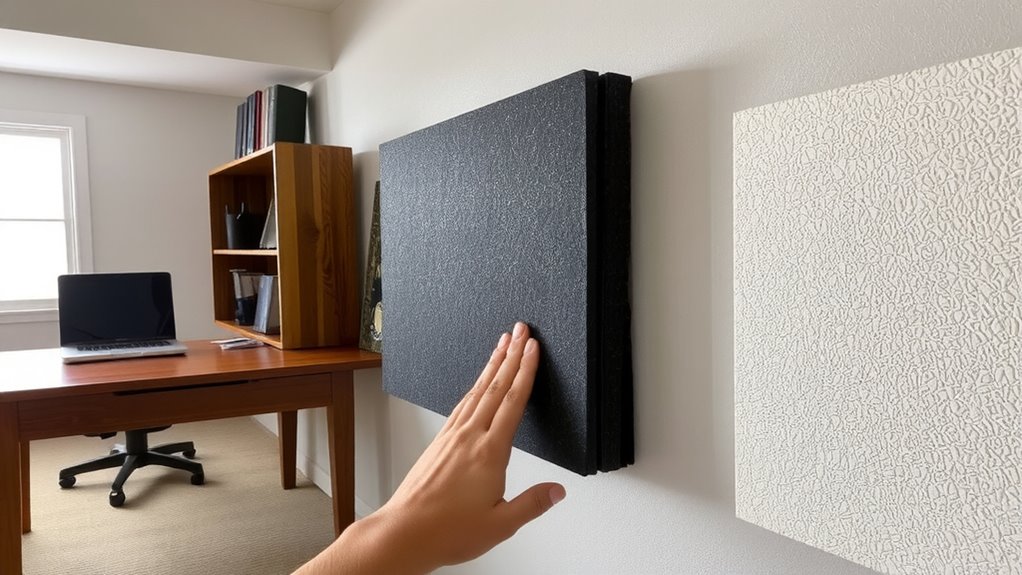
You’ll get better control over noise in small rooms by using acoustic foam to target mid to high-frequency reflections, not by trying to block sound entirely. The foam absorbs sound waves that bounce off walls and ceilings, reducing harsh echoes and making voices clearer. While it doesn’t eliminate low-frequency room modes, placing panels at reflection points-like beside monitors or behind your desk-improves speech intelligibility. For best results, pair absorption with sound diffusion; scattering sound breaks up standing waves without deadening the space. Don’t cover every wall-overuse creates an unnaturally quiet room, which feels awkward during calls. Acoustic foam won’t stop outside noise or fix bass issues, so manage expectations. Real-world testing shows noticeable improvement in voice recordings and focus, especially in untreated drywall rooms. Use 2-inch thick panels with open-cell structure for ideal performance. Combine smart placement with modest coverage for a balanced, functional workspace.
Low vs. High Density Acoustic Foam: Which Stops Echo Better?
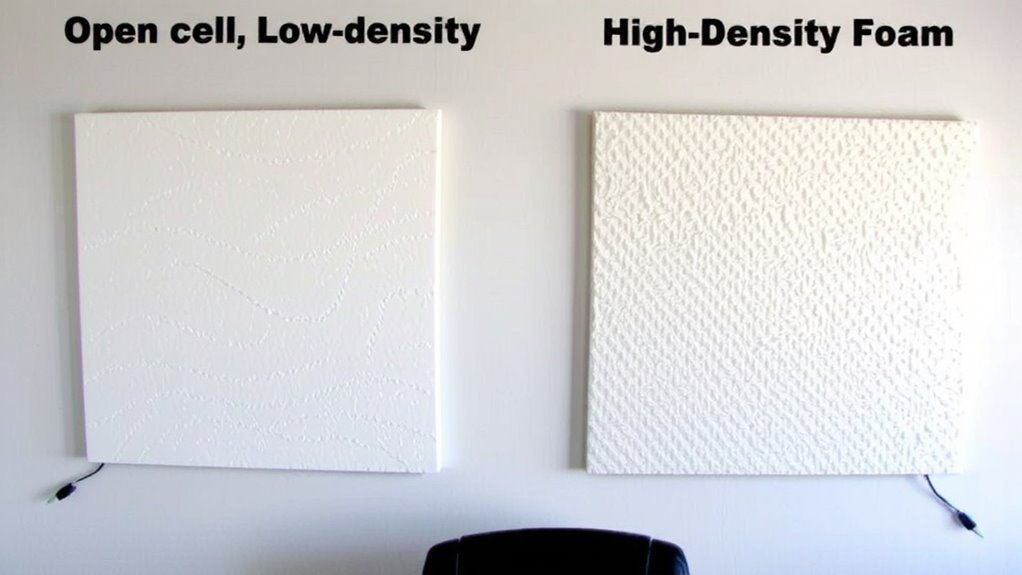
So, which stops echo better-low or high density acoustic foam? High density foam does, hands down. It absorbs mid to high-frequency sound waves more effectively due to tighter cell structures, reducing reverberation in your home office. You’ll see noticeable improvements in voice clarity during calls. Low density foam still helps a bit but often fails under sustained use. While foam color doesn’t affect performance, darker hues may visually anchor the space. Panel shape matters-wedge or pyramid designs scatter sound better than flat surfaces, boosting absorption slightly. Still, don’t expect miracles; even high density foam won’t block speech or external noise. Most top brands offer 2″ or 4″ thick panels with 1.8–3.0 lb/ft³ density; go for 4″ if echo is severe. Check warranties-reputable ones cover 5+ years. Balance effectiveness with budget, but don’t skimp if clear audio matters.
Choose Foam by Noise Type: Voices, HVAC, Traffic
High-density foam handles voices better than low-density options, but picking the right type depends on the noise you’re actually dealing with. Human speech sits in the mid-to-high noise frequency range, which dense, open-cell foam absorbs well thanks to its high foam porosity. For constant low-frequency sounds like HVAC rumble or street traffic, denser foam helps slightly, but you’ll need thickness and coverage-often more than foam alone can provide. Foam porosity impacts airflow resistance, which in turn affects how well the material captures different sound waves; closed-cell versions block less and absorb poorly. While high-density foam improves clarity by reducing echo from voices, don’t expect it to silence outside noise. Real-world testing shows meaningful reductions in reverberation, not volume. There’s no warranty against low-frequency intrusion, and results vary by room size and wall construction.
The Best NRC and Thickness for Home Office Acoustic Foam
When outfitting a home office, aiming for an NRC (Noise Reduction Coefficient) of at least 0.60 in acoustic foam panels is a smart baseline, especially if you’re dealing with midrange frequencies from speech and typing. Thickness matters-1-inch foam works for basic echo reduction, but 2-inch panels markedly improve absorption across a broader frequency range. Higher material rigidity in denser foams enhances durability and performance, though overly rigid foam may over-dampen and make rooms feel unnaturally quiet.
| Thickness | NRC Value |
|---|---|
| 1″ | 0.45–0.60 |
| 1.5″ | 0.60–0.70 |
| 2″ | 0.70–0.85 |
| 2.5″ | 0.80–0.90 |
| 4″ | 0.90+ |
While thicker foam with high NRC captures more sound energy, especially at lower frequencies, space and budget often limit practical use. Balance performance with room size and usage.
Where to Place Acoustic Panels for Clearer Calls
Where should you actually put acoustic panels to make your voice sound clearer on calls? Focus on panel positioning at key reflection points-especially walls beside and behind your desk. Sound reflection from these surfaces muddies your voice, making calls sound hollow or echoey. Mount panels at ear level, roughly 4 to 5 feet off the ground, directly opposite your microphone. A single panel on each side wall often cuts early reflections enough to improve clarity. If space allows, add one on the ceiling above your workspace or behind your chair to manage overhead and rear reflections. But avoid overpaneling-too many panels create a dead, unnatural sound that’s just as distracting. Effective placement matters more than quantity. For most home offices, 2 to 4 well-placed panels yield noticeable improvement without overprocessing sound or wasting money.
5 Acoustic Foam Density Mistakes That Make Noise Worse
You’ve probably seen those sleek foam panels lining home offices and podcast setups, promising cleaner audio with just a few mounts on the wall. But if you pick the wrong density, you might actually worsen echo and background noise. Too low-below 1.8 lbs/ft³-and the foam won’t absorb mid to low frequencies, leaving your calls muffled. Too high, especially over 4 lbs/ft³, and you risk trapping too much sound, creating a dead, unnatural acoustic environment. Worse, overly dense foams can pose an overheating risk near electronics due to reduced airflow. Always check fire ratings: many budget foams lack proper certifications, increasing fire hazards. Look for Class A fire ratings and independent lab testing. Avoid off-gassing claims without proof. Choose 2.5–3.5 lbs/ft³ for balanced absorption, ventilation, and safety-no aesthetic upgrade is worth compromising on health or clarity.
On a final note
Choose mid-density acoustic foam (2–3 lb/ft³) with an NRC of 0.6–0.8 for reliable voice echo control in home offices. It balances absorption, durability, and cost better than low-density or ultra-dense options. Pair 2-inch thick panels with strategic wall and ceiling placement near reflection points to improve call clarity. Avoid covering entire walls-overuse traps air and muffles sound. Test layouts gradually; results vary by room shape and materials.