Hiding Subwoofer Wires With Baseboard-Following Cord Concealers
You can hide subwoofer wires cleanly with baseboard-following cord concealers that snap onto adhesive-mounted brackets, fitting most trims up to 2.5 inches tall. These concealers use strong, no-drill adhesive that holds through temperature changes, but you should wait 24 hours before loading the channel. Most models carry two 16-gauge wires and include corner pieces for tight turns. Match the material to your trim-MDF, wood, or PVC-and paint with a plastic primer for a seamless look. Pre-painted options work, but custom finishes blend best. Warranties typically last 1–2 years, covering adhesive failure or cracks. If you need flush bends or face uneven walls, keep going to see which systems handle real-world flaws best.
Notable Insights
- Baseboard-following cord concealers snap onto mounting brackets to hide subwoofer wires flush with trim.
- Choose a concealer that matches your baseboard height, typically up to 2.5 inches tall.
- Use adhesive-backed models for quick, drill-free installation on clean, dry wall surfaces.
- Paint the concealer to match trim using primer and matte finish for seamless blending.
- Use flexible channels and corner pieces to navigate turns without cracking or gaps.
How Baseboard Concealers Hide Subwoofer Wires
A baseboard wire concealer gives you a clean way to route subwoofer cables along the floor without leaving them exposed, but it’s not a one-size-fits-all fix. You get effective wire management by snapping the cover over pre-installed mounting brackets, hiding cords flush against the baseboard. This method simplifies cable routing in rooms where running wires through walls isn’t practical. Most concealers fit trim up to 2.5 inches tall and use adhesive or screws for stability. While installation is usually quick, results depend on your baseboard’s shape-irregular profiles may leave gaps. Paintable models blend better, but touch-ups are often needed. Units typically come with a 1-year warranty and withstand moderate foot traffic, though heavy furniture shifts can loosen them. They won’t replace in-wall solutions, but for visible runs, they offer a real improvement in neatness without permanent changes.
Choose the Right Size and Style for Your Trim
Get the right fit by measuring your baseboard first-most cord concealers work with trim up to 2.5 inches tall, but exceeding that leaves limited options. Choose a style that matches your trim material, whether it’s MDF, wood, or PVC, so the concealer blends seamlessly. If your baseboard is taller, look for extra-tall models, though these are less common and may need adhesive reinforcement. Pay attention to wire color-most kits include gray or white channels, so pick one close to your wall tone to keep it low-profile. Some kits let you paint the concealer, which helps if you’re dealing with bold trim. While most work on flat or slightly rounded profiles, complex moldings might leave small gaps. Always check the warranty; many brands offer 1–2 years, covering splits or adhesive failure. Matching size and style guarantees clean results without overcommitting to a look that might not last.
Install Without Drilling in Minutes
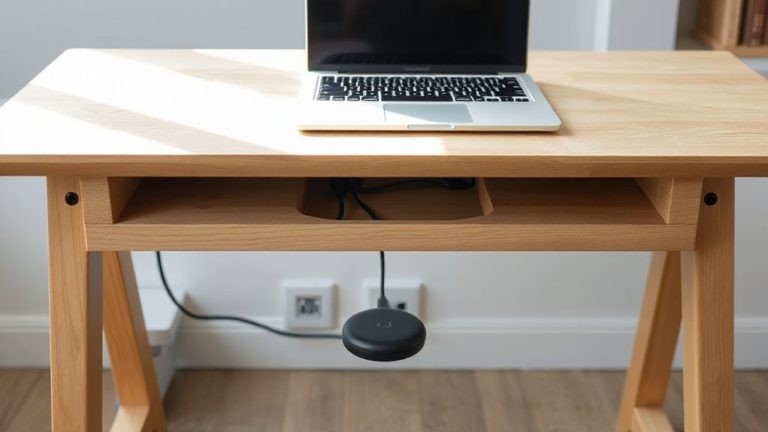
While you might want a permanent solution, many cord concealers let you install without drilling in minutes using strong adhesive-backed channels. These kits offer solid adhesive strength on clean, dry surfaces, holding steady for months-even in temperature shifts. Just snap the cover open, thread your subwoofer wire, and press it into place along baseboards. Cable capacity varies, so check width and height before buying; most handle up to two 16-gauge speaker wires comfortably. For best results, wait 24 hours before routing cables to guarantee maximum bond. A clean desk setup can be achieved with the right cable management solutions for both aesthetics and functionality.
Paint and Patch for a Seamless Look
For a truly seamless look, painting the cord concealer to match your baseboards or walls makes the installation all but disappear. Success depends on proper color matching and surface preparation. First, wipe down the concealer to remove dust and grease-this guarantees paint adheres well. Lightly sand the surface if it’s glossy, then apply a primer made for plastics. Use a small brush to match your baseboard’s paint exactly; even slightly off shades will stand out. Matte or satin finishes blend best with most trim. Paint in thin, even coats to avoid drips. Let each coat dry fully before adding the next. While pre-painted options exist, custom painting gives better results. Keep in mind that repainting isn’t permanent-future wall changes may require touch-ups. The extra effort pays off in invisibility, but test color accuracy on a small section first. Effective cable routing starts with choosing the right cable management solutions for your workspace.
Route Wires Around Corners and Doors
Routing wires around corners and doors cleanly means using the right concealers in the right spots-don’t assume one type fits all. For tight turns, flexible cord channels with hinged lids make wire bending easier without kinking. Rigid raceways may crack during corner wrapping, so choose models rated for 90-degree bends. You’ll want adhesive-backed baseboard concealers for straight runs, but swap to corner-specific clips where walls meet. These hold firm during door swings and foot traffic. Most kits include inside and outside corner pieces-use them. They’re designed to maintain a flush look. Test fit before peeling backing-misaligned concealers look worse than exposed wires. While some brands claim “no-tools installation,” you’ll still need a utility knife for trimming. Warranties often cover material defects, not poor installation. Plan each turn precisely; sloppy corner wrapping shows. A clean setup enhances both safety and aesthetics, making top cable management solutions a smart investment for any office.
On a final note
You’ll get clean, low-profile wire management by using baseboard-following cord concealers-just confirm they fit your subwoofer cable thickness, usually up to 0.5 inches. They install fast with strong adhesive, no drilling needed, and paint easily to match trim. Corners and door clearances need careful measuring; cheap models may crack when bent. Look for brands with a 1-year warranty and test adhesion on your wall type first-results vary on textured surfaces.