How to Label Cable Adapters With Input/Output Specifications
Label your adapters with both input and output specs-voltage, current, polarity, and signal type-using a laminated label maker like a Brother P-touch for durability. This prevents frying devices, especially when mixing 5V and 12V gear. Color-code for quick ID, but make certain labels stay legible under heat and handling. Permanent markers work fast, but fade over time. Accuracy only matters if the hardware’s tested, so verify before trusting. There’s more to get right in maintaining long-term reliability.
Notable Insights
- Label both ends of the adapter with input/output voltage, current, and polarity to prevent mismatch errors.
- Include signal type (e.g., HDMI, USB 3.0) and key specs like resolution or data speed for functional clarity.
- Use durable, laminated labels from a label maker to resist fading, heat, and frequent handling.
- Apply color coding and project tags to quickly identify adapters in shared or complex setups.
- Place labels near both ends and ensure text is readable regardless of cable orientation.
Why Labeling Cable Adapters Prevents Costly Mistakes
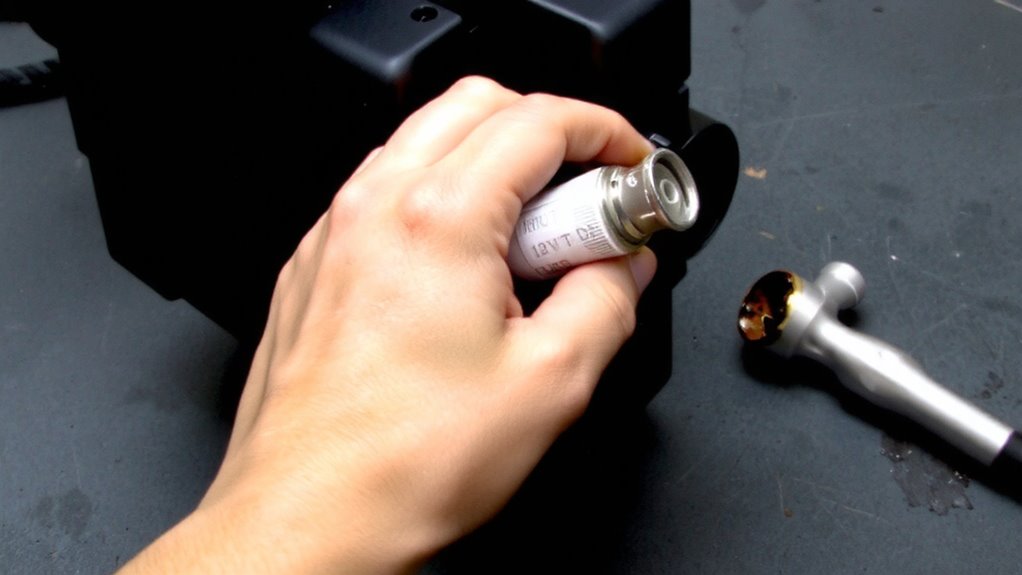
While it might seem like a small step, labeling your cable adapters with clear input/output specs can save you from expensive errors down the line. You risk voltage mismatch when connecting devices without verified ratings, potentially frying sensitive electronics. A simple mix-up between 5V and 12V can kill a drive or corrupt data. Proper labels help maintain signal integrity by ensuring you’re not forcing signals through incompatible paths, which degrades performance or causes dropouts. You’ll avoid time-consuming troubleshooting when setups fail. Though labeling takes a few extra minutes, the payoff is clear: fewer mistakes and longer device lifespans. Just don’t assume labels alone fix poor-quality adapters-always pair them with tested, well-built hardware. Accuracy matters, so double-check each spec before marking.
What Specs to List on Every Cable Adapter Label
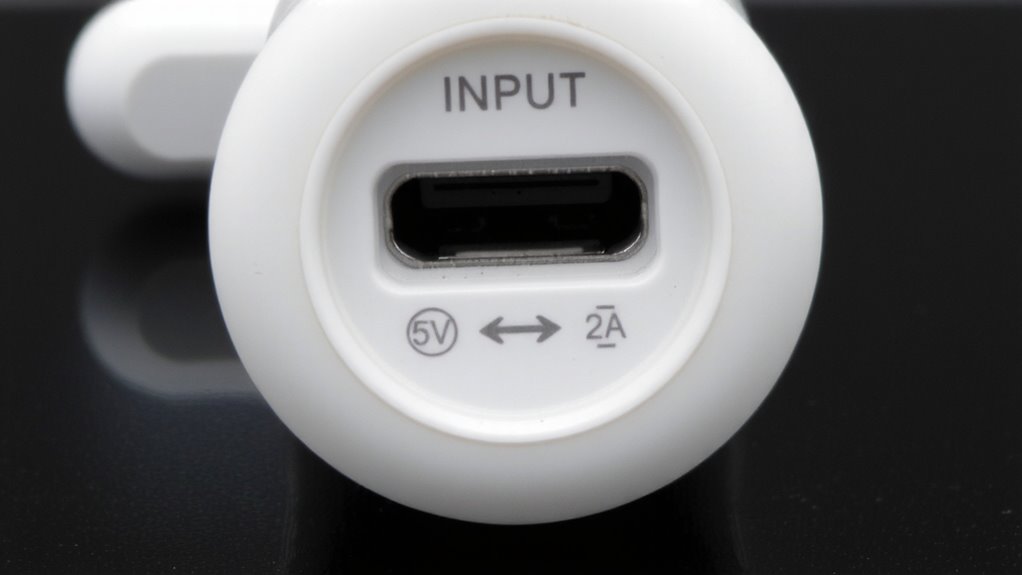
Clarity starts with the right specs-label every cable adapter with its voltage, current, and polarity at both input and output ends. Always include the voltage rating so you don’t risk frying sensitive devices. You’ll also want to note the signal type, like analog audio, HDMI, or USB 3.0, so it’s clear what the adapter supports. This isn’t just for show-mismatches cause failures. Current (in amps or milliamps) helps confirm power compatibility, especially with wall adapters. Polarity matters just as much, especially for DC connectors. Be precise: a wrong symbol can mislead even experienced users. While you’re at it, add a brief identifier like “LCD monitor” or “laptop charger” for context. But remember, the label must stay legible-faded ink or peeling tape defeats the purpose. These specs together prevent errors, but only if they’re accurate and complete.
Best Tools for Labeling Cable Adapters Durably
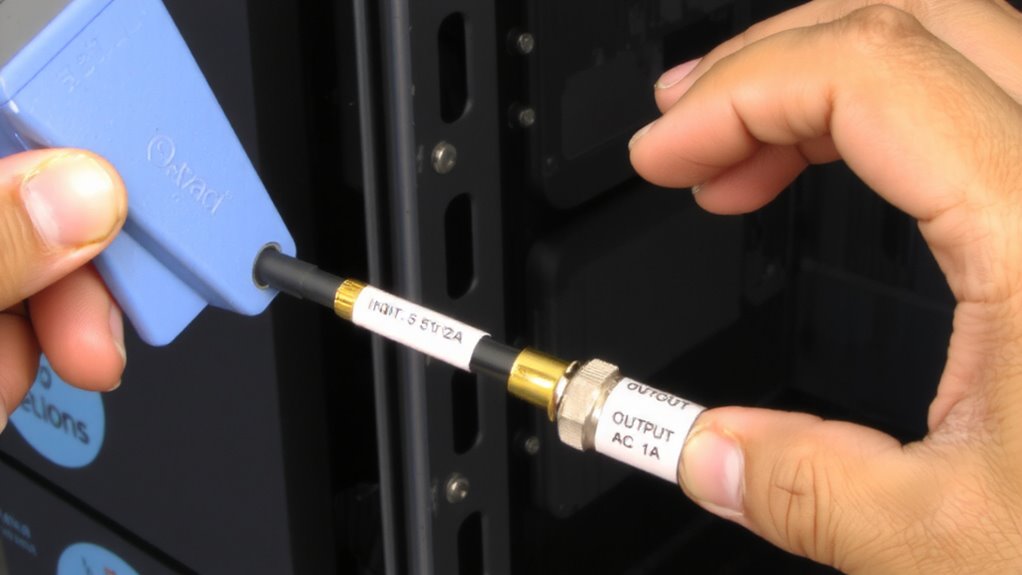
You’ll want labels that last as long as your cables do, especially when managing a mix of power and signal adapters in a cluttered workspace. For reliable identification, your best labeling tools are laminated label makers like the Brother P-touch series or durable write-on tags from 3M. These use durable materials such as polyester tapes and weather-resistant adhesives that withstand abrasion, heat, and frequent handling. Laminated labels resist fading and peeling over years, even in high-touch or industrial environments. However, they require a label maker-adding cost-and take slightly longer to apply than stickers. Basic vinyl labels may loosen over time, especially under temperature swings. If you’re labeling in bulk, thermal-transfer printers offer long-term durability with smear-proof output. Just make certain the material matches your environment: outdoor or high-vibration setups need stronger adhesion and thicker backing. Choose tools that balance speed, longevity, and repairability. Proper cable hiding options can also significantly reduce visual clutter and improve access to labeled adapters.
How to Label Cable Adapters in 5 Minutes
Since time matters when taming cable clutter, getting adapter labels done in under five minutes is doable with the right prep and tools-just don’t expect perfect durability without some trade-offs. Grab a fine-tip permanent marker and pre-cut label stickers; jot down the cable types and connection speeds for quick reference. USB-C to HDMI? Write it. Supports 4K60Hz? Include that. Stick labels near each end so you see specs no matter which way the cable’s plugged in. Most markers resist fading for months, but sunlight and frequent handling will wear them down. These labels won’t last like laminated tags, but they’re accurate and immediate. For short-term setups or personal use, speed beats permanence-just reapply if needed. You’ll cut troubleshooting time and avoid mismatched cable types. It’s a fast, low-cost fix that works, provided you accept you might relabel occasionally. Consider using a cable management solution to keep labeled cords organized and easily accessible.
Organize by Color and Project for Instant ID
A color-coded system paired with project-specific labeling cuts through cable confusion fast, letting you identify the right adapter at a glance. Use color coding to group adapters by function-red for video, blue for audio, green for network-so matching cables to devices becomes intuitive. Pair that with project tagging, like “Conference Room A” or “Studio Monitor,” to prevent mix-ups during setup or troubleshooting. Most pro-grade label makers support both text and color strips, making this combo easy to implement. Just remember, while color coding speeds identification, it’s not universal-team members might interpret hues differently. Project tagging helps, but only if labels are consistent and updated when gear moves. Don’t rely solely on memory; document your scheme in a shared folder. This method works best in shared workspaces or complex setups, though minimalist home offices may find it overkill. It’s efficient, but only if maintained. For optimal performance, pair your organized cables with Expert Picks for reliable, high-speed connections.
On a final note
Labeling cable adapters saves time and prevents damage, especially with mixed input/output specs. Use durable labels listing voltage, current, and connector types-critical for avoiding mismatches. A handheld label maker with laminated tapes holds up best. Spend five minutes organizing by color and project for quick identification. Just don’t rely on labels alone-double-check specs if a device acts up. Labels help, but aren’t foolproof.