How to Create a Master Cable Labeling Chart for Home Office Systems
Start by labeling both ends of every cable with consistent IDs using durable, laminated polyester or vinyl labels from a thermal printer-handwritten ones won’t last. Pair this with color-coded sleeves or zip ties (like blue for monitors) to speed up identification, but don’t rely on color alone. Trace each cable from device to outlet, mapping all connections in a master chart you keep updated after any tech change. Waterproof, matte-finish labels with acrylic adhesive stick best long-term, though they cost more. This system cuts downtime during reconfigurations and audits. Expect minor setup effort now to save repeated frustration later-especially when new gear arrives.
Notable Insights
- Assign consistent labels to both ends of each cable using clear, durable printed tags.
- Use a master chart to map every cable from device to outlet with standardized naming.
- Pair color-coding by function with labels to speed up identification and reduce errors.
- Choose waterproof, laminated polyester labels with thermal printing for long-lasting durability.
- Update the master chart regularly during tech changes and conduct periodic cable audits.
Stop Guessing Which Cable Goes Where
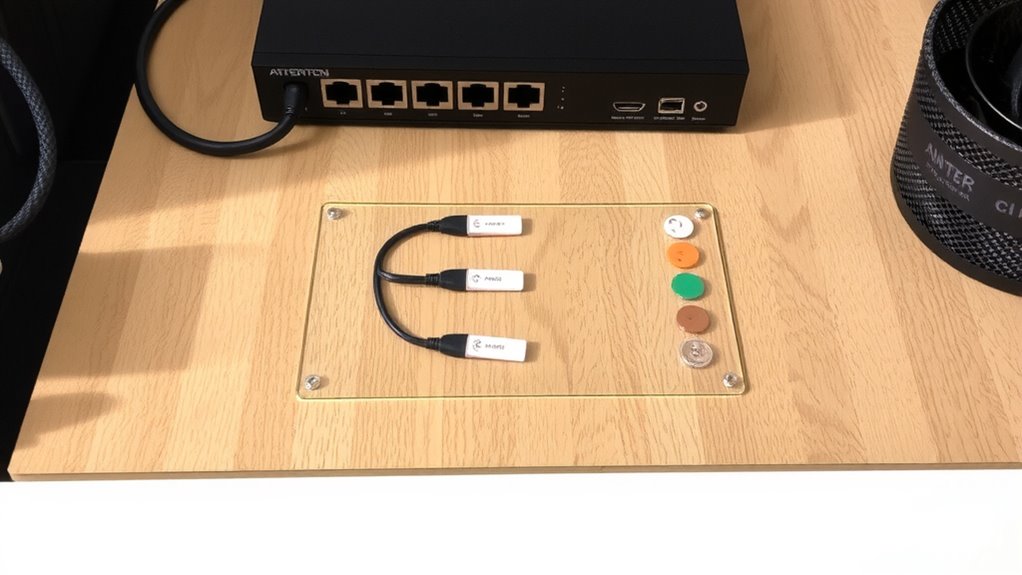
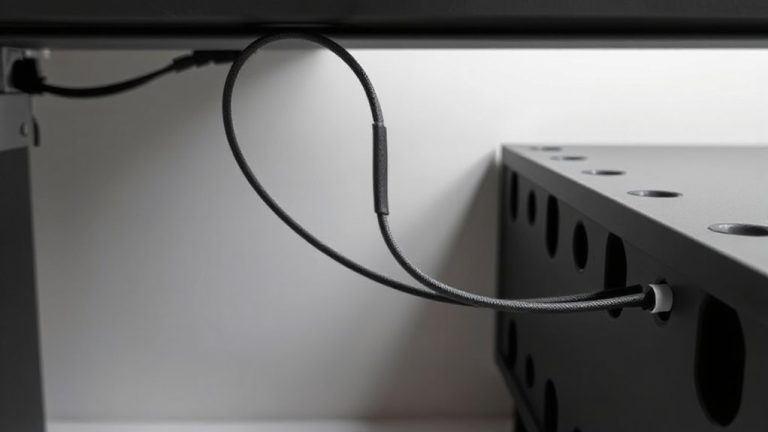
Why stumble through a jungle of cords every time you need to trace a connection? You don’t have to live with cable confusion. A master labeling chart eliminates guesswork, saving time when troubleshooting or upgrading devices. Without clear labels, labeling mistakes creep in-like swapping monitor and charger cables-causing downtime or even equipment issues. You’ll want consistent IDs that match both ends of each cable and their destinations. This isn’t about buying the fanciest tags; it’s about accuracy and repetition. Handwritten scraps peel and fade; printed, laminated labels last longer and stay legible. While color-coding helps, don’t rely on it alone-colors can look alike under poor light or for colorblind users. Pair each color with a clear ID. You’ll cut errors, especially during reboots or moves. Yes, it takes effort upfront, but the payoff in reliability is worth it. Just double-check labels before finalizing-mistakes here only perpetuate the mess you’re trying to fix. Combining your labeling system with effective cable hiding options ensures both organization and a clean, professional desk appearance.
Pick the Right Labeling Tools
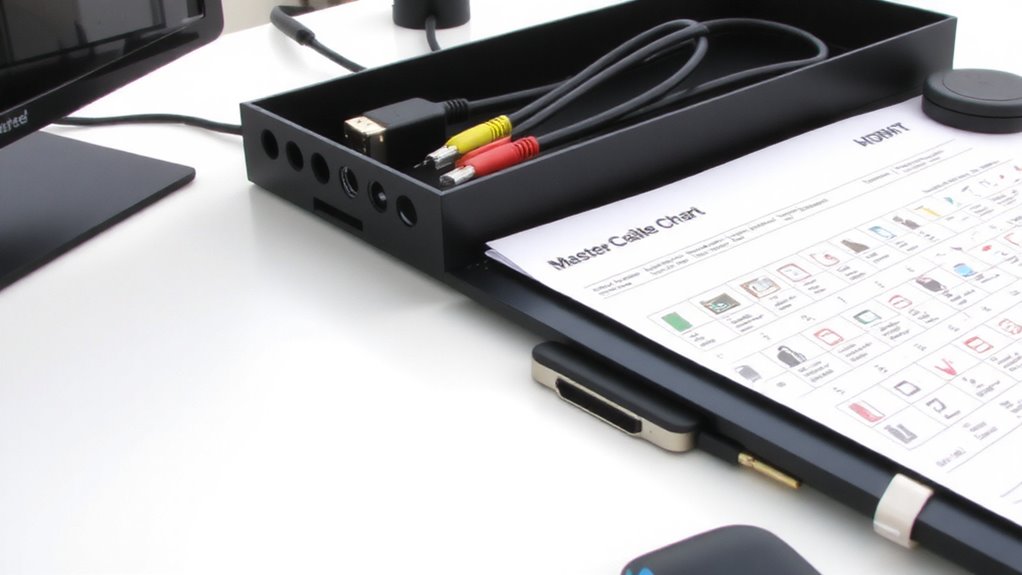
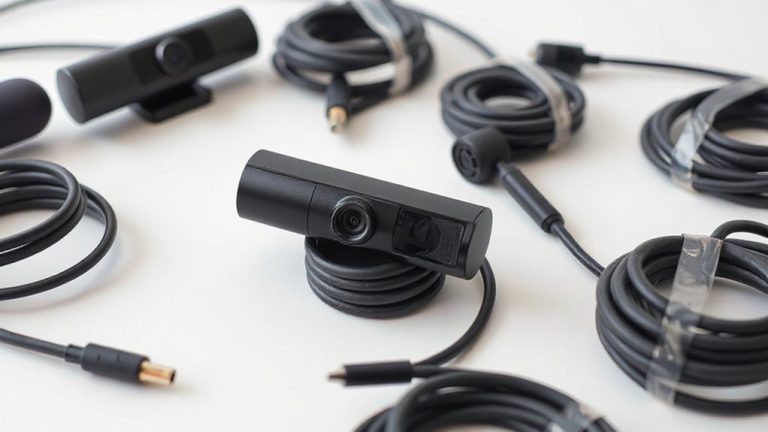
A reliable labeling system starts with the right tools-and your choice makes all the difference in durability and readability. You’ll want label materials like polyester or vinyl if you need longevity, especially near windows or in warm spots where paper labels fade or peel. Print methods matter just as much: thermal printing gives crisp, smudge-proof results without ink, while direct thermal labels can yellow over time. Laser-printed labels work well for short-term setups but may chip at the edges. Consider a handheld label maker like the Brother P-Touch for consistent sizing and adhesive strength, or a desktop model if you’re labeling dozens of cables. Just avoid cheap sticker tags-they snag and deteriorate fast. Test a few label types under real conditions, checking adhesion after two weeks. Your best bet? Waterproof, matte-finish labels with strong acrylic adhesive, paired with high-contrast print methods for clear, lasting identification.
Map Every Cable From Desk to Outlet
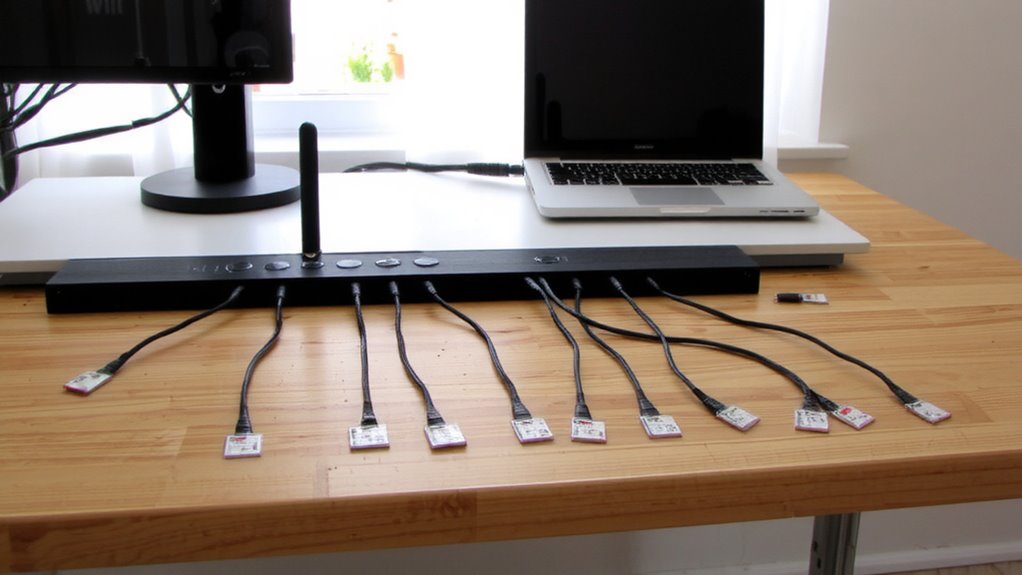
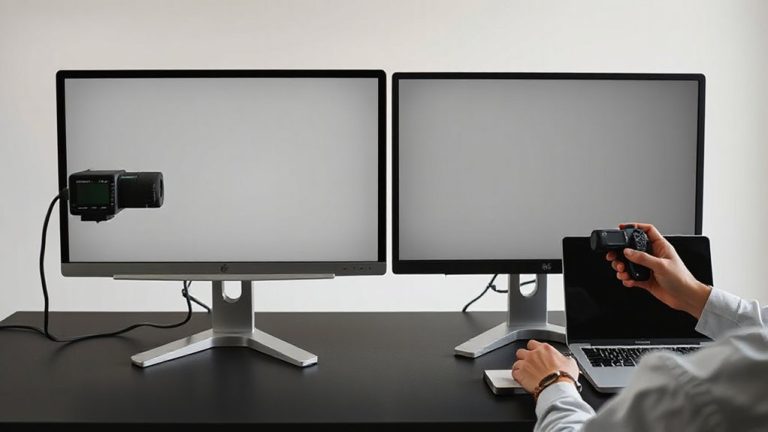
Once you’ve got your labeling tools in hand, the next move is to trace and document every cable running from your desk to its endpoint, whether that’s a power strip, outlet, or network jack. This step is essential for accurate connection mapping and efficient cable routing. Start at your devices-laptop, monitor, router-and follow each cable to its destination, noting what it connects and where it terminates. Label both ends as you go to avoid confusion later. Use consistent names (like “Monitor Power” or “Ethernet to Modem”) so your chart stays clear. Poor mapping leads to tangles and troubleshooting headaches, especially during upgrades or moves. While time-consuming, this process pays off during reboots or outages. Skip it, and even labeled cables won’t save you from guesswork. Be thorough-accurate documentation beats memory every time. Incorporating cable management solutions can further streamline your setup by reducing clutter and improving accessibility.
Color-Code Cables by Device or Function
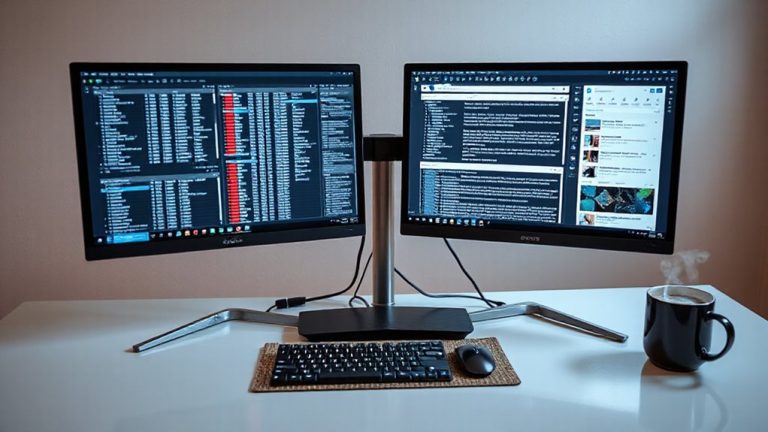
Color-coding your cables by device or function cuts through the clutter and makes your home office setup far easier to manage. Cable organization improves markedly when you assign specific colors to devices-like blue for monitors, red for power, or green for network gear-so you can identify connections at a glance. Color identification reduces errors during troubleshooting or reconfiguration. Use standardized colored zip ties, sleeves, or plugs that won’t fade under desk lighting. While not all cables come in varied hues, third-party accessories offer reliable options with durable pigments. Be consistent: mix brands if needed, but stick to your system. Note that over-relying on color alone risks confusion if you work in low light or have color vision differences-pair it with labels for best results. It’s a simple upgrade with real payoff, but only if your scheme stays logical and scalable.
Update Your Chart When Tech Changes
You’ve set up a clean, color-coded system and labeled every cable with purpose-now keep it useful by updating your master chart whenever you add, remove, or relocate equipment. A quick cable audit every few months catches mismatches before they cause confusion. During a tech refresh, when you swap out routers, monitors, or docking stations, outdated labels create more problems than they solve. Update device names, cable types (like HDMI 2.1 or Cat 6a), and ports right away. Think of your chart as a living document-ignore it, and tracing connections later takes twice as long. Yes, maintenance takes effort, but it prevents miswiring critical setups. Labelers with laminated tape last longer but cost more. Permanent markers fade. Balance durability with budget. Stay consistent, and your system stays reliable. For reliable, long-lasting labels, consider using one of the best label makers based on your specific needs.
On a final note
You’ll save time and frustration with a clear cable labeling chart-just use consistent labels and a printed master map. Stick with abrasion-resistant labels like Brother laminated tapes or snag-free flip tags for reliability. Test your system over two weeks, checking for peeling or confusion. Update it quarterly, especially after adding new gear. No label lasts forever, so balance upfront effort with how often your setup actually changes.