How to Optimize Monitor Placement for a Home Office With Frequent Screen Rotation
Pick a monitor with a reinforced hinge rated for 10,000+ rotations and pair it with a gas-spring arm that supports smooth, wobble-free pivoting. Keep the top of the screen at eye level in both orientations, adjusting mount position to prevent drift. Maintain 20–30 inches of viewing distance, stepping back slightly in portrait mode. Use matte finishes and blinds to cut glare, then fine-tune brightness and scaling after turning-your setup’s stability depends on these details, and there’s more to get right.
Notable Insights
- Choose a monitor with a reinforced rotation mechanism rated for at least 10,000 turns to ensure long-term durability.
- Use an adjustable monitor arm with a gas-spring mechanism for smooth, stable rotation and multi-axis positioning.
- Position the top of the screen at or slightly below eye level in both landscape and portrait modes to prevent neck strain.
- Maintain a viewing distance of 20–30 inches, adjusting slightly farther in portrait mode to reduce head movement.
- Minimize glare with matte screens, proper lighting alignment, and anti-reflective coatings, especially during frequent rotation.
Choose a Monitor That Handles Frequent Rotation
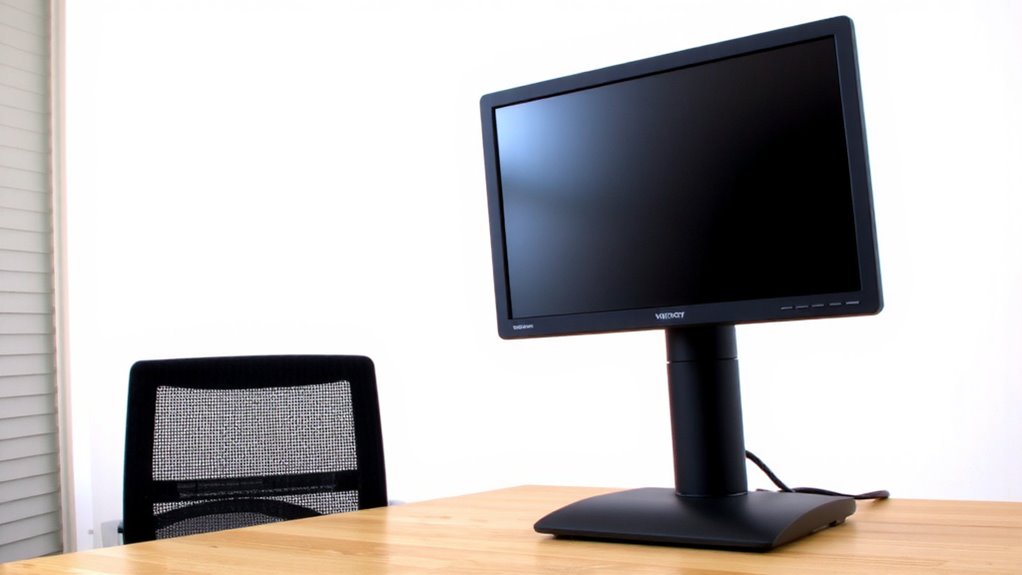
Flexibility in your workspace starts with a monitor built for movement, not just static use-so pick one that rotates smoothly between landscape and portrait without compromising stability. Look for models with a reinforced rotation mechanism rated for at least 10,000 turns; this guarantees long-term monitor durability under daily use. Solid hinges should require deliberate force to move-too loose, and the screen wobbles; too tight, and frequent adjustments become tiring. Test the base or stand for rigidity: if it shifts during rotation, you’ll lose alignment over time. Monitors with steel-reinforced necks and matte finishes resist wear and glare better than plastic alternatives. Check manufacturer warranty-three years is ideal, especially if you plan heavy rotation. Don’t assume premium price means reliability; verify independent lab results for stress testing. Some ultrawide models, while appealing, often lack smooth portrait support due to size constraints. Choose wisely-the right balance of build quality and functional design saves time and frustration. For added stability during frequent pivoting, consider pairing your monitor with an ergonomic monitor stand.
Use an Adjustable Arm for Smooth Rotation
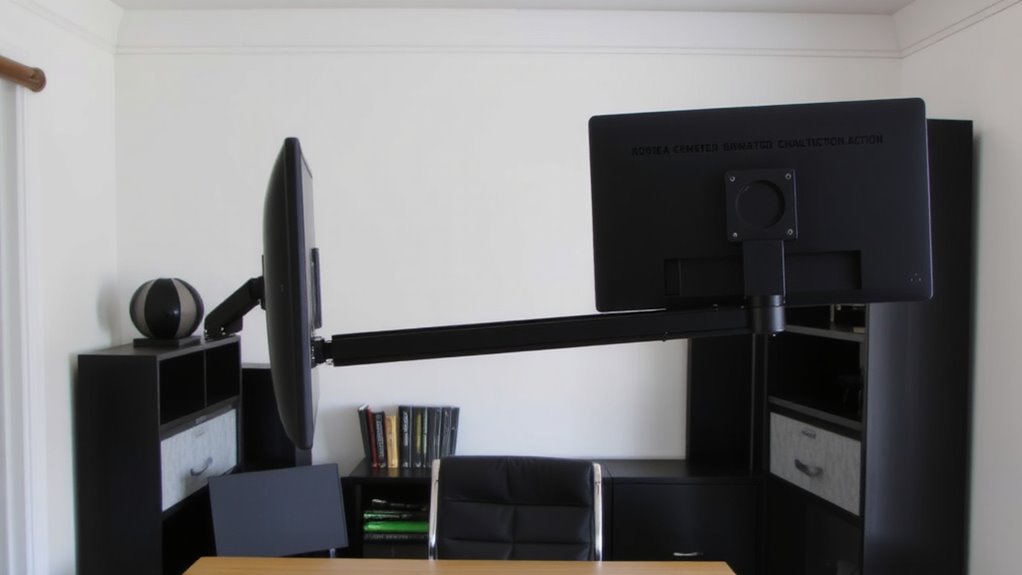
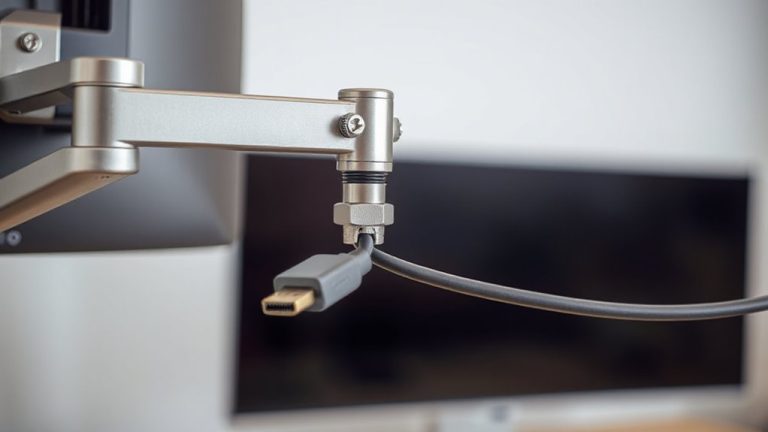
You’ve picked a monitor built for rotation-now let it perform. An adjustable monitor arm gives you the ergonomic design needed to shift smoothly between landscape and portrait without straining your neck or workspace. Look for arms with gas-spring mechanisms; they offer rotation stability and can handle frequent pivoting without drooping or wobbling. Most high-quality arms support 13–32-inch screens and adjust on multiple axes, so you can fine-tune height, tilt, and depth. Mounting one typically requires a solid desk edge or grommet hole-check clamp specs to avoid slippage. While arms improve flexibility, they do limit how many monitors you can add side-by-side. Opt for models with at least a 3-year warranty and tested pivot mechanisms; real-world use shows cheaper arms wear out fast. It’s a smart upgrade, but only if your desk can handle the hardware.
Keep Eye Level in Both Orientations
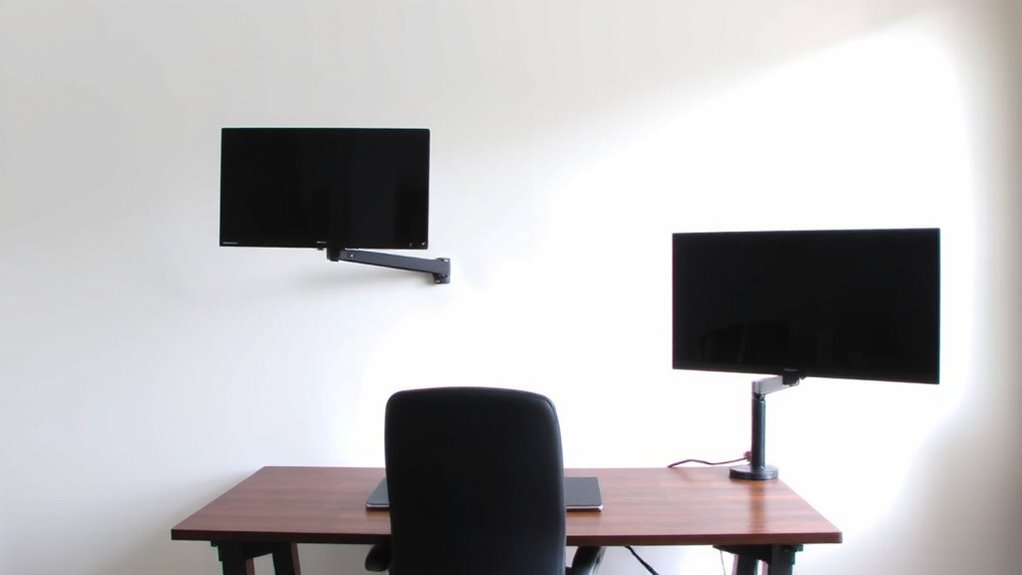
How often do you switch between landscape and portrait modes only to find your eyes straining at the top or bottom of the screen? You need consistent eye-level alignment in both orientations for proper ergonomic alignment and lasting visual comfort. When rotating your monitor, the top edge should stay roughly at or slightly below eye level-this usually means adjusting the mount’s pivot point. Many adjustable arms let you reposition the center of gravity, so the screen doesn’t drift upward in portrait mode. Test this by sitting upright and checking if you can view the entire display without tilting your head. Even a 15-degree misalignment can cause neck strain over time. Keep in mind that taller monitors may still force upward gaze in portrait unless mounted lower. A well-balanced arm helps, but your desk height and chair settings play equal roles. Don’t assume one setup fits all-individual adjustments are essential. For those using a laptop as a primary screen, pairing it with an ergonomic laptop stand can further improve alignment during screen rotation.
Set Viewing Distance for Each Mode
While your monitor’s orientation affects more than just screen space, getting the viewing distance right in both landscape and portrait modes is critical for minimizing eye strain and maintaining focus. You should sit about 20–30 inches from the screen, adjusting slightly based on resolution and screen size. In portrait mode, you might need to scoot back a few inches to comfortably view the full height without excessive head movement. Proper depth placement also supports better cable management, reducing slack or tension when rotating. Make certain your power positioning allows for smooth shifts-some mounts interfere with ports or power bricks. Always test the distance after rotation; what works in landscape may feel cramped or stretched in portrait. Consistency matters, but flexibility guarantees comfort. Poor spacing leads to fatigue, no matter how good your monitor or mount. A high-resolution display enhances clarity at optimal distances, especially when using a best luxury laptop for demanding visual tasks.
Reduce Glare When Rotating Your Screen
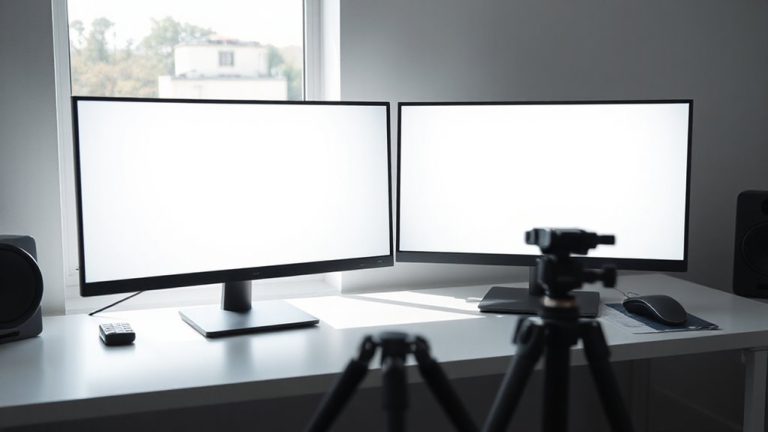
If you don’t address ambient light when rotating your screen, glare can quickly undermine the ergonomics you’ve carefully set up. Position your monitor perpendicular to windows and use blinds to control ambient lighting, especially during peak daylight. When rotating your screen, the angle shifts relative to light sources, making glare worse in portrait or tilted modes. An anti reflective coating helps considerably, cutting harsh reflections without distorting colors-just don’t expect it to eliminate all glare in brightly lit rooms. Matte screens typically perform better than glossy ones under varied lighting. You might need to reposition your desk or add a monitor hood when switching orientations. Keep in mind that while anti reflective coating improves comfort, it can slightly reduce screen clarity in low light. Test different placements throughout the day to find the most consistent balance.
Tune Brightness and Scaling After Rotation
Since rotating your monitor changes how light hits the screen and alters the viewing area, you’ll want to tweak brightness and scaling right away to maintain comfort and readability. You’ll likely need to lower brightness in portrait mode, as the screen captures more ambient light, while scaling settings may stretch or compress content if not adjusted post-rotation. Most modern operating systems auto-detect orientation, but you should manually verify display scaling to prevent text from appearing too small or too large. For accurate work, perform a quick color calibration to maintain consistency across orientations-especially if you’re editing photos or documents with branding. Also, check refresh alignment to avoid minor stutter, particularly on high-refresh-rate displays where timing mismatches can occur after rotation. These steps aren’t always needed, but they make a noticeable difference in visual comfort and productivity over long sessions. Don’t skip them if precision matters.
On a final note
You’ll get the best results using a monitor with a swivel-capable mount and a VESA-compatible articulating arm-it guarantees smooth shifts between landscape and portrait. Keep the top of the screen at or slightly below eye level in both orientations and maintain a 20–30 inch viewing distance. Adjust brightness and scaling each time you rotate, since auto-settings often underperform. Just remember, even high-end arms wear over time with frequent use, so check warranty and load limits.