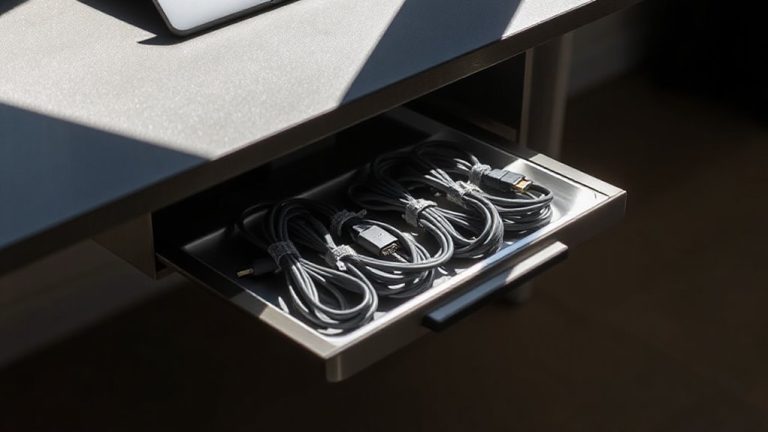
How to Replace Felt Cable Channels Before They Shed Fibers Onto Devices
Replace worn felt in cable channels every 18–24 months to prevent static damage and fiber shedding. Use 3–5mm recycled polyester felt with 15–20 oz/inch adhesive strength to guarantee durability and secure fit. Inspect channels regularly for thinning or lint buildup, especially at cable bends. Remove old felt with a plastic tool and isopropyl alcohol, then install new felt smoothly on clean surfaces. Doing it right means long-term protection without residue or damage-there’s more to get right than just the material choice.
Notable Insights
- Inspect cable channels every few months for thinning, shedding, or loose fibers to catch wear early.
- Use a plastic pry tool to gently remove old felt, applying heat if needed to soften adhesive.
- Clean residue with isopropyl alcohol and a non-abrasive cloth to ensure a proper bonding surface.
- Install 3–5mm closed-cell felt with 15–20 oz/inch adhesive strength for secure, low-friction lining.
- Press felt smoothly into place and maintain weekly with a dry microfiber cloth to prevent fiber buildup.
How Worn Felt Damages Your Devices
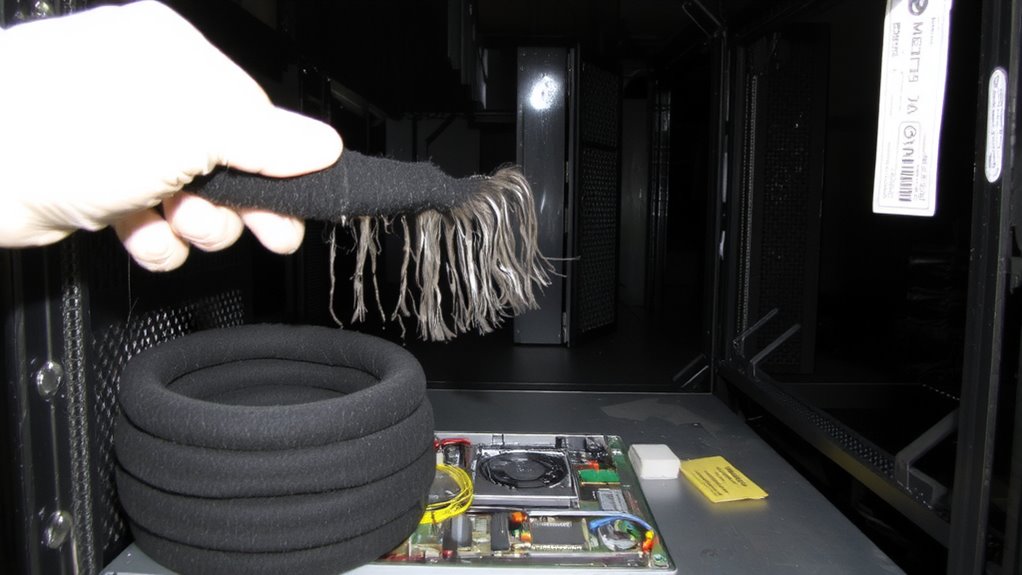
Frayed, compressed, or missing felt in cable channels isn’t just an eyesore-it’s a red flag for potential device damage. You’re risking static buildup when bare metal rubs against cables, especially in dry environments where charge discharge can fry sensitive ports. That worn felt also compromises airflow, trapping heat and contributing to device overheating over time. Even budget gear suffers when insulation fragments jam moving parts or block vents. Replacing damaged channels isn’t just cosmetic-it’s preventive. Most OEM kits use 3–5mm closed-cell felt, tested for low outgassing and friction resistance, so replacements should match those specs. Third-party options might save money, but often lack durability or precise fit, leading to premature wear. A proper fix takes under 20 minutes with basic tools and extends device life markedly-just don’t skip disconnecting power first. While not all setups face immediate failure, ignoring wear increases long-term risk without clear warning signs.
Spot Felt Shedding in Cable Channels Early
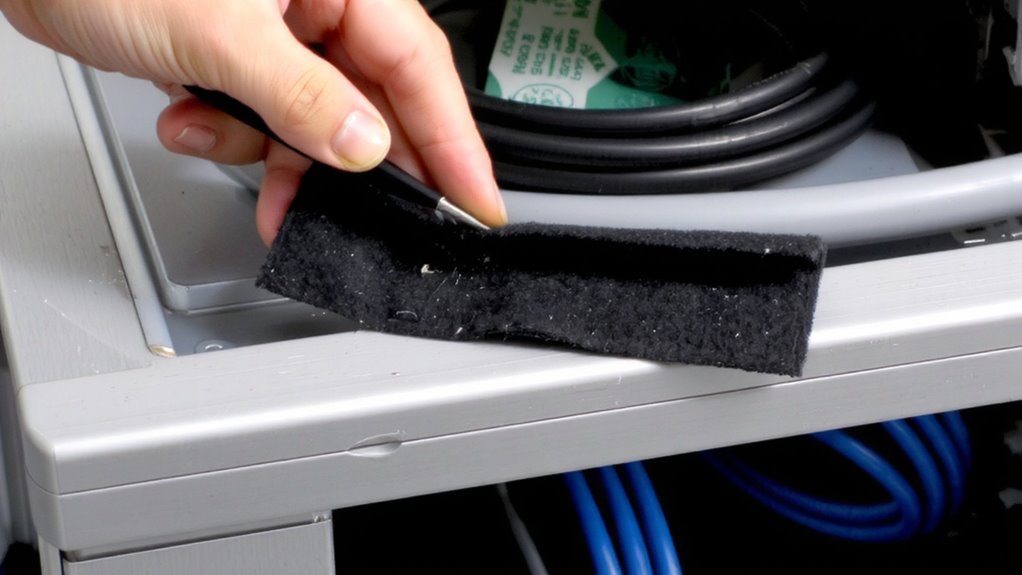
Why wait for fraying or device issues when you can catch felt shedding early? Early detection saves your gadgets from fiber buildup and keeps cable management smooth. You should perform a quick visual inspection every few months-just run your fingers along the channel’s edge and check for loose fibers or fuzzy clumps. Look closely where cables bend or exit the channel, since those spots wear fastest. If you see thinning fabric or lint gathering near devices, shedding’s already happening. Catching it now means you avoid contamination inside ports or hinges down the line. Visual inspection takes seconds but prevents long-term risks. Keep in mind, some felt types shed more, even when new. Early detection won’t fix poor materials, but it gives you time to plan a replacement before damage occurs. Stay proactive-small signs today can mean big savings tomorrow. Upgrading to a best cable management solution can prevent shedding issues altogether with more durable materials.
Pick the Best Felt for Cable Channels
| Feature | Recommended Spec |
|---|---|
| Material | Recycled polyester blend |
| Felt thickness | 3–5 mm |
| Adhesive strength | 15–20 oz/inch peel force |
| Density | 0.35–0.45 g/cm³ |
| Temp resistance | Up to 185°F (85°C) |
Test adhesion for 24 hours before final placement, and avoid overly thick felt-it can crowd the channel and increase friction. While premium felts cost more, they last longer and reduce fiber shedding markedly.
Remove Old Felt Without Damage
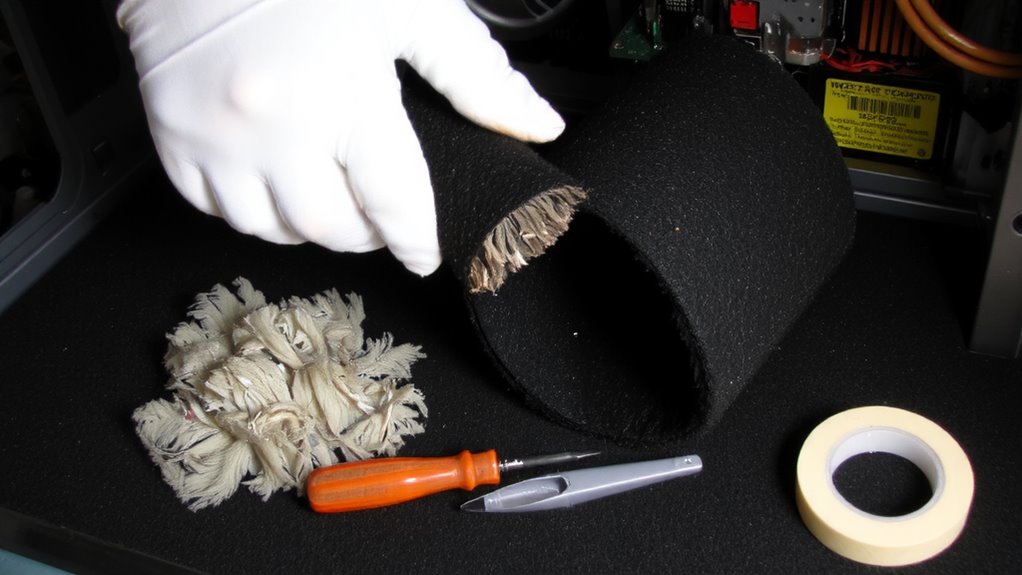
Now that you’ve picked a durable, well-spec’d felt with the right thickness and adhesive strength, it’s time to clear the way for installation by removing the old lining. Start by gently lifting a corner with a plastic pry tool-metal can scratch finishes, so avoid it. Peel slowly to prevent tearing the backing or damaging the substrate. If the felt resists, apply heat from a hair dryer to soften the adhesive, making removal smoother. Once off, you’ll likely face adhesive residue. Wipe it gently with isopropyl alcohol and a non-abrasive cloth to complete surface preparation. Don’t rush this step-any leftover gunk compromises adhesion. Some residue might need light scraping, but press too hard and you risk marring the surface. This process isn’t always clean, especially on older units, so patience pays. Proper removal guarantees the new felt bonds securely and lasts.
Install New Felt Without Damaging Surfaces
With smooth, clean surfaces prepped and free of old adhesive, you’re ready to lay down the new felt cable channel lining-doing it right means aligning it perfectly on the first try, since repositioning can stretch the material or leave sticky residue. Start by checking for color matching, especially if replacing sections rather than full runs; even slight shade differences stand out under office lighting. Peel off the backing slowly and press the felt straight into place, smoothing from one end to the other. For delicate surfaces like powder-coated metal or matte finishes, consider adhesive alternatives such as removable double-sided tape or low-tack adhesive strips to reduce long-term risk. These options offer decent hold but allow easier removal, though they may require more frequent checks for lifting. Always test a small corner first. Precision matters-measure twice and align edges flush to avoid unsightly gaps or bunching. Upgrading to cable management solutions can significantly reduce future shedding and tangling issues.
Maintain Felt Cable Channels to Stop Lint Buildup
You’ve got the new felt cable channels installed cleanly, aligned flush and free of bubbles or residue. Now, regular felt cleaning is key for long-term lint prevention. Wipe them weekly with a dry microfiber cloth to catch loose fibers before they spread. For deeper cleaning, use a handheld vacuum with a soft brush attachment-avoid wet methods, as moisture can warp adhesive or degrade backing. Dry brushing works, but go gently to prevent fraying edges. These steps cut lint buildup near ports and vents, protecting your devices. Still, even well-kept felt sheds slightly over time, especially in high-friction zones. No maintenance routine eliminates shedding permanently-only delays it. Consider that trade-off when choosing felt over rubber or silicone alternatives. While felt looks sleek and dampens cable noise, it demands more upkeep. For best results, pair your cleaning habits with periodic inspections for wear.
On a final note
Replace worn felt cable channels promptly to prevent lint damage to devices. High-quality, tightly woven felt reduces shedding and lasts longer. Install carefully using adhesive-backed strips to avoid surface damage. While effective, even good felt needs cleaning every few months to stop fiber buildup. Proper maintenance extends life, but expect minor wear over time with heavy cable use. It’s a low-cost fix that works-just don’t ignore fit, material quality, or long-term upkeep.