Optimizing Keyboard Tray Position for Seamless Posture Shifts
Set your keyboard tray height between 26–28 inches so your elbows stay at 90 degrees and wrists stay neutral, reducing strain during sit-stand shifts. Position the tray depth 8–12 inches from the desk back to keep forearms parallel and shoulders relaxed. Use a slight negative tilt (–5° to 0°) while seated, adjusting when standing. Avoid wrist pads that force upward bending. Keep cables clear and guarantee 25 cm of kick space under the desk. Fine-tuning based on your body’s feedback delivers better long-term comfort.
Notable Insights
- Set keyboard tray height at elbow level to maintain 90-degree elbows during sit-stand transitions.
- Adjust tray depth so the front edge aligns just behind the desk’s front edge for optimal arm alignment.
- Use a tilt range of -5° to +15°, favoring slight negative tilt for seated and flatter angles when standing.
- Ensure smooth transitions by using sit-stand desks with 1-inch height increments for precise tray positioning.
- Clear desk clutter and manage cables to maintain 25–30 cm of clearance for unobstructed movement.
Find the Right Keyboard Tray Height for Balanced Posture
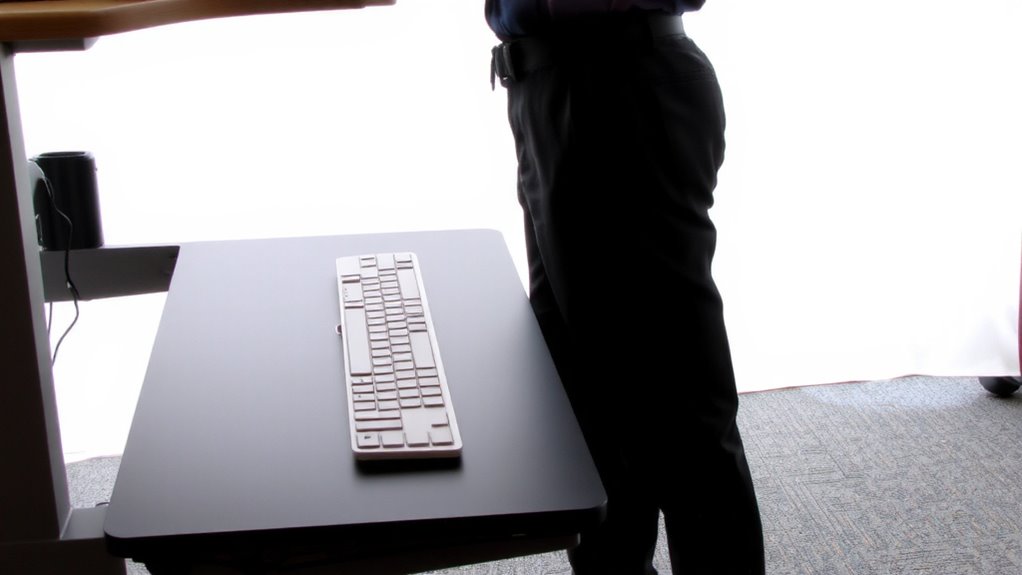
While setting up your workspace might seem straightforward, getting the keyboard tray height right is essential for maintaining balanced posture and avoiding strain over time. You should align the tray so your elbows rest at 90 degrees, with wrists straight and forearms parallel to the floor-this promotes natural wrist support and shoulder relaxation. If the tray’s too high, you’ll shrug your shoulders; too low, and your wrists bend upward, increasing pressure. Most ergonomic guidelines recommend a height between 26 and 28 inches from the floor, but it depends on your chair and desk setup. Adjustable trays let you fine-tune positioning, though cheaper models may wobble or lack tilt options. Real-world testing shows users report comfort within minutes, but long-term relief requires consistent use. Always test adjustments over a full workday-small shifts make a big difference, but no setup fixes poor habits alone. For optimal ergonomics, consider installing a best keyboard trays model that supports both height and tilt customization.
Set Keyboard Tray Depth to Protect Wrists and Shoulders
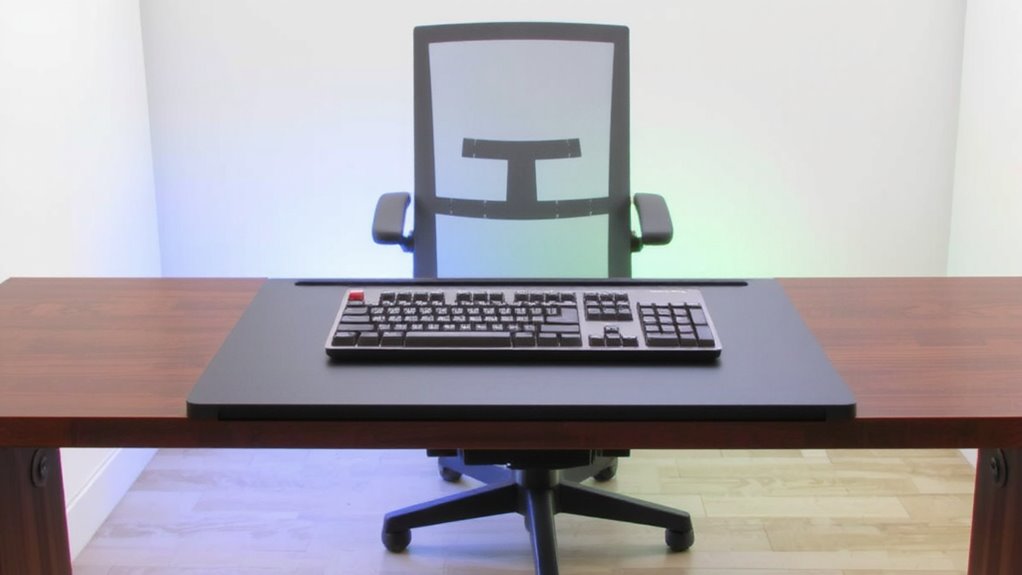
Since your arms need enough room to move freely without overreaching, set the keyboard tray depth so the front edge sits just behind your desk’s front line-this keeps your wrists straight and shoulders relaxed during long typing sessions. Too shallow a position forces wrist extension; too deep increases shoulder rotation, both raising injury risk. Adjust tray depth so your elbows stay near 90 degrees with upper arms vertical.
| Tray Position | Effect |
|---|---|
| Too Shallow | Encourages wrist extension, strain over time |
| Too Deep | Triggers shoulder rotation, tiring muscles |
| Just Right | Promotes neutral wrists, relaxed shoulders |
Most adjustable trays allow depth tuning between 8–12 inches-use this range to match your arm length. Test adjustments over 15-minute intervals, noting comfort. While ideal depth reduces strain, it won’t fix poor chair or monitor setup. Always verify full-body alignment afterward. Consider pairing your setup with the best perch seats for improved ergonomic support during posture transitions.
Position Tray at Elbow Height for Smooth Sit-Stand Use
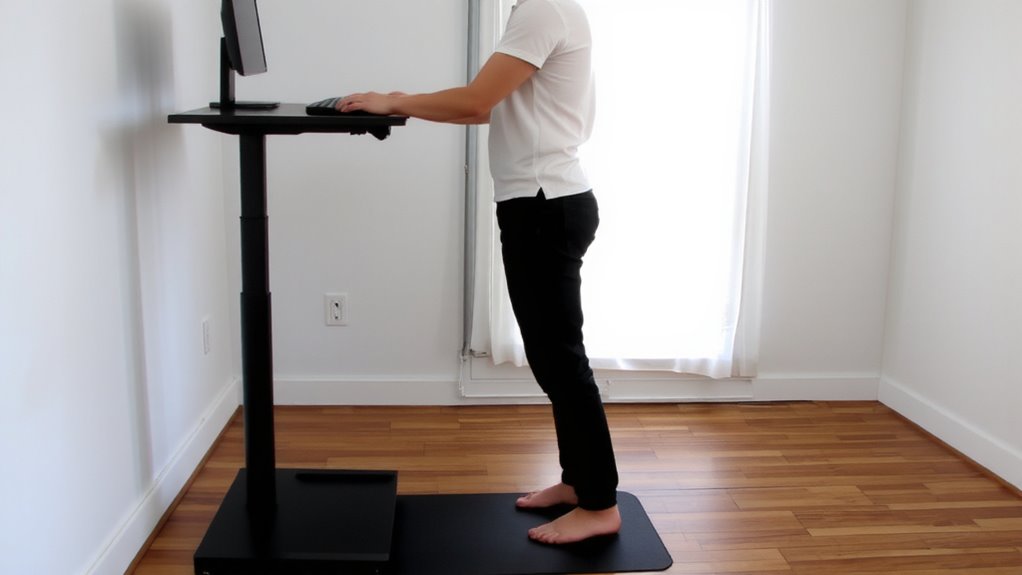
Set your keyboard tray at elbow height to maintain smooth, strain-free shifts between sitting and standing positions. When your elbows rest at 90 degrees with arms parallel to the floor, you achieve proper ergonomic alignment, reducing shoulder tension and supporting natural spinal posture. This height lets you maintain dynamic movement throughout the day, enabling easy changes without constant repositioning. Whether sitting or standing, your forearms should hover just above the tray, minimizing reach and stabilizing your upper body. Most sit-stand desks allow fine-tuned adjustments in 1-inch increments, letting you dial in precision. But be cautious-setting the tray too high can elevate shoulders, while too low forces overextension. Consistent use at correct height shows measurable reductions in upper back fatigue over time, though results depend on individual anatomy and desk compatibility. Pairing your setup with a well-designed standing desk stool can further enhance posture and comfort during transitions.
Adjust Tilt to Maintain Neutral Wrist Angles
Keep your wrists straight and flat by adjusting the keyboard tray’s tilt to support a neutral hand position. Proper angle calibration guarantees your hands don’t bend upward or downward while typing, reducing strain over time. Most trays let you tilt the surface between -5° and +15°; for seated work, a slight negative tilt (around -5° to 0°) often works best, promoting natural wrist alignment. When standing, you might need a flatter or slightly positive angle, depending on your desk and posture. Don’t rely solely on built-in wrist support pads-while helpful, they’re no substitute for correct tilt setup. Over-cushioned pads can actually push your wrists up, worsening the angle. Test different tilts over a few days, noting any discomfort. Real-world use shows consistent angle calibration matters more than padding. Adjust regularly, especially when switching between sitting and standing.
Remove Desk Obstructions for Seamless Transitions
A clutter-free desk space isn’t just cleaner-it’s essential for smooth sit-to-stand shifts and consistent ergonomics. Obstructions disrupt your movement and compromise both cable management and clearance spacing, making shifts awkward or unsafe. To maintain fluid motion, remove unnecessary items and secure cords with clips or sleeves. Guarantee at least 25–30 cm of clearance spacing under your desk to accommodate leg movement and tray repositioning. Poor cable management can lead to snags, especially with motorized desks.
| Item | Recommended Clearance |
|---|---|
| Keyboard tray forward edge | 10 cm from body |
| Cables under desk | Bundled, 5 cm off floor |
| Legs at standing height | 25 cm front/back space |
| Pedestals or drawers | Pull out only when seated |
| Power strips | Mounted under desk, accessible |
Sync Keyboard and Monitor for Full-Body Alignment
When you align your keyboard and monitor as a unified system, you’re not just organizing a desk-you’re shaping your posture from the ground up. Proper spinal alignment depends on how well these two elements work together. Your monitor should sit directly above or slightly behind the keyboard tray, centered with your body, so you don’t twist or lean. The top of the screen should be at or just below eye level to support visual ergonomics, reducing neck strain during long sessions. A distance of 20–30 inches between you and the screen maintains focus without eye fatigue. If your keyboard tray is height-adjustable, sync its position so your elbows stay at 90 degrees, shoulders relaxed. Mismatched heights force compromises-raising the monitor too high can elevate your arms, hurting posture. Use tested setups: monitor arms with +/- 6 inches of vertical range work best with sit-stand desks. Even minor misalignment adds up over time.
Fine-Tune Keyboard Tray Position Based on Comfort Feedback
You’ve aligned your keyboard tray and monitor to support neutral posture, but now it’s time to adjust based on how your body responds. Fine-tune the tray height, tilt, and depth using ergonomic feedback from your wrists, shoulders, and lower back. If you feel strain after 20–30 minutes of typing, make small changes-lowering the tray by 5–10 mm or adjusting tilt from -5° to -10° can reduce wrist extension. Everyone’s build and user preferences differ, so what works for one person might not suit another. Supportive trays with smooth glide mechanisms and wide adjustment ranges let you iterate without frustration. But don’t assume more adjustability means better results-over-tweaking can delay settling into a stable setup. Real-world testing over several days, not hours, gives reliable comfort signals. Balance precision with practicality: aim for pain-free typing, not perfection.
On a final note
You’ve got this right when your keyboard tray supports neutral wrists and fluid sit-stand shifts. Set it at elbow height, about 26–28 inches from the floor for most people, with a slight negative tilt (5–10°). Guarantee depth allows wrists to stay straight, roughly 2–3 inches past the front edge. Clear desk obstructions so the tray moves smoothly. Sync it with monitor height to avoid neck strain. Even high-rated trays, like those with 10-year warranties from Humanscale or Loctek, need personal tweaks-what works in testing might not suit your frame or desk depth.