Balancing Stereo Panning for Co-Presenters Sitting Left and Right
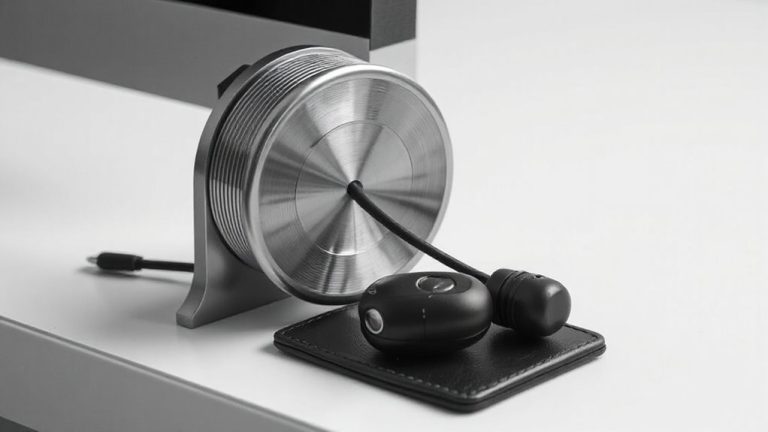
Use a matched pair of wireless lavalier mics like the Rode Wireless GO II and pan each voice to match the speaker’s position-left or right-for natural spatial clarity. Keep gain identical and mics six inches from the mouth, pointing up to reduce plosives. Angle cardioid mics slightly inward and maintain equal distance to avoid phase issues. Test with both speaking at once using headphones. Extreme panning can sound off on mobile, so stick to ±60. You’ll hear how small tweaks make a real difference.
Notable Insights
- Position each lavalier mic six inches from the speaker’s mouth, pointing upward for consistent tone and reduced plosives.
- Pan each microphone’s audio to match the speaker’s physical position-left or right-using moderate pan settings.
- Use identical wireless mics to ensure matched frequency response and minimize phase and timing issues.
- Set equal gain on both transmitters and verify levels while both speakers talk simultaneously.
- Test playback on headphones and speakers to confirm balanced panning and natural spatial alignment.
Choose the Right Mic Setup for Co-Presenters
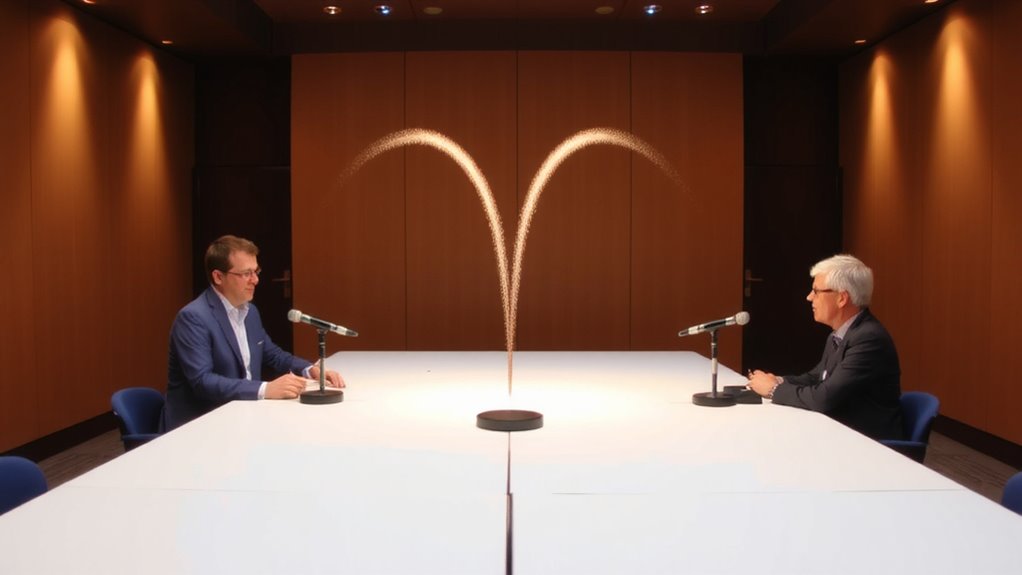
Your mic setup makes or breaks the audio balance between co-presenters, so go with a solution that captures both voices clearly without favoring one. A matched pair of wireless lavalier mics gives you consistent tone and gain, especially with uniform mic placement-clip each mic to the speaker’s collar, about six inches from the mouth, pointing upward. This reduces plosives and guarantees even volume. Wireless lavalier systems like the Rode Wireless GO II offer reliable 2.4 GHz transmission, -6 dB pad, and onboard recording-useful if interference occurs. Just keep transmitters out of pockets to avoid muffling. Battery life lasts about seven hours, enough for back-to-back sessions. Pair them with a dual-channel receiver connected to your computer. While convenient, wireless systems can face dropouts in crowded RF environments, so test in your space first. Wired lavs work too, but restrict movement. Either way, consistent mic placement is key-don’t let one speaker wear it lower.
Pan Each Voice to Match Their Side
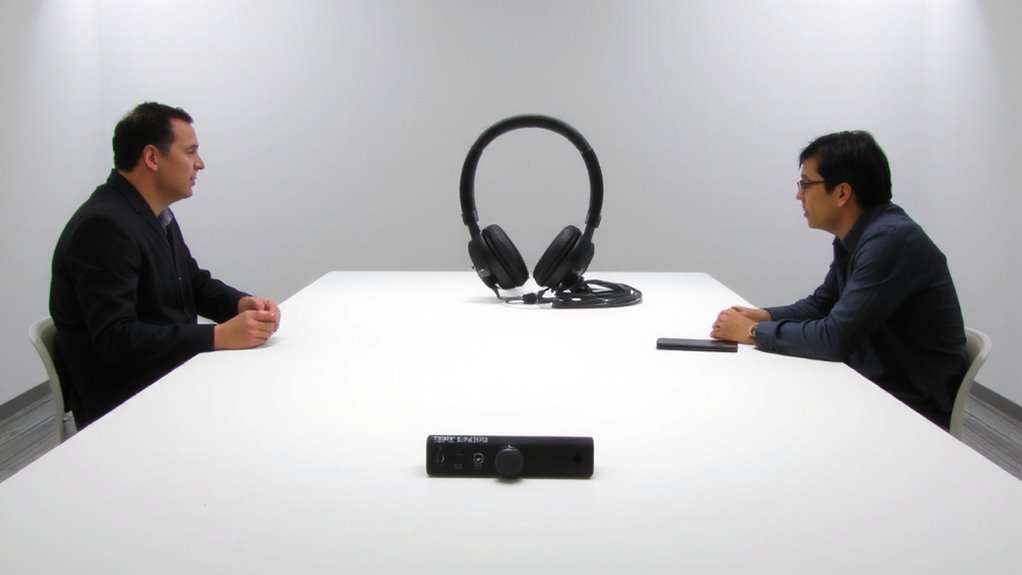
Every co-presenting duo benefits from stereo panning that places each speaker on their respective side of the audio field, making it easier for listeners to distinguish voices. You should pan each voice to match their physical position-left or right-for clear voice alignment and improved spatial accuracy. If you’re sitting on the left, your audio should come mainly from the left channel. This setup mirrors real-life listening and helps audiences follow the conversation naturally. Most digital audio workstations let you adjust pan knobs precisely, often with 0 center, -60 left, and +60 right settings. Just be cautious: extreme panning can feel unnatural in narrow stereo setups or on mobile devices. Test playback on headphones and speakers to confirm the positioning feels balanced. While this method boosts clarity, remember it relies on your audience using stereo sound-mono playback collapses the effect.
Balance Volume Between Co-Presenters
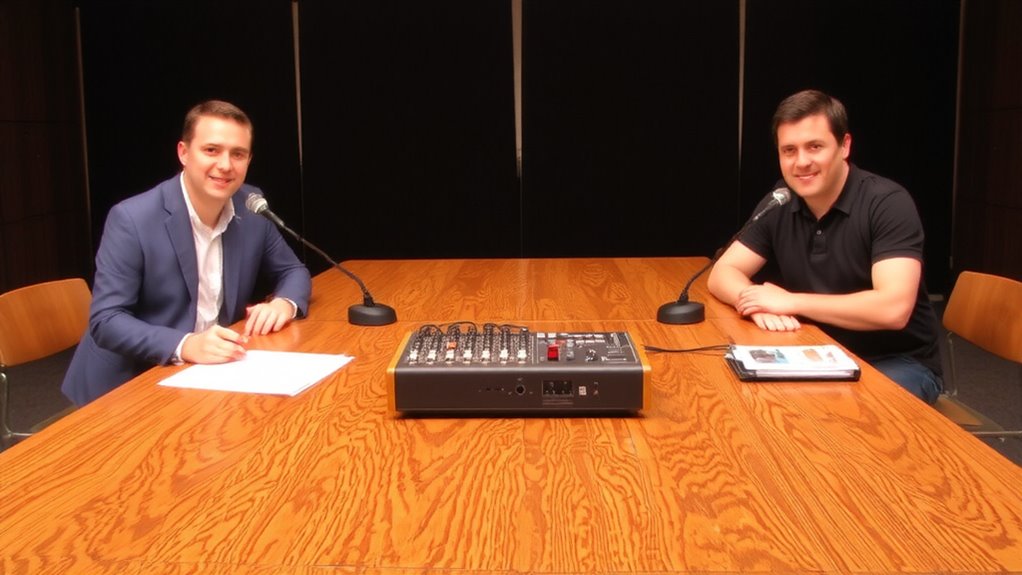
Consistency in volume between co-presenters is essential for a professional and engaging audio experience. You need level consistency so neither voice drowns out the other, especially when panned left or right. Start by setting both mics at the same gain and positioning them equidistant from each speaker. Use voice isolation techniques-like directional polar patterns (e.g., cardioid mics)-to minimize bleed and keep each signal clean. Test levels with both speakers talking at typical volume; adjust input gain, not software faders, for accuracy. Built-in clip indicators and real-time meters help catch imbalances early. While USB mics like the Shure MV7 offer reliable level consistency, dynamic range differences between voices may still require minor tweaks. Remember, perfect volume balance improves clarity, but over-processing can introduce artifacts. Always recheck levels if seating or mic placement changes.
Fix Phase Cancellation With Dual Mics
When you’re using two mics for co-presenters, phase cancellation can sneak in and thin out the audio, especially if mic placement isn’t aligned with the physics of sound waves. You’ve got to prioritize phase alignment-keep mics equidistant from each speaker and use identical models to minimize timing delays. Even small differences in distance can cause waveforms to oppose each other, weakening clarity. This leads to frequency masking, where certain tones get buried because overlapping signals confuse the mix. Fix this by angling mics slightly inward and maintaining consistent gain levels. A pop filter helps, but don’t rely on it for phase issues. While XLR setups offer better control, USB mics can work if they support manual gain. There’s no post-production fix that fully restores what’s lost, so get it right live. Test with both mics hot, but don’t overcorrect-too much panning exaggerates separation.
Test Audio on Both Sides Before Recording
While it might seem like a small step, testing audio on both sides before recording saves you from major fixes later-especially with two mics feeding into one interface. Solid audio checks prevent imbalances that distract listeners. Always perform level testing with both co-presenters speaking at normal volume to confirm consistent input.
| Action | Purpose |
|---|---|
| Speak clearly into each mic | Verify voice clarity and presence |
| Monitor input levels on interface | Guarantee neither channel clips or falls too low |
| Swap seats and re-test | Catch placement or cable issues |
| Use headphones for real-time feedback | Identify imbalances instantly |
Don’t assume mic placement or settings are perfect after setup-conditions change. While most USB-C audio interfaces show level meters, visual data alone isn’t enough. Real-world testing beats guesswork. Some interfaces lack gain sync, meaning each mic needs individual adjustment. Make level testing routine, not reactive. You can find reliable options that support balanced inputs by checking Best Buy’s Top Microphone Picks & Buying Guide for recommended audio equipment.
Optimize Stereo for Co-Presenter Clarity
Why does one voice always seem to pull focus in your stereo mix, even when both co-presenters are equally important? You’re likely compromising audio fidelity and spatial imaging. To optimize clarity, pan each voice slightly off-center-around 25% to 30% L/R-instead of hard-panning. This preserves the natural listening space and keeps both voices distinct without disorienting your audience. Use matched microphones for consistent tonality and position them at equal distances from each speaker to maintain balance. While dynamic mics like the Shure SM7B offer strong off-axis rejection, condensers like the Audio-Technica AT2020 provide greater detail-choose based on your room’s acoustics. Test with headphones to verify imaging accuracy. Keep in mind: too much stereo separation can confuse listeners on mono systems, so check mono compatibility. Solid performance matters more than expensive gear.
On a final note
You should pan each co-presenter’s mic hard left or right to match their seating, using XLR dynamic mics like the Shure SM58 for clarity. Balance levels so neither voice overpowers the other, and check for phase cancellation by monitoring in mono. Always test recordings with headphones to catch imbalances. While stereo adds realism, it risks uneven audio on small speakers-so prioritize even volume and mic placement over wide panning.