How to Test Mic Sensitivity Levels Before Joining a Critical Client Call
Test your mic sensitivity for free using tools like OnlineMicrophoneTest.com or Vocaroo in your browser-no install needed. Speak normally and check if levels hit -12 dB to -6 dB without peaking or background noise. Adjust input settings in Windows or Mac Sound preferences, and prefer hardware gain controls when available. Built-in mics often pick up keyboard noise, so consider a USB mic with cardioid pickup. Results aren’t lab-perfect, but they’ll catch obvious flaws before your call. You’ll also want to know how small tweaks can quietly transform your audio clarity.
Notable Insights
- Use free online tools like OnlineMicrophoneTest.com to quickly assess mic sensitivity and audio clarity in your browser.
- Speak naturally while monitoring input levels to ensure your voice registers between -12 dB and -6 dB for optimal clarity.
- Test with headphones and a built-in or USB mic to reduce feedback and background noise interference during the call.
- Adjust mic sensitivity in your OS sound settings and disable aggressive noise filters that may cut off speech.
- Position the mic 2–3 inches from your mouth and use physical gain controls to fine-tune sensitivity and minimize ambient noise.
Test Your Mic Sensitivity Online for Free
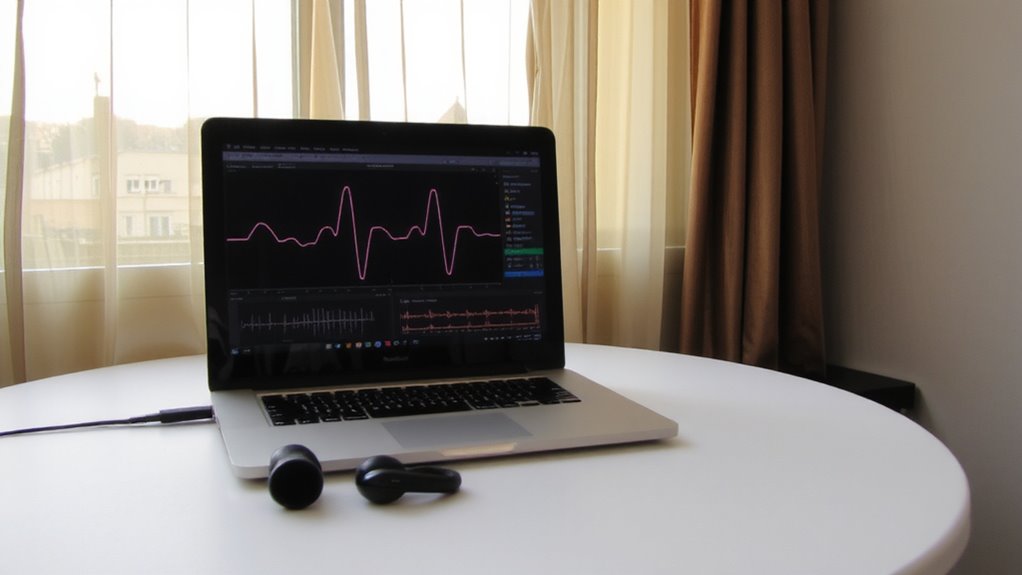
Wondering how to check if your mic picks up your voice clearly without spending a dime? You can use online tools for free testing-no downloads or payments needed. Sites like OnlineMicrophoneTest.com or Vocaroo let you speak, then play back audio instantly so you can assess sensitivity and clarity. These tools work in any modern browser and support most built-in or USB mics. You’ll hear background noise, distortion, or low volume if your mic struggles. While results aren’t lab-grade, they’re reliable for spotting obvious issues before a call. Keep in mind: free testing won’t adjust settings, and ambient room noise may skew results. For best accuracy, test in silence, speak at your normal pitch, and use the same setup you’ll use during the meeting. It’s a fast, smart first step-but not a full substitute for professional gear checks. For high-quality options that ensure clear audio, consider exploring Best Buy’s Top Microphones for recommended microphone models.
Set the Right Mic Volume Levels
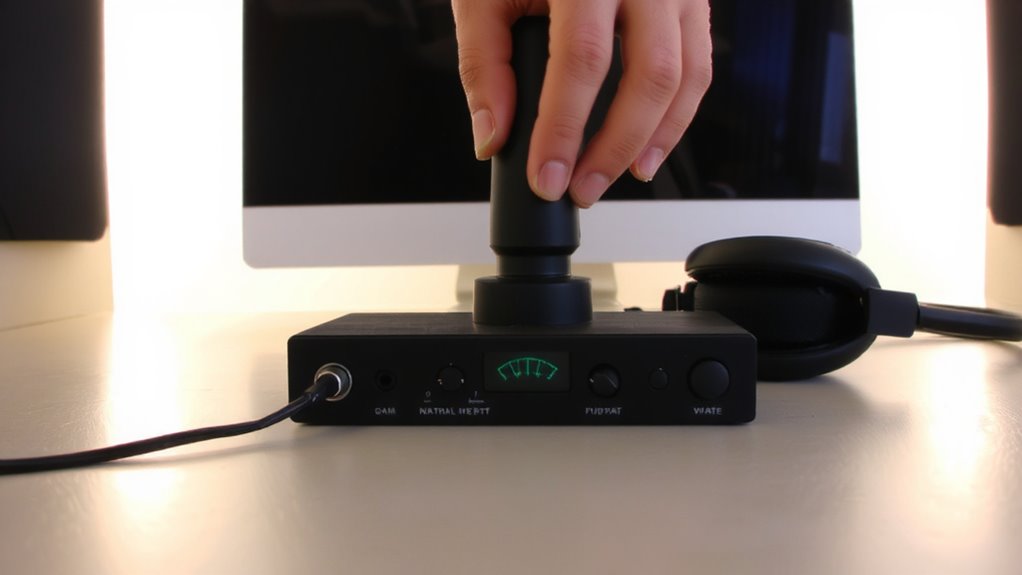
Now that you’ve checked your mic’s basic performance using free online tools, the next step is fine-tuning your input levels for clear voice capture during calls. Proper audio calibration guarantees your voice is loud enough without peaking, which can distort sound and make you hard to understand. Set your volume so that your speech registers between -12 dB and -6 dB during normal talking-this gives headroom and avoids clipping. If you’re using software with noise filtering, like Krisp or built-in OS features, adjust input levels first, then enable filtering to reduce background sounds without muffling your voice. Keep in mind: aggressive noise filtering can sometimes cut parts of your speech, so test it while speaking naturally. Built-in mic gain controls on headsets or USB mics offer more precision than software sliders. Always recheck levels after any hardware or software changes to maintain consistency.
Check Mic Sensitivity Settings by OS
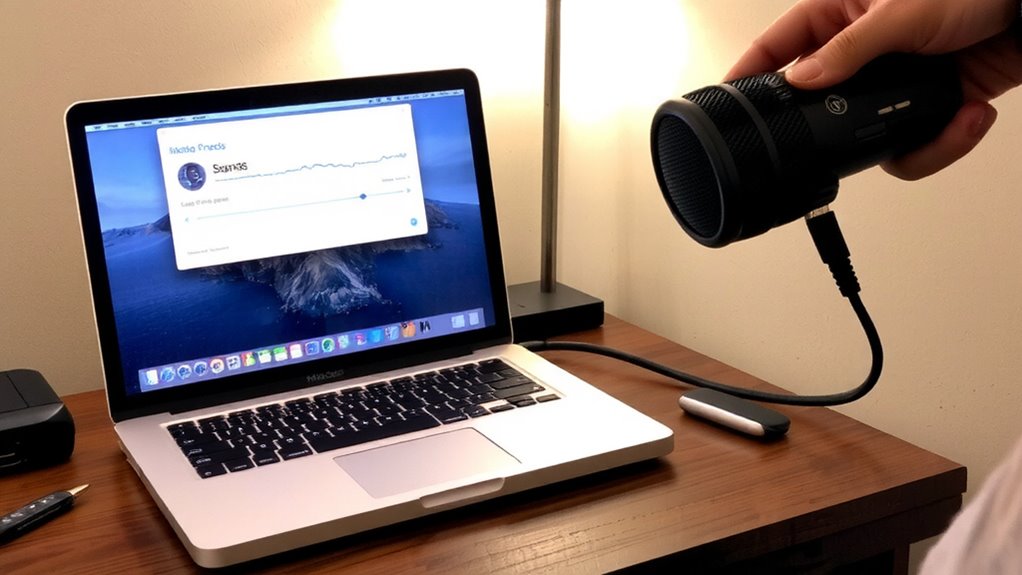
How do your operating system’s built-in settings impact mic sensitivity, and why does it matter? Because they directly control gain, noise suppression, and input levels-factors that shape how clearly others hear you. On Windows, go to *Sound Settings > Input* to adjust sensitivity and enable features like AGC. Mac users tweak levels in *System Settings > Sound > Input*, where options are simpler but effective. Both systems rely on proper driver updates to guarantee your mic performs as intended. Outdated drivers can cause poor response or dropout. Hardware compatibility also plays a key role-some mics aren’t fully supported, leading to limited control or erratic behavior. Always verify your device is listed as compatible with your OS version. While built-in tools offer quick fixes, they can’t override physical mic limits. Check settings early and test them with real voice samples, not assumptions.
Fix Common Mic Sensitivity Issues
Even if you’ve adjusted your OS settings correctly, you might still run into issues like low volume, audio distortion, or inconsistent pickup-common signs that something’s off with mic sensitivity. If your mic picks up too much background noise, lower the sensitivity and position the mic closer to your mouth-about 2–3 inches away often helps. High sensitivity can also cause audio feedback, especially if you’re using speakers instead of headphones. Switch to headphones with a built-in mic to reduce that risk. Some USB mics have physical gain knobs; tweak them to find a sweet spot between clarity and noise rejection. Built-in laptop mics are prone to background noise, so an external mic with a cardioid pickup pattern usually performs better. Test changes with a quick voice memo, and keep sensitivity under 80% unless in a very quiet space. For optimal performance, consider upgrading to one of the best microphones for home office setups, which are designed to balance sensitivity and sound quality.
Why Mic Sensitivity Matters in Client Calls
You’ve sorted out the technical hiccups and set your mic to pick up your voice cleanly, but getting sensitivity right isn’t just about avoiding static or shouting into the mic-it’s a direct factor in how you show up on client calls. Proper mic sensitivity guarantees audio clarity, so your words are crisp and easy to understand without distortion. Too high, and you’ll capture excess background noise-like keyboard taps or HVAC hum-making you seem unprofessional. Too low, and you risk speaking too loudly, causing vocal strain and inconsistent volume. Balanced sensitivity lets your voice come through naturally, minimizing distractions. Most dynamic or condenser mics let you adjust this via gain settings or built-in controls, but always test in your actual environment. Keep in mind: even high-end mics can underperform if sensitivity isn’t tailored to your space and speaking style. For optimal results, consider starting with one of the best microphones suited to your setup and communication needs.
On a final note
You should test your mic sensitivity before any client call-it prevents awkward volume issues and guarantees clarity. Use free online tools to measure input levels, then adjust settings in your OS to hit -6dB to -12dB for ideal range. While most built-in mics work, a dedicated USB condenser mic like the Audio-Technica AT2020USB+ offers better gain control and consistent response. Just mind room echo-distance from walls and quiet AC matter. Even pro gear fails if placement or settings are off, so always double-check.