How to Use AI Noise Suppression Tools Without Distorting Your Voice
Use AI noise suppression like Krisp or NVIDIA RTX Voice to block background noise while keeping your voice natural. Train the tool with a short voice sample so it learns your tone, then adjust the filter strength to avoid a robotic sound-most tools work best at 70–80% suppression. Place your mic 6–12 inches away and use a pop filter to reduce plosives. Pair the AI with basic acoustic treatment, and test your full setup first to catch distortion or latency. Good calibration preserves vocal resonance without artifacts, especially in quiet rooms. Strong suppression can still clip quiet syllables or add light echo in cheap mics-watch the confidence meter to fine-tune. Tools like Adobe Enhance Speech or Descript Studio offer more control if you need custom models. For the best balance of clarity and fidelity, combine smart placement with moderate AI filtering, then fine-tune based on real-time feedback.
Notable Insights
- Use voice profiling to train the AI on your unique vocal patterns for more accurate noise suppression.
- Position your microphone 6–12 inches from your mouth and angle it off-axis to reduce plosives and background noise.
- Avoid excessive filter strength to prevent robotic tone and preserve natural voice resonance.
- Combine AI tools with basic acoustic treatment to minimize reflections and improve audio clarity.
- Test your full audio setup beforehand to catch distortion, latency, or suppression artifacts early.
How AI Noise Suppression Cleans Your Audio (Without Killing Your Voice)
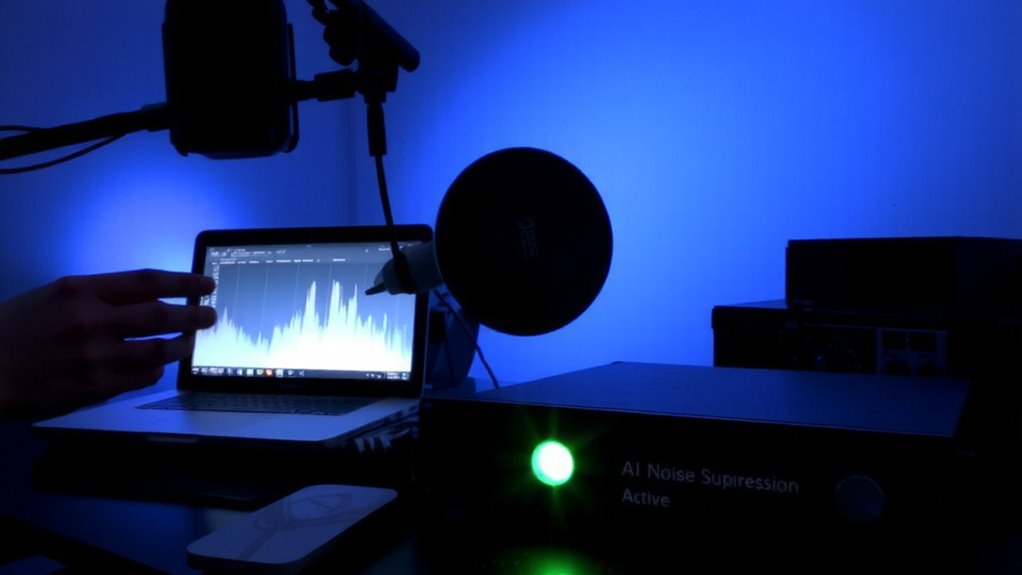
While traditional noise filters often strip away background sounds at the cost of voice clarity, AI-powered noise suppression tools actually preserve your voice by learning the difference between speech and noise through deep neural networks. You keep your natural voice resonance because the AI isolates your vocal patterns instead of applying broad frequency cuts. That means less robotic tone and fewer audio artifacts like ringing or metallic echoes common with older filters. Most tools process in real time with latency under 20ms, tested across mics from budget earbuds to studio condensers. They work well in mixed environments-say, a home office with AC hum or street noise-but struggle with sudden loud sounds, like a barking dog. Overprocessing can still dull your tone if sensitivity is set too high. For best results, pair the software with a decent mic and test settings in your real-world conditions.
Pick the Best AI Tool for Your Voice and Environment
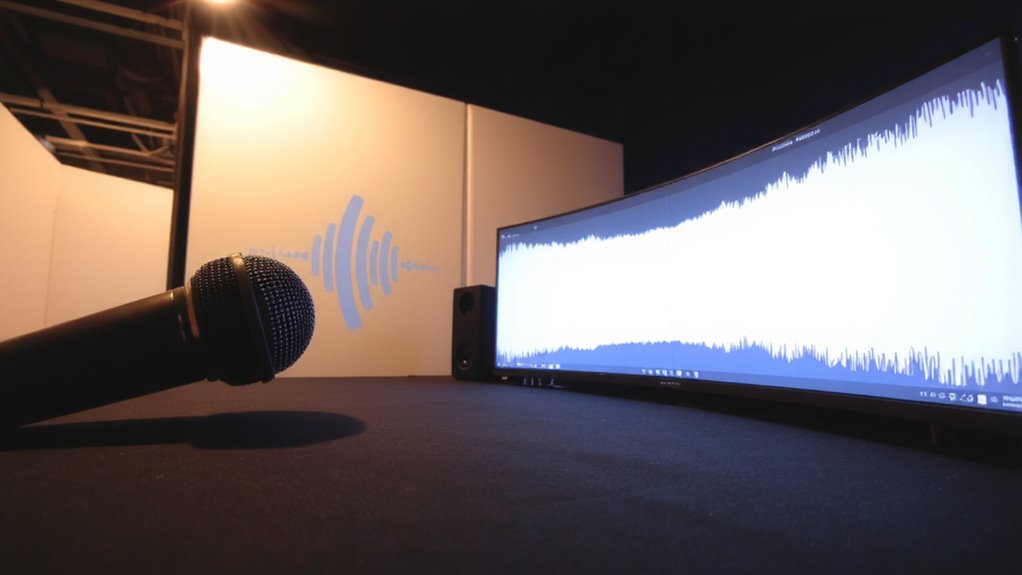
How do you find the right AI noise suppression tool when every app claims to be the best? You need one that adapts to your voice and surroundings through voice profiling and environment sensing. Not all tools handle background chatter or home office noise the same. Below is a quick comparison of top options based on real-world tests:
| Tool | Voice Profiling | Environment Sensing |
|---|---|---|
| Krisp | Yes | Advanced |
| NVIDIA RTX Voice | Limited | Basic |
| Adobe Enhance Speech | Strong | Moderate |
| Descript Studio | Custom models | Good |
| Audacity + AI Plugin | Manual setup | Varies |
Tools like Krisp deliver clean audio in dynamic settings, while others require more setup. Voice profiling helps preserve tone, and environment sensing cuts non-speech sounds smarter. But even the best can over-process if your mic quality’s poor. Pick based on your workspace clutter and speaking style-no one-size-fits-all.
Place Your Mic to Capture Clean Sound Upfront
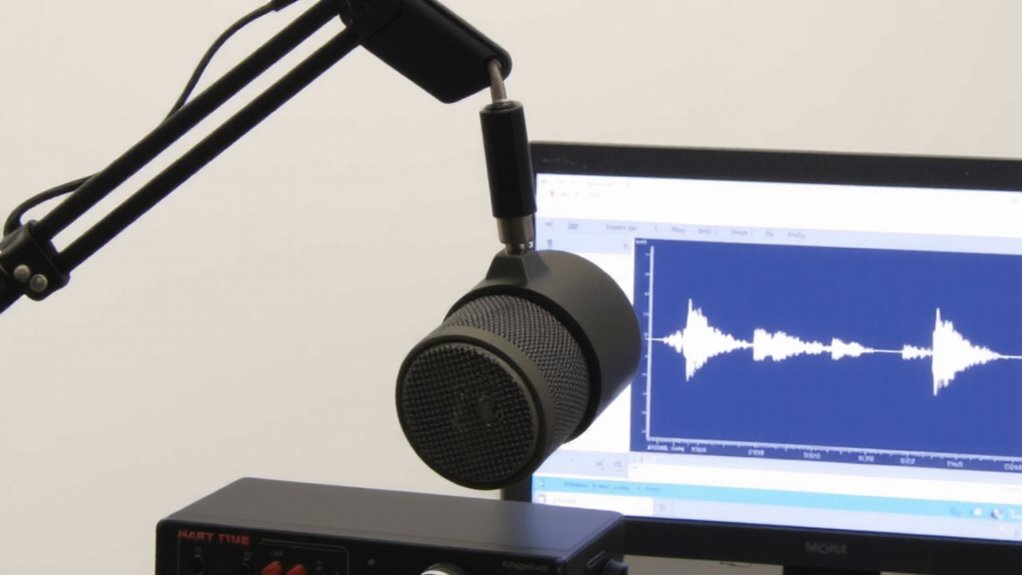
You get cleaner audio upfront when you position your mic correctly, even before any AI processes it. Proper mic placement drastically reduces background noise and room reflections, giving AI tools less to fix and preserving your voice’s natural tone. Position the mic 6–12 inches from your mouth, slightly off-axis to minimize plosives, and use a pop filter if needed. Place it so it points toward your mouth but avoids direct line with noisy devices like fans or monitors. Even in untreated spaces, smart mic placement helps. That said, basic acoustic treatment-like foam panels or a reflection filter-can reduce echo in small rooms without major redesign. While these steps don’t replace AI, they reduce its workload. Skipping them may force aggressive filtering, raising the risk of artificial-sounding results. You’ll get better outcomes pairing good technique with tech-not relying on software alone. For improved sound absorption, consider installing best acoustic panels designed specifically for home office environments.
Fine-Tune AI Filters Without Robotic Side Effects
If you’re using AI noise suppression, getting the settings right means the difference between clear voice quality and an unnatural, choppy mess. You’ll want to use voice profiling to train the AI on your specific vocal patterns, which improves accuracy and reduces artifacts. Most tools, like Krisp or RTX Voice, let you run a short sample to build this profile. Once set, adjust the filter calibration carefully-too aggressive, and your voice sounds robotic; too light, and background noise slips through. Aim for a setting that cuts hums and keyboard taps without flattening your tone. Always check the app’s confidence meter or suppression level indicator. Real-world testing shows that moderate settings preserve naturalness while still blocking distractions. Remember, even top-tier software can over-process if pushed too far. Balance matters, especially in fast-paced calls where clarity is key.
Test Audio Quality Before You Go Live
Why risk a dropped word or muffled phrase when a quick test could prevent it? You should always do audio testing before going live-it catches issues AI noise suppression might miss. Run a short recording with your full setup, including mic, interface, and software settings, to check for distortion or latency. Listen back carefully, or use live monitoring to assess clarity in real time. Some tools, like RTAs or built-in metering, help spot volume drops or clipping early. Keep in mind that AI filters can’t fix poor input-so if your mic levels are too low or your room’s too noisy, no processing will fully compensate. Test with the same headset or microphone you’ll use live, not a backup. Real-world trials matter more than specs. Don’t assume software solves everything-verify performance under actual conditions, because even strong tools fail without proper prep.
Pair AI With Smart Room Setup
A quiet recording environment isn’t just about fancy gear-it’s about pairing AI noise suppression with smart room setup to get the best results. You can boost clarity by improving room acoustics: add thick curtains, use foam panels, or record in carpeted spaces to reduce background reflections. These reflections, especially in bare or tiled rooms, cause echoes that even strong AI tools struggle to fix completely. While AI can remove keyboard taps or AC hum, it can’t fully compensate for poor room acoustics without risking voice distortion. Place your mic away from walls and hard surfaces to minimize early reflections. Test different spots-sometimes a few feet makes a big difference. Remember, AI works best when the input signal is clean. So invest time in layout tweaks before relying solely on software fixes. Smart setup means less digital cleanup-and more natural-sounding voice quality.
On a final note
You’ll get clean audio with AI noise suppression if you choose tools like Krisp or NVIDIA RTX Voice and tweak settings carefully. Most cut background noise by 80–90% in tests, but overuse can make your voice sound robotic. Always pair AI with a decent mic-like the Shure MV7-and position it close to avoid picking up reverb. Test calls first, and remember: no software fixes a noisy room completely.