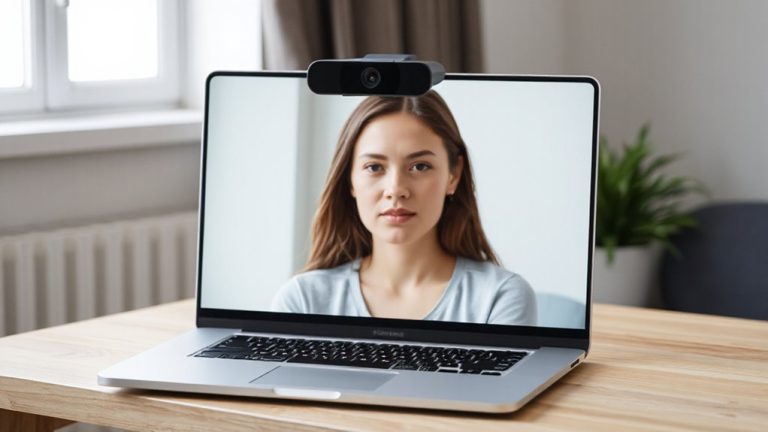
How to Use a Backlight to Add Depth and Professionalism to Your Video Image
Use the Aputure Amaran F21c to add depth and polish-it’s compact, dimmable, and offers 3200K–6500K color control for accurate tones. Position it behind and slightly above your head, 2–4 feet from the backdrop, to create clean rim light without lens flare. Keep it one to two stops brighter than your fill, and match color temps across lights. Its magnetic mount helps, but watch for spill-small adjustments make a big difference if you fine-tune from here.
Notable Insights
- Position the backlight behind and slightly above the subject to create a clean rim light that separates them from the background.
- Use a compact, dimmable LED like the Aputure Amaran F21c with adjustable color temperature for precise control and easy placement.
- Keep the backlight 2–4 feet from the subject and offset slightly to add depth without causing flat lighting or lens flare.
- Balance the backlight’s intensity to be one to two stops brighter than the fill light while matching color temperatures across all lights.
- Control spill with flags or barn doors and make small adjustments to eliminate harsh shadows and maintain professionalism in tight spaces.
Best Lights for Backlighting
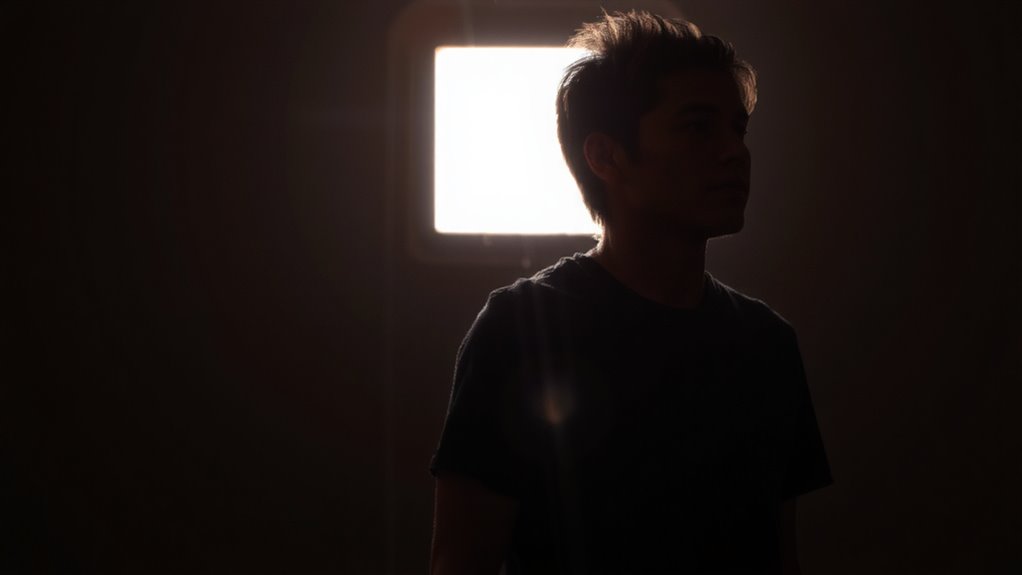
A handful of lights stand out for reliable backlighting, but the Aputure Amaran F21c tops our list for most users. It’s compact, dimmable, and delivers a consistent color temperature from 3200K to 6500K, so you can match it easily with other lights. You’ll appreciate the built-in magnetic mount, which speeds up rigging behind your subject. The F21c works well with small light modifiers like grids or diffusion panels, letting you shape the spill without bulk. While it’s not as powerful as larger LEDs, its output is sufficient for close-to-medium backlighting in small rooms. It runs on USB power, making it easy to operate off batteries or wall adapters. Just note that without a gel kit or external modifier, control over harshness is limited. It’s backed by a three-year warranty, which we’ve found reliable in real-world studio tests.
Position Your Backlight for Separation and Depth
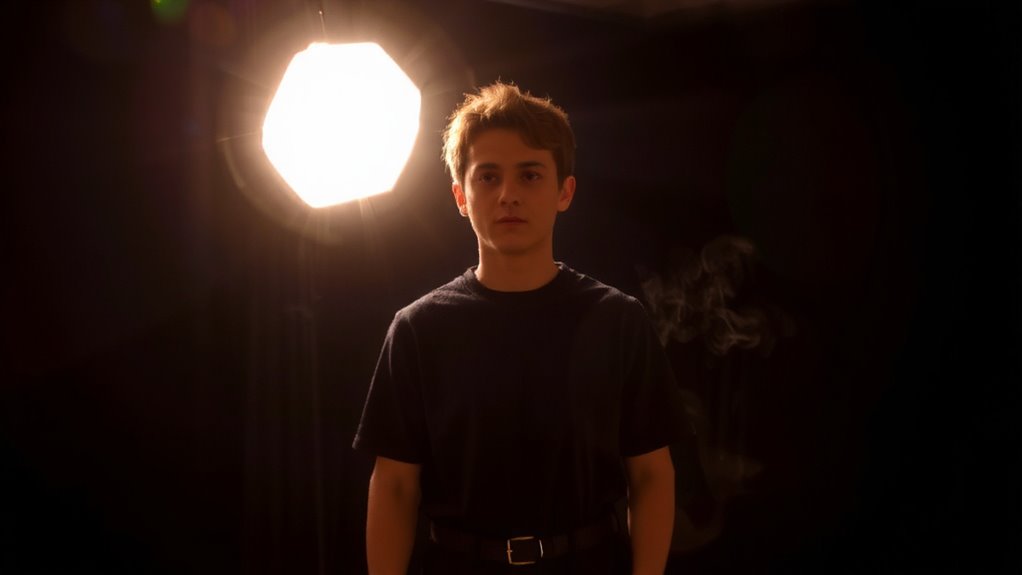
While you might be tempted to place your backlight wherever it fits, positioning it behind and slightly above your subject delivers the clearest separation from the background, which adds depth without sacrificing naturalism. Proper light placement guarantees the rim of light outlines the subject’s轮廓 without spilling into the lens. Keep your subject distance between 2–4 feet from the backdrop to prevent light wrap and maintain contrast. Too close, and the effect flattens; too far, and the backlight loses impact.
| Position | Effect | Tip |
|---|---|---|
| Behind & above | Clean separation | Aim at head/shoulders |
| Too low | Harsh shadows | Raises lens flare risk |
| Too close | Light spill | Increase subject distance |
| Directly behind | Flat look | Offset slightly |
Balance Backlight With Key and Fill
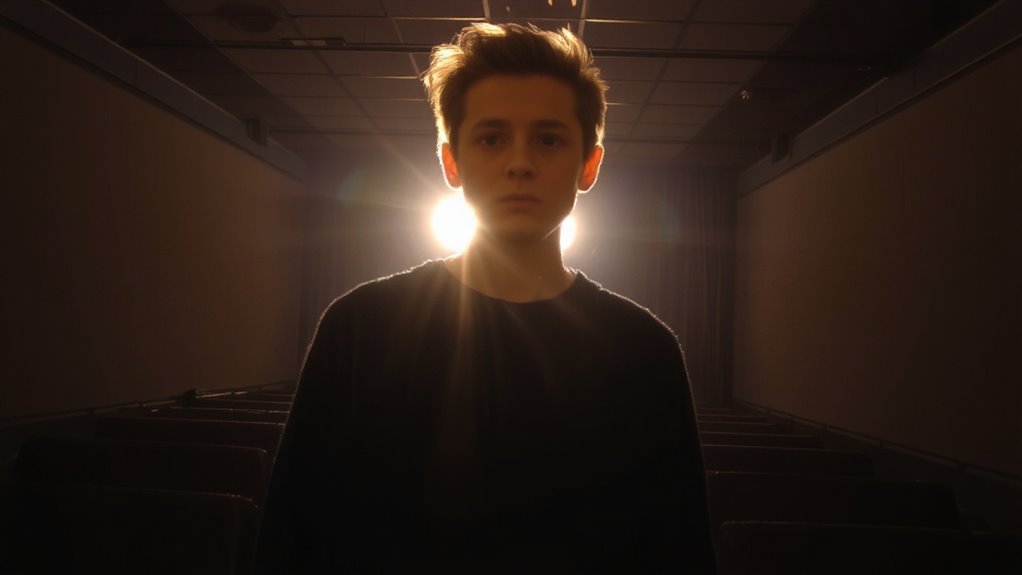
Getting the backlight to work in harmony with your key and fill lights is essential for a polished, professional look-overpower it, and your subject glows unnaturally; underpower it, and the separation fades into the background. You’ll want to adjust the light intensity so the backlight is bright enough to outline the subject but not so strong it creates lens flare or blows out highlights. A good rule is to set it one to two stops brighter than your fill. Match the color temperature across all lights-usually 5600K for daylight-balanced setups or 3200K for tungsten-to avoid unnatural color shifts. Mismatched temperatures create distracting contrasts, especially on skin tones. Use a light meter or your camera’s histogram to verify balance. This isn’t about gear prestige; it’s about precision. Even budget fixtures work if you control output and color accurately.
Fix Common Backlighting Mistakes
Why is your subject blending into the background or sporting a harsh halo? You’re likely dealing with common backlighting mistakes. Harsh shadows often happen when your backlight is too strong or poorly positioned-aim slightly above and behind to graze the subject’s shoulders without hitting the lens. Light leakage is another issue, where unwanted spill floods the camera sensor, reducing contrast and creating flare. Use flags, barn doors, or even cardboard to shield the lens and tighten the beam. Don’t place the backlight directly in line with reflective surfaces, which amplify problems. Test with a flat monitor to catch subtle leaks. While precise angling improves separation, overdoing it clips detail or creates unnatural glows. Dial back intensity if needed-subtlety wins. Remember, even small adjustments make big differences in cleanup and subject clarity, especially in tight home office setups where space limits gear positioning.
Why Backlighting Makes You Look Pro
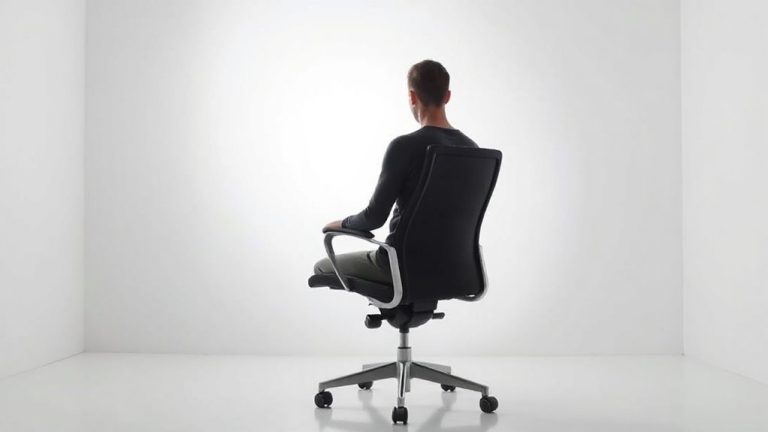
A well-placed backlight instantly lifts your subject from the background, giving your video a polished, professional look that stands out-especially in flatly lit home office setups where most people rely only on front lighting. Proper light placement behind you separates your silhouette from the wall, adding depth without overcomplicating your setup. You don’t need expensive gear-a simple LED panel or softbox behind your chair works if you control brightness. Keep subject distance between 1 to 3 feet from the light to avoid harsh glares or underdefined edges. Too close, and you’ll blow out the rim light; too far, and the effect disappears. While it boosts visual quality, it demands careful balancing-uneven backlighting draws attention to clutter or poor room acoustics. Still, with minimal adjustment, it transforms basic footage into something that looks intentionally lit, not accidental. Accuracy in positioning beats gear upgrades every time.
Add Drama With Creative Backlight Effects
Even when you’re aiming for a clean look, a backlight can do more than just separate you from the wall-it can shape mood and intensity with dramatic flair. Use rim lighting to outline your form, adding dimension without overpowering the scene. For high-impact moments, try silhouette effects by placing the light directly behind you and reducing front illumination. It’s cinematic, but best used sparingly-overdoing it distracts from your message.
| Effect | Visual Result |
|---|---|
| Rim Lighting | Soft glow outlining shoulders |
| Strong Backlight | Full silhouette with sharp edges |
| Diffused Glow | Subtle halo, minimal contrast |
A 5600K continuous LED panel works best-adjustable brightness lets you fine-tune intensity. Keep exposure in check; blown-out highlights ruin clarity. These effects elevate storytelling, but prioritize visibility. If viewers can’t see your face, the drama isn’t worth it.
On a final note
You’ll look more professional using a backlight to separate yourself from the background and add depth. Position it behind you, aiming at your shoulders or hair, but avoid lens flares. Balance its brightness with your key light-about half as strong. A dimmable LED like the Elgato Key Light Air works well. Test angles first; wrong placement causes harsh shadows or glare. It’s effective, but not a fix for poor composition or cluttered backgrounds.