Safely Cleaning Liquid Spills From Cable Management Systems
Turn off power immediately after a spill-flip the breaker or unplug devices to prevent shorts, especially with bundled cables. Assess the liquid: assume it’s conductive or corrosive, and wear gloves if unsure. Blot gently with lint-free cloths, working from the edges inward, and place towels under vertical runs. Unplug soaked cables, label them before disconnecting, and let the area dry 12–24 hours without heat or compressed air. Inspect each cable’s insulation and connectors carefully. Reconnect only after full drying to avoid damage-your patience directly affects safety and system reliability. There’s more to handling spills safely, especially with sensitive home office gear.
Notable Insights
- Immediately shut off power to prevent electrical hazards when liquid contacts cable management systems.
- Identify the spilled liquid type to assess risks like conductivity, flammability, or corrosion potential.
- Contain the spill and use absorbent materials to remove liquid without pushing it deeper into cables.
- Isolate and label wet cables to prevent short circuits and ensure correct reconnection after drying.
- Allow 12–24 hours of drying time with proper airflow before inspecting and reconnecting cables.
Turn Off Power Immediately
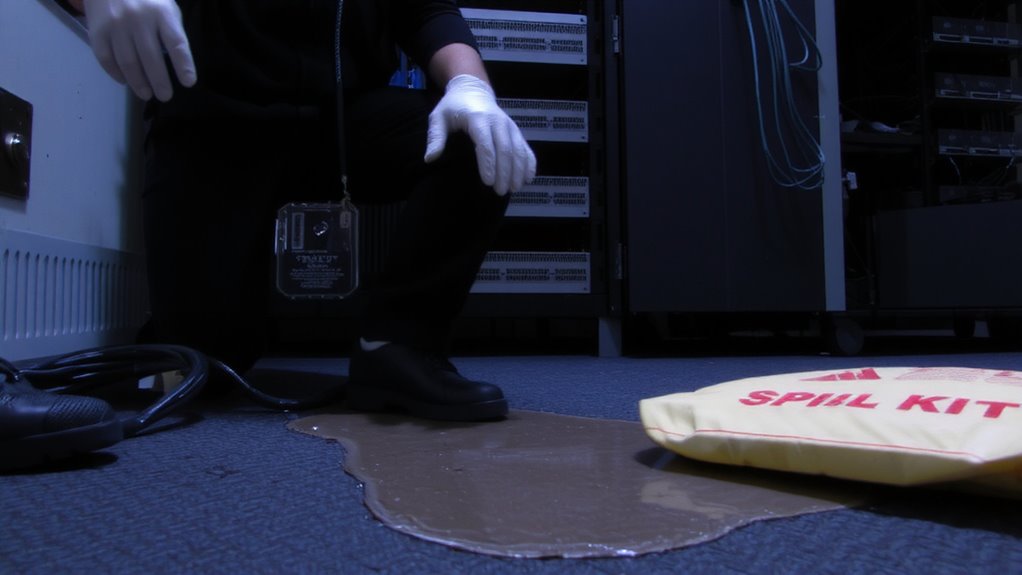
If you’ve just spilled liquid near your cable management system, turning off the power right away is the smartest and safest move-you’ll prevent potential short circuits or even electrical hazards. Electrical safety should always come first, and cutting power eliminates immediate risks. This simple step is key for effective hazard prevention, especially with metal components or tightly bundled cables that could conduct current. You don’t need special tools-just flip the circuit breaker or unplug the connected devices. While it might feel disruptive, especially mid-task, the brief downtime is a fair trade for avoiding equipment damage or injury. There’s no performance loss in powering down, and most systems reboot without issues. However, don’t assume one shutdown covers all scenarios-reassess before restoring power. Always wait until surfaces are visibly dry, even if it takes a few hours. Immediate action reduces risk, but patience guarantees safety.
Assess the Spill Type and Risk Level
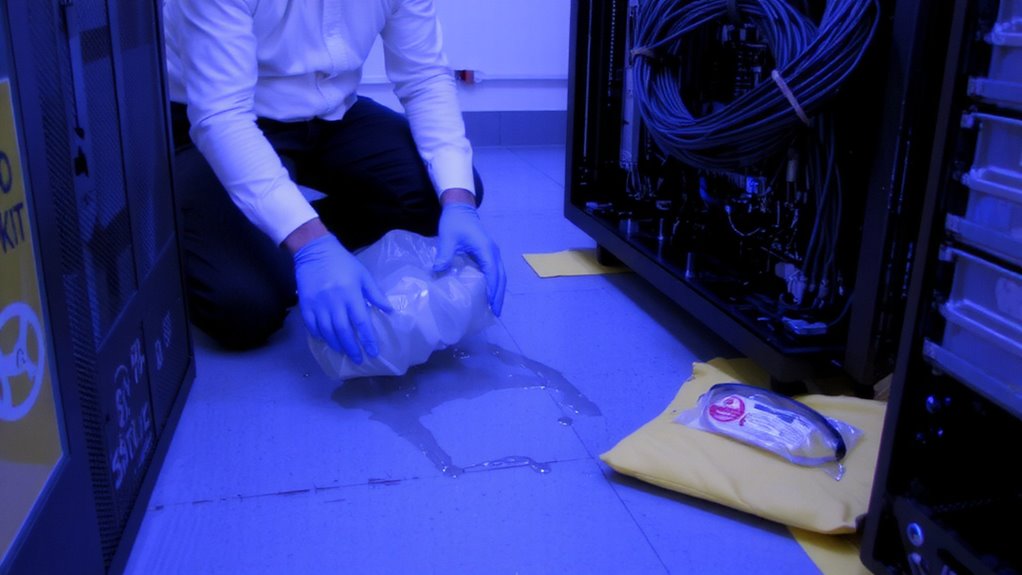
The type of liquid spilled matters-knowing whether it’s water, coffee, soda, or something more corrosive tells you exactly how urgent and involved your cleanup needs to be. Start with spill identification: is it conductive or acidic? Water’s low risk, but soda or juice introduces sticky residues and corrosion risks. Conducting a proper hazard classification helps determine exposure limits and handling steps. For instance, sugary or alcoholic spills escalate risk levels due to residue and flammability. Always assume worst-case with unknown liquids-better safe than sorry. While most home office spills are low-hazard, office environments with industrial drinks or solvents nearby may require stricter protocols. You don’t need specialty gear for water, but corrosive substances demand gloves and eye protection. Skipping this step might save seconds now but could compromise equipment or safety later. Accurate assessment shapes every next move-don’t rush past it.
Remove Excess Liquid Safely
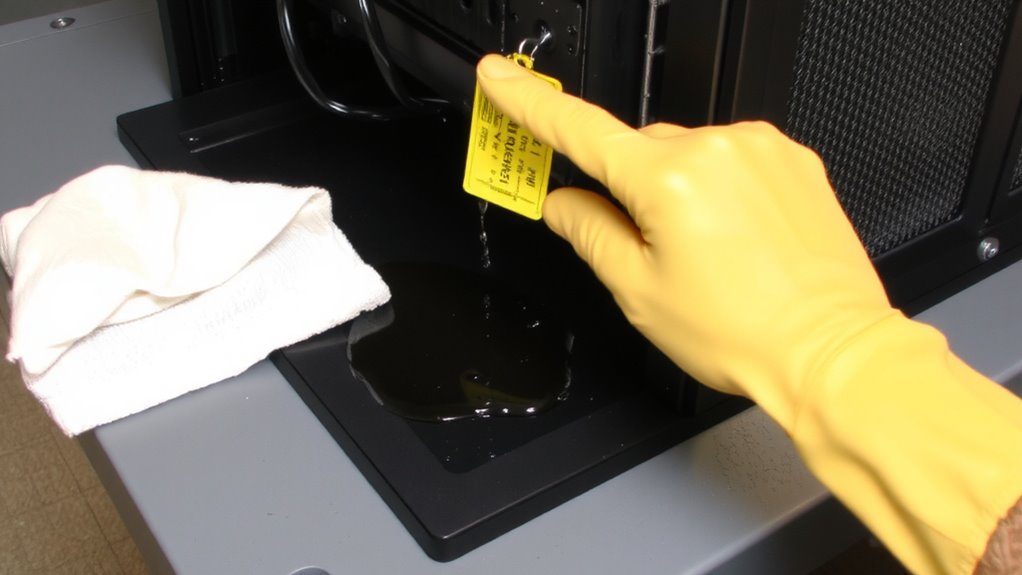
Start by containing the spill area-unplug nearby devices and power strips to reduce electrical risk, especially if the liquid is conductive like soda or alcohol. You’ll want to quickly absorb spill residue using lint-free cloths or absorbent pads, pressing gently to avoid pushing liquid deeper into cable bundles. Work from the outer edge inward to help prevent dripping along adjacent wires or into equipment ports. Don’t use paper towels-they can leave fibers or disintegrate when wet. If the spill is on vertical cabling, place a towel beneath to catch runoff. Move methodically, checking hidden spaces like cable ties or behind raceways where pooling can occur. Your goal is minimizing moisture exposure without disturbing cable connections. Be thorough but cautious-aggressive wiping might damage insulation or connectors. This step reduces immediate hazards and prepares the system for deeper inspection later.
Unplug and Isolate Affected Cables
While protecting your equipment from further damage, you should unplug any cables showing visible signs of liquid exposure-especially if they connect to powered devices or run through dense cable management trays. Isolate them quickly to prevent short circuits or corrosion. Use cable labeling to identify each line’s source and destination, making reconnection easier and safer. Record details in your spill documentation, including time, affected cables, and initial observations. This helps track exposure history and supports maintenance logs. Below is a quick reference:
| Cable Type | Action Needed |
|---|---|
| Power | Unplug immediately |
| Ethernet | Disconnect and label |
| HDMI | Isolate and inspect |
| USB | Unplug, log in documentation |
Always prioritize safety over speed. Even small spills can compromise connections. Though immediate steps reduce risk, never assume a cable is safe just because it looks dry.
Dry the Area Without Heat or Air Pressure
If you’ve already unplugged and labeled the affected cables, your next move is to dry the area using methods that won’t risk further damage-meaning no heat guns, hair dryers, or compressed air. Instead, rely on surface evaporation and natural ventilation to safely remove moisture. Position the cables in a dry, well-ventilated space with consistent airflow, like near an open window or under a ceiling fan. Let time do the work-typically 12 to 24 hours, depending on humidity. Elevating cables slightly off surfaces encourages air circulation and speeds drying. While this method lacks the speed of forced air or heat, it avoids pushing moisture deeper into connectors or warping insulation. Avoid rushing it; patience here reduces long-term failure risks. Surface evaporation, supported by steady natural ventilation, offers a reliable, equipment-safe approach-just confirm the area stays free of dust and debris during drying.
Inspect Cables and Connections for Damage
Once the cables have had time to dry thoroughly-no exceptions-your next move is inspection, the step that tells you whether cleanup ends here or leads to replacement. Start by checking each cable’s outer layer: damaged cable insulation can expose wires, increasing shock or short-circuit risks. Look closely at connectors for any signs of connection corrosion-this includes discoloration, flaking, or a powdery residue. Even minor corrosion can disrupt signal quality or power delivery. If you spot fraying, cracks, or stiff, brittle insulation, those cables need replacing. Don’t assume a cable works just because it powers on-intermittent faults often show up later. For Ethernet or power cables, consider using a basic tester to confirm functionality. While most quality cables are built to last, liquid exposure shortens lifespan. When in doubt, swap it out-safety outweighs the cost of a new cable. Proper cable management for desk aesthetics can minimize spill exposure and simplify inspections.
Reconnect Only After Full Drying
Don’t even think about plugging things back in until every last part is fully dry-rushing this step risks short circuits, equipment damage, or even fire. You need complete dryness, not just surface dryness, especially inside connectors and along cable jackets. Wait at least 24–48 hours, depending on humidity and spill size. Use a fan or dehumidifier to speed things up, but don’t force it with heat. Once dry, double-check your cable labeling to guarantee correct reconnections-mismatches can disrupt signal paths or overload ports. Good system organization pays off here, letting you trace and reconnect cables swiftly and accurately. But even with perfect labels, inspect each connection point one final time; moisture can hide in bundled sections or behind strain reliefs. Reconnecting too soon voids warranties and risks costly failures. Be patient. A well-organized, clearly labeled setup won’t save you if the cables aren’t bone dry. Safety and function come before convenience every time.
On a final note
You’ve handled the spill right if power was cut fast and cables were unplugged before drying. Always wait at least 24 hours-verify with a moisture meter if possible-before reconnecting. Most shielded Cat6 or USB-C cables survive if undamaged, but frayed insulation means replace, don’t risk it. No fans or heaters; they push moisture deeper. Warranties rarely cover liquid damage, so skip shortcuts. Proper steps prevent shorts, but time is non-negotiable.