Setting up a Proper Audio Recording Environment With Desktop Microphones
You’ll get clean audio with the right mic and setup-choose a USB condenser like the Shure MV7 or AT2020USB+ based on your voice: deeper tones suit mics with warm low-mids, while brighter voices need smoother highs. Place the mic 6–8 inches away, slightly off-center and angled up to reduce plosives. Use a pop filter and shock mount to cut distortion and desk noise. Position it on a boom arm to avoid vibrations and aim it away from walls to limit echo. Add acoustic panels or heavy blankets to tame reflections, and stuff closets with clothes to absorb bass. Swap mechanical keyboards for quieter models, and record during quiet hours to minimize background noise. Set gain so peaks hit -12 dB for headroom without clipping. Test audio levels both visually and by ear each time-small changes make a big difference in clarity. There’s more to fine-tuning your space for even better results.
Notable Insights
- Choose a USB condenser mic like the Shure MV7 or Audio-Technica AT2020USB+ based on your voice type and sensitivity needs.
- Position the microphone 6 to 8 inches from your mouth, slightly off-center and angled upward to reduce plosives and breath noise.
- Use a boom arm and shock mount to isolate the mic from desk vibrations and enable precise, stable placement.
- Place acoustic panels, heavy blankets, or bookshelves around the recording area to absorb reflections and control room echo.
- Set gain levels so peaks reach -12 dB, use a pop filter, and record in quiet environments to minimize background noise.
Pick the Best Mic for Your Voice and Desk Setup
You’ll want a mic that matches both your vocal tone and workspace layout, and while USB condensers like the Shure MV7 or Audio-Technica AT2020USB+ are solid starting points, they aren’t one-size-fits-all. Your voice resonance plays a key role-deeper voices often benefit from mics with a tailored low-mid response, while brighter tones may need a smoother high-end roll-off. Mic sensitivity matters, too: too high, and you’ll capture keyboard clicks; too low, and your voice lacks presence. Look for 10–15 mV/Pa sensitivity for balance. Test gain levels at your normal speaking distance to avoid distortion. The MV7’s dual pickup patterns help, but its proximity effect can muddy bass if you’re too close. AT2020USB+ offers clarity but can be overly sensitive off-axis. Check warranty length-three years like Shure’s is ideal. No mic fixes everything, so match specs to your actual use. Adding greenery like best office plants can improve air quality and reduce stress during long recording sessions.
Position Your Desktop Mic to Capture Clear Audio
Placing your desktop microphone correctly makes a bigger difference than most upgrades to gear. Proper mic placement boosts voice clarity by minimizing plosives and distance-related drop-off. Position the mic 6 to 8 inches from your mouth, just off-center to avoid breath pops. Angle it slightly upward toward your mouth-if it’s too close, you risk distortion; too far, and your voice loses definition. A boom arm helps fine-tune positioning, especially on cluttered desks. Most condenser mics are cardioid, meaning they pick up sound best from the front, so face the primary mic direction toward you. Wall reflections can muddy audio, so avoid placing it directly facing hard surfaces. While ideal placement improves recordings, it won’t fix issues from poor room acoustics or low-end gear. Always test positioning with quick voice checks to confirm clarity before full sessions. For home office setups, choosing one of the best microphones can further enhance audio quality and complement proper placement techniques.
Silence Keyboard and Room Noise for Cleaner Recordings
Even with perfect mic placement, background noise from your keyboard or room can ruin otherwise clean recordings. You’ll want to focus on noise isolation to keep clicks and ambient sounds out of your track. Mechanical keyboards, while satisfying to type on, are especially noisy-opt for a quiet membrane model if you must type mid-recording. For room noise, consider basic acoustic panels placed at key reflection points, like walls opposite your desk. They won’t eliminate all sound, but they help absorb mid to high frequencies and reduce background chatter. Keep in mind: acoustic panels aren’t a fix-all, especially for low-frequency noise like HVAC systems. For best results, record during quiet hours and use a directional mic that favors your voice over room sound. It’s a practical balance-improving noise isolation doesn’t require total soundproofing, just smarter choices. Top-rated options like the best acoustic panels for home office offer targeted sound absorption without breaking the bank.
Kill Echo With Simple DIY Room Treatments
A well-treated room doesn’t need professional acoustic panels to control echo-strategic DIY solutions can make a real difference in sound quality. You can reduce reflections using everyday items that mimic acoustic panels and bass traps. Heavy blankets, thick moving blankets, or bookshelves filled with books help absorb mid to high frequencies. For corners, dense foam or stacked clothes in closets act like basic bass traps, taming low-end buildup. While these won’t match lab-tested panels, they’re effective for voice recordings.
| Solution | Best For | Limitations |
|---|---|---|
| Blankets | Mid/high reflection | Minimal bass absorption |
| Bookshelves | Diffusion | Needs space and depth |
| Closet with clothes | DIY bass traps | Less precise than foam |
These methods cut echo affordably, but room layout still matters-avoid bare parallel walls.
Use Pop Filters and Shock Mounts to Block Distractions
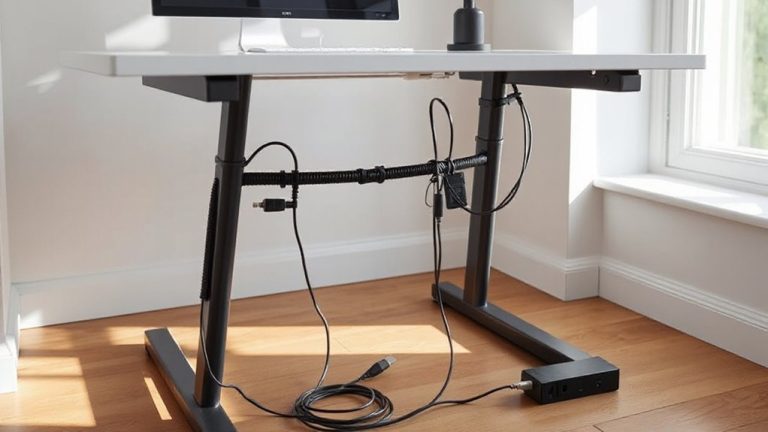
You’ve handled the room’s echo with smart DIY treatments, but clean audio also depends on managing direct mechanical and vocal interference-this is where pop filters and shock mounts come in. Pop filters block plosive sounds like “p” and “b” that distort recordings, while shock mounts decouple your mic from surfaces to reduce vibrations from desk taps or footsteps. Together, they’re essential for mic isolation, especially with desktop setups where contact noise is common. Most shock mounts fit standard mic stands or clamps, but check thread size compatibility-many use 3/8” to 5/8” adapters. Position the pop filter about 2–3 inches from the mic; closer reduces plosives but may muffle tone. Cable management matters too: secure loose wires to avoid snagging or noise from movement. While basic models work well, higher-end mounts offer finer tension control and durability. Just don’t expect miracles-poor mic placement or a bad recording habit will still undermine results, no matter how good your accessories are.
Set Gain and Levels for a Clean Audio Signal
Clear signal levels start with proper gain staging, and getting it right means your recordings will sound professional without clipping or noise. You control signal flow by adjusting the gain on your audio interface or mixer so the microphone feeds a strong but safe level to your recording software. Aim for peaks around -12 dB to allow headroom-this guarantees consistent clipping prevention, especially when speaking or singing with dynamic variation. If your signal’s too low, digital noise becomes noticeable; too high, and you’ll distort the audio. Most desktop condenser mics need moderate gain, but check your interface’s gain knob range and test with normal speaking levels. Built-in limiter circuits help, but they’re not a fix for bad gain settings. Always monitor input levels visually and by ear. A well-set gain gives you clean, reliable audio without extra processing, which matters when clarity affects perception.
Check Your Sound Before Every Recording
Always test your audio setup before hitting record-skipping this step risks capturing issues that no amount of editing can fully fix. Proper microphone testing guarantees your levels are clean and your positioning is effective. Audio calibration isn’t just for studios; even in a home office, small changes in desk placement or mic sensitivity can impact quality. Use a short spoken phrase to check for distortion, room echo, or uneven frequency response. Review this checklist each time:
| Issue | What to Do |
|---|---|
| Clipping | Lower gain or move slightly away |
| Low volume | Recheck audio calibration and gain |
| Background noise | Adjust mic direction or room setup |
Even with reliable gear, environmental shifts matter. A quick test saves hours in post.
On a final note
You’ll get solid results with a well-placed dynamic mic like the Shure SM7B, especially when paired with a boom arm and audio interface like the Focusrite Scarlett 2i2. Room treatment with DIY panels cuts echo effectively, but don’t expect studio perfection in untreated spaces. Always use a pop filter and set gain between -12dB and -6dB to avoid clipping. These steps deliver clear, broadcast-ready audio-just remember: gear helps, but placement and environment matter more.