Using Ceiling Clouds to Improve Speech Clarity in Large or Vaulted Home Offices
You can improve speech clarity in large or vaulted home offices with ceiling clouds, especially since bare ceilings and long wall distances often cause distracting echoes. Place panels with high NRC ratings (0.85+) directly over your desk, covering 15–30% of the ceiling area to avoid over-dampening. Mount them 7–9 feet high using adjustable cables for ideal sound absorption. Pair with curtains or wall panels, and consider custom fabrics to match your decor-there’s more to get right than placement alone.
Notable Insights
- Ceiling clouds reduce echo by absorbing sound reflections from hard or vaulted ceilings where sound bounces excessively.
- Aim for 15% to 30% ceiling coverage to effectively improve speech clarity without over-dampening the room.
- Place clouds directly above workspaces at 7 to 9 feet high to intercept sound before it reflects.
- Use high-NRC materials like fabric-wrapped mineral wool or rigid fiberglass for optimal sound absorption.
- Combine evenly spaced, properly sized clouds with background noise masking for best acoustic performance.
Why Large Home Offices Lose Speech Clarity
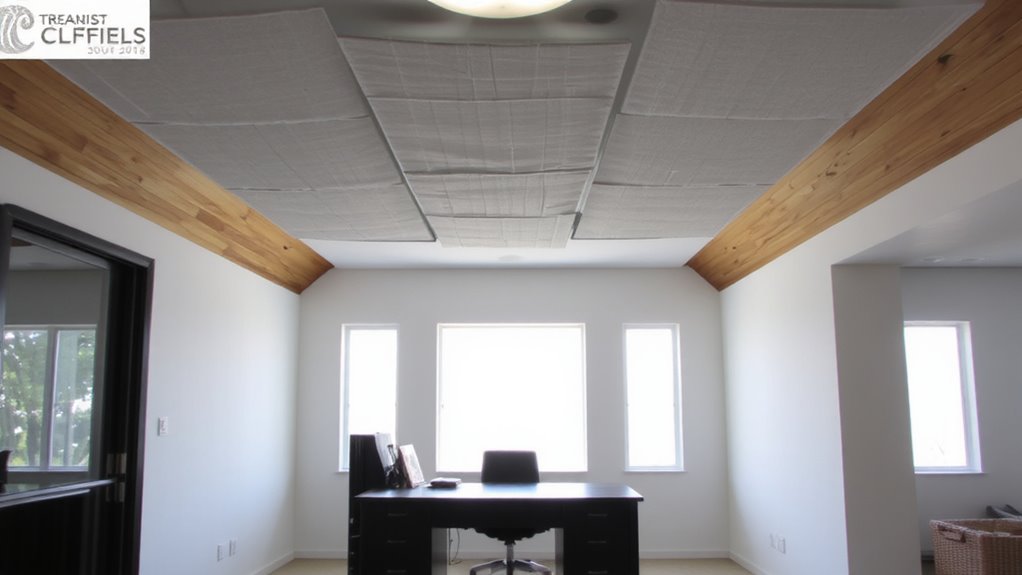
While you might assume a spacious home office naturally supports clear conversations, the reality is that larger rooms often degrade speech clarity due to excessive reverberation. Your room dimensions play a key role-longer distances between walls let sound bounce longer, muddying speech. When combined with high wall reflectivity from bare drywall, glass, or wood finishes, reflections amplify and overlap, making it harder to catch every word. You’ll notice this most during video calls or recorded voice memos, where crisp articulation matters. Even with a quality microphone, poor acoustics limit improvement. Addressing reverberation isn’t about buying more gear-it’s about controlling how sound behaves in the space. Simple fixes like adding fabric-covered panels or heavy curtains help, but their placement and coverage must match your room’s specific volume and surface types to make a measurable difference.
How Ceiling Clouds Cut Down Office Echo
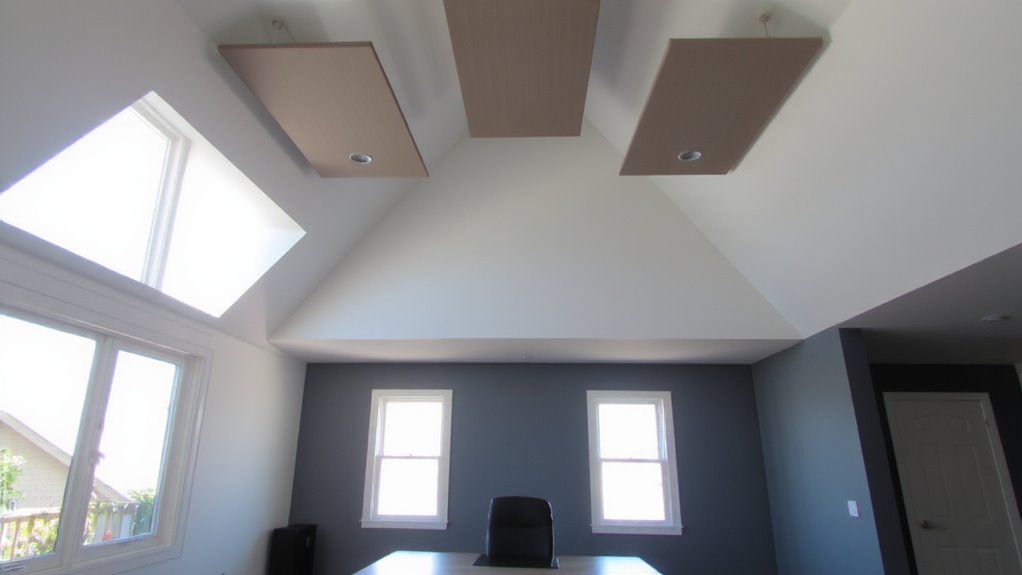
Since sound travels in all directions and tends to reflect off hard ceiling surfaces, installing a ceiling cloud can make a noticeable difference in reducing echo in your home office. Ceiling clouds absorb sound reflections, improving speech clarity by limiting reverberation. They also aid in sound diffusion, scattering audio waves to prevent focused echoes. When paired with background noise masking-like a white noise machine-your space feels quieter, even if noise sources remain.
| Feature | Benefit | Limitation |
|---|---|---|
| Absorption | Reduces echo from above | Less effective on wall reflections |
| Diffusion | Spreads sound evenly | Requires strategic placement |
| Lightweight | Easy to install | May sag over time |
| Modular | Customizable layouts | Higher cost for full coverage |
| Aesthetic | Modern look | Not a substitute for full acoustic treatment |
They’re not a magic fix, but they help-especially in rooms with vaulted ceilings.
Size and Coverage: How Much You Need
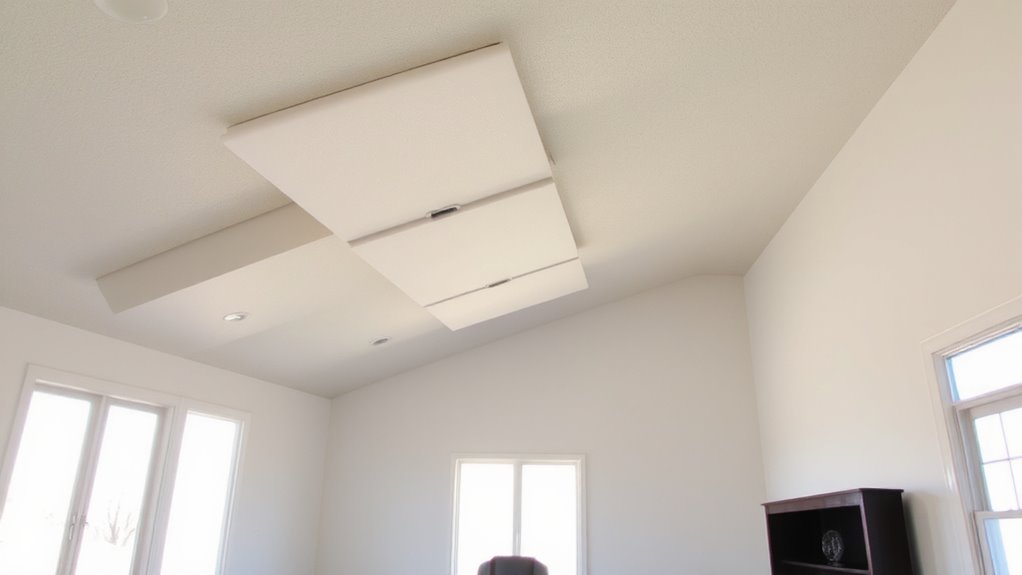
You’ll want to cover 15% to 30% of your ceiling area with acoustic clouds to meaningfully reduce echo and improve speech clarity in your home office. This range guarantees effective coverage balancing-enough to absorb reflections without over-dampening the space. If you go below 15%, you likely won’t hear a noticeable difference; beyond 30%, the room may feel unnaturally dead. For larger or irregularly shaped rooms, consider acoustic zoning: place clouds strategically over key work areas rather than spacing them evenly. This targets sound where you need it most. Use standard panels (2’x4’ or 2’x2’) for flexibility and easier installation. Heavier coverage works best in tall or vaulted rooms with more reflective surfaces. But remember, more isn’t always better-poor distribution harms performance even with high coverage. Test incrementally, starting at 15% and adjusting as needed. For optimal results, choose from the best acoustic panels based on NRC ratings and aesthetic fit for your workspace.
Best Placement for Acoustic Performance
Though getting the number of clouds right matters, placing them where they’ll do the most good is what actually transforms how your home office sounds. You should mount clouds directly above your main workspace, especially where speech happens most-like over your desk or meeting area. Aim for a mounting height between 7 and 9 feet from the floor, low enough to capture sound before it bounces, but high enough to avoid obstruction. Use an adjustable suspension method, like aircraft cable kits, to fine-tune positioning and align with ceiling joists. If your room has a vaulted ceiling, drop the clouds further to stay within ideal acoustic range. Keep spacing even if using multiple panels-overlapping coverage helps. Just don’t cluster them too close; that creates dead zones. Improper placement, even with quality clouds, can leave echoes in corners or along walls.
Best Materials for Ceiling Clouds
When it comes to ceiling clouds, the material you choose directly affects how well speech clarity improves in your home office. For best results, go with high-NRC (Noise Reduction Coefficient) materials like rigid fiberglass or mineral wool-both offer strong sound absorption, trapping mid to high-frequency noise that causes speech to blur. These materials typically have NRC ratings between 0.85 and 1.0, making them effective in reducing reverberation. Material durability matters too; rigid panels resist sagging and won’t degrade over time, even in stable indoor environments. Fabric-wrapped edges add a clean look and protect the core. Avoid thin foam-it’s cheap but offers poor sound absorption and weak material durability. While more expensive, quality panels pay off in performance and lifespan. Make sure they’re UL Greenguard or Class A fire-rated for safety. Don’t skip checking manufacturer warranties-10+ years signals confidence in both sound absorption and material durability.
Combine Ceiling Clouds With Other Treatments
Ceiling clouds work best when paired with other acoustic treatments, especially in home offices where speech clarity matters. You’ll get stronger results by combining them with wall panels and rugs to manage reflections from multiple surfaces. Smart furniture arrangement-like positioning your desk away from large bare walls-reduces echo and supports clearer speech. Don’t overlook lighting integration; mounting lights on or near ceiling clouds can save space but may reduce effectiveness if fixtures disrupt panel coverage. Aim for at least 15–25% ceiling coverage with clouds, placing them strategically between sound sources and reflective zones. While this layered approach improves acoustics noticeably, it requires planning to avoid over-treatment or uneven sound absorption. Some users report minor dimming of overhead lighting when clouds are densely installed. Balance is key-prioritize function without sacrificing room usability.
How to Match Ceiling Clouds to Your Office Aesthetic
While function often takes priority in acoustic design, you can still align ceiling clouds with your office aesthetic without sacrificing performance. Use color coordination to blend panels with your walls or ceiling-most brands offer customizable fabric wraps in matte or textured finishes, so they don’t stand out unless you want them to. For a cleaner look, opt for recessed mounting or align multiple clouds in a symmetrical grid to support visual balance. Design integration matters most in open or high-visibility spaces, where aesthetics influence perceived professionalism. Choose edge profiles-baffled, beveled, or square-to match your room’s style. While white or gray panels are standard and minimize visual disruption, bold colors can work if they complement existing furniture or art. Avoid glossy finishes; they reflect light unevenly and may highlight imperfections. Remember, every aesthetic choice should still allow at least 15–20% ceiling coverage for effective sound control.
On a final note
Ceiling clouds boost speech clarity in large or vaulted home offices by reducing echo and controlling reverberation. They work best when sized to cover 15–25% of the ceiling and placed above desks or meeting zones. Use tested panels with an NRC of 0.7 or higher for reliable absorption. Pair with wall treatments for full results. Installation affects performance-floating mounts work better than flush. Results vary by room shape, but real-world tests show noticeable improvement in voice intelligibility.