Setting up a Zero-Gravity Seating Position With an Ergonomic Reclining Chair
You’ll get real relief from back pain and leg fatigue only if your chair has a synchronized tilt, reclines to 120°–135°, and lifts your legs to heart level. Use a high-quality frame with breathable mesh to guarantee durability-cheap models sag fast. Set the seat so your hips sit above your knees, adjust lumbar support 7–12 inches up, and use a footrest that doesn’t shift your posture. Even with the right setup, limit reclining to 20–30 minutes hourly to avoid strain. Perfect alignment depends on your height and desk, so small tweaks make a big difference.
Notable Insights
- Position hips slightly above knees by adjusting seat tilt and depth for optimal spinal alignment.
- Recline the backrest to 120–135 degrees between torso and thighs to reduce disc pressure.
- Elevate legs to heart level using an adjustable footrest for improved circulation and comfort.
- Use a synchronized chair mechanism that tilts seat and backrest together to maintain posture.
- Adjust lumbar support 7–12 inches from seat base to support the lower back’s natural curve.
Define the Zero-Gravity Seating Position
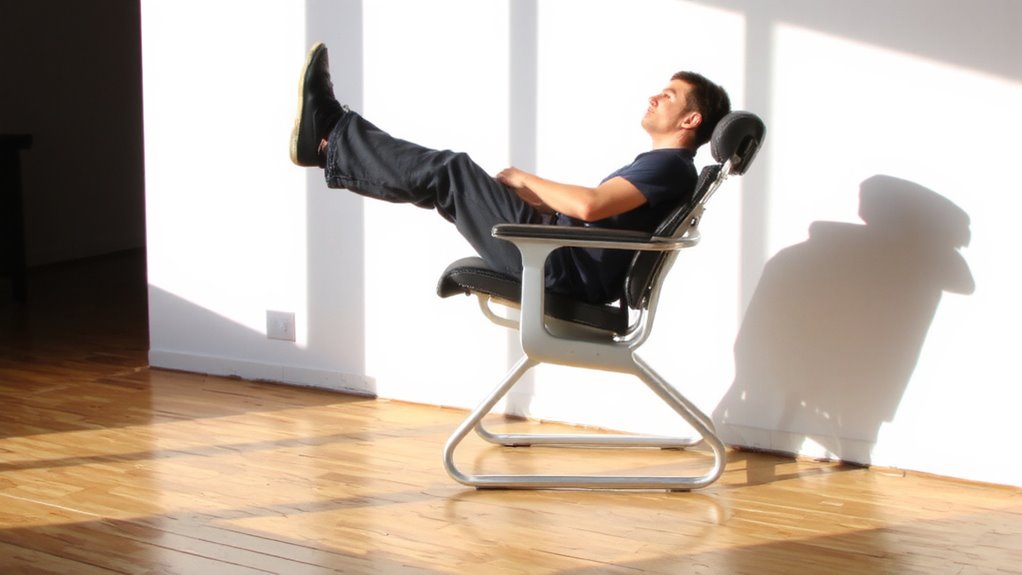
A neutral spine is the name of the game, and that’s exactly what the zero-gravity seating position delivers. You’re reclined slightly, with your hips above your knees and feet elevated, which promotes ideal spinal alignment by reducing disc pressure. This pose mimics how astronauts relax in space, hence the name. It’s proven to enhance muscle relaxation, especially in your lower back and legs, by evenly distributing your body weight. You’ll feel less strain during long work sessions, but don’t expect magic-posture discipline still matters. While studies show improved comfort and reduced fatigue, results depend on correct setup. It won’t fix poor ergonomics elsewhere, like a misaligned monitor. And if you move a lot or prefer upright work, the position may feel restrictive. Use it selectively, not constantly. It’s a tool, not a cure-all. Some of the best options for achieving this position in an office setting are zero-gravity office chairs, designed to combine ergonomic support with reclining functionality.
Choose a Chair That Enables Zero-Gravity Posture
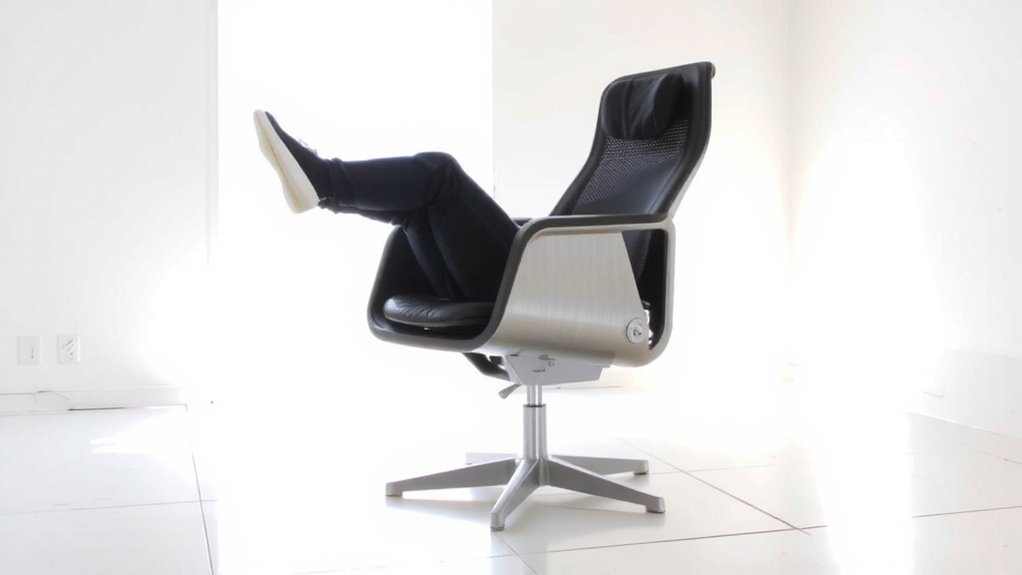
You won’t get the full benefits of the zero-gravity seating position without a chair designed to support it. A proper chair design evenly distributes your weight, elevates your legs slightly above your heart, and maintains spinal alignment-key for reducing pressure on your lower back. Look for models with a synchronized mechanism that tilts both seat and backrest smoothly, enabling true zero-gravity posture. Material durability matters, too: high-quality nylon or reinforced polymers in the frame and breathable, abrasion-resistant mesh guarantee longevity, especially with daily use. While premium chairs often last 8+ years and come with 5-year warranties, cheaper versions may sag or wobble within a year. Don’t assume all recliners support this position-many only simulate it. Test adjustability, check weight limits, and verify recline range to avoid poor ergonomics. Prioritize engineering over aesthetics. Top picks for achieving this optimal posture include models recognized in the best reclined office chairs roundup, which highlights designs specifically engineered for ergonomic support and long-term comfort.
Set the Ideal Seat and Backrest Angles
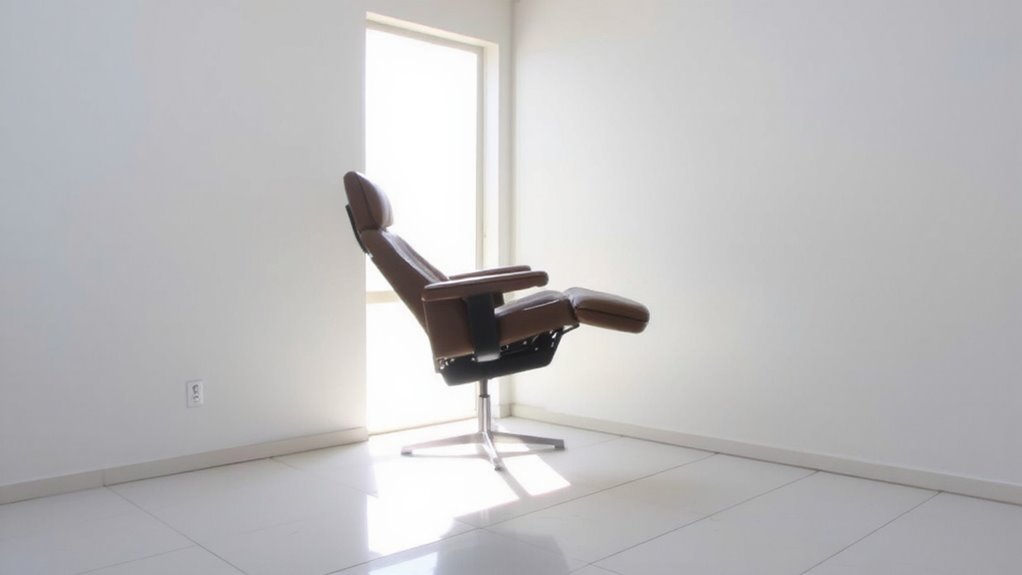
Though many chairs claim ergonomic benefits, achieving true zero-gravity positioning means setting the seat and backrest at precise angles-typically 120 to 135 degrees between your torso and thighs, with the seat pan angled so your hips sit slightly above your knees. You’ll need to adjust both the seat tilt and backrest angle to hit that range. A proper seat tilt reduces pressure on your lower back, while the right backrest angle supports spinal alignment without straining your neck. Most high-quality reclining chairs let you fine-tune these settings, but not all hold positions securely-check for smooth, locked adjustments. Keep in mind, over-reclining can limit desk access, so balance comfort with functionality. Test the angles while sitting fully back; your posture should feel supported, not slouched. It takes a few tries, but once set, the position can greatly reduce spinal load during long sessions. For enhanced support tailored to spinal health, consider models labeled as orthopedic recliner chairs.
Elevate Legs to Heart Level for Circulation
Getting your legs level with your heart completes the zero-gravity posture and helps maintain steady blood flow, especially during long sits. Proper leg elevation reduces venous pressure in your lower limbs, which can otherwise lead to swelling or discomfort over time. When your legs align with your heart, you achieve ideal heart alignment, supporting circulatory efficiency without overworking your cardiovascular system. Most ergonomic reclining chairs with adjustable footrests let you fine-tune the height and angle for accurate positioning-some even offer extension props for taller users. However, too much elevation can compress the back of the knees, so aim for a neutral, flat position where your thighs and calves lie at 90 to 100 degrees. Always check that the footrest supports your feet fully without forcing your hips forward. This subtle adjustment matters, but it’s only effective when combined with correct seat depth and recline settings.
Support Your Lower Back and Neck Comfortably
A well-designed zero-gravity setup demands targeted lumbar and neck support to maintain spinal alignment and prevent fatigue during extended use. You’ll need a chair with an adjustable lumbar pad that fits the natural curve of your lower back-ideally 1 to 2 inches thick and positioned between 7 and 12 inches from the seat base. This promotes muscle relaxation by reducing strain on vertebrae and surrounding tissues. Neck support should lightly cradle the cervical spine without pushing your head forward; a headrest with 2–3 inches of depth works best for most users. Poorly placed cushions can distort spinal alignment, leading to discomfort over time. Look for memory foam or mesh panels that balance firmness and give, but verify long-term durability through warranty-preferably 5+ years. Test adjustments in person if possible, since individual anatomy varies.
Optimize Your Setup With Cushions and Timing
How do you turn a good zero-gravity setup into one that truly works for your body over time? You optimize with smart cushion choices and consistent timing intervals. Pick lumbar and neck cushions with medium cushion density-too soft won’t support, too firm can press uncomfortably. Memory foam 3–4 inches thick usually strikes the right balance, maintaining shape after months of use. Pair this with deliberate timing intervals: recline 20–30 minutes per hour to reduce spinal pressure, but don’t skip standing or light movement. Even the best chair can’t fix total inactivity. Most quality cushions come with removable, washable covers and 1-year warranties, so check durability before buying. While helpful, extra cushions aren’t a fix for poor posture habits. Use them to enhance-never replace-proper positioning.
On a final note
You’ll likely feel less back strain and improved comfort in a true zero-gravity position, especially during long sits. Set your ergonomic reclining chair’s seat-to-back angle to about 110–120 degrees and elevate legs slightly above heart level. Use adjustable lumbar support and a contoured neck pillow if needed. While results vary, many report real relief-just avoid over-reclining daily, as it may weaken postural muscles over time. Test setups over a week to judge what works for you.