How to Install Ventilated Cable Management Boxes to Prevent Dust and Overheating
Pick a ventilated cable box at least 12 inches deep and mount it near a power source with full airflow clearance. Use screws, not adhesive, for a secure hold on drywall. Route cables loosely with gentle bends, leaving 2 inches between vents and walls. Label both ends and clean every three months with compressed air. Proper setup prevents overheating and dust buildup-though it takes planning, the payoff is cooler, safer gear. Better airflow means longer device life, and there’s more to optimizing your layout for performance.
Notable Insights
- Choose a ventilated cable box at least 12 inches deep and position it with ample airflow clearance.
- Mount the box securely on a stable surface using screws, ensuring vents remain unobstructed.
- Align the pre-ventilated back panel to match device exhaust points for efficient heat dissipation.
- Route cables with gentle bends and maintain 2-inch clearances to promote airflow and prevent overheating.
- Label and group cables with Velcro, clean every three months, and inspect for dust or damage.
Choose the Right Size and Location for Your Ventilated Cable Box
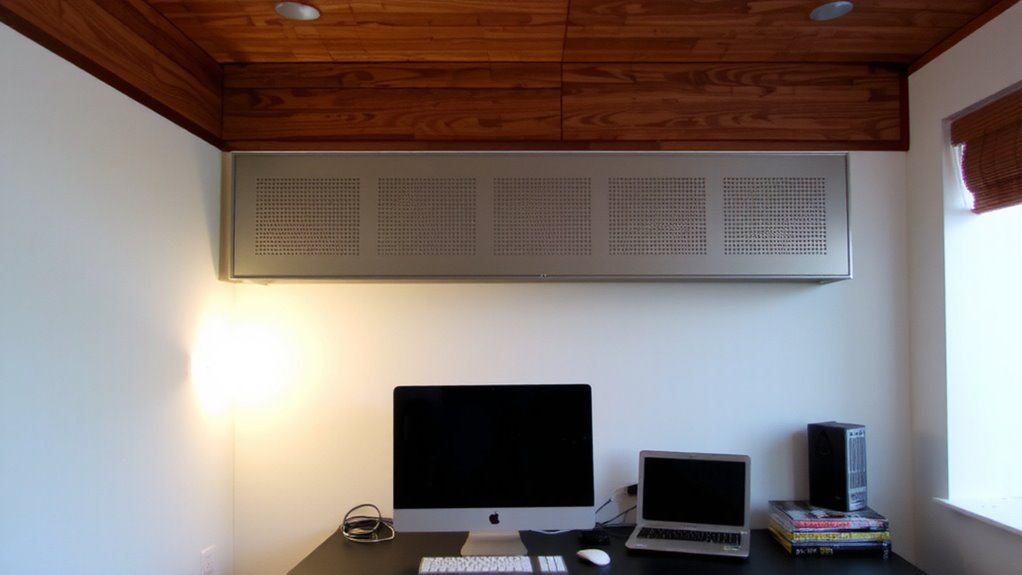
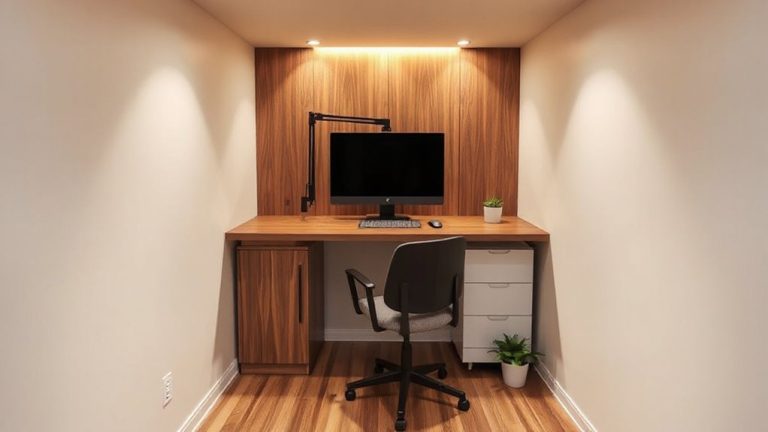
A well-chosen ventilated cable management box keeps your setup tidy and prevents overheating, but picking the right size and location matters more than you might think. You’ll want a box large enough to hold all cables and power strips without cramming-aim for at least 12 inches deep to maintain proper heat distribution. Place it where airflow isn’t blocked, like near the edge of a desk or against a wall with clearance. Poor placement traps heat, even with ventilation slots. A sleek design improves cable aesthetics, blending with modern workspaces, but don’t sacrifice function for style. Oversized boxes can clutter your space, while small ones overheat. Test airflow by running devices for an hour-feel for warmth near vents. If it’s too hot, reconsider position or size. Some models come with fan-assisted cooling and 3-year warranties, but passive ventilation often works if sized and located wisely. For optimal results, consider using a cable management solution that integrates with your desk’s existing layout.
Gather the Tools You Need to Install a Ventilated Cable Box
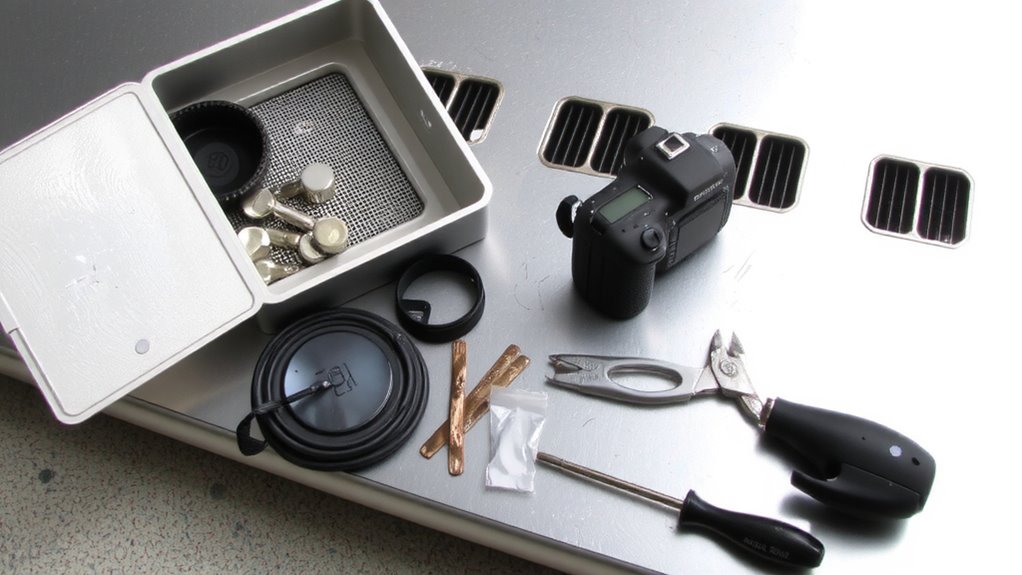
You’ve picked the right size and spot for your ventilated cable box-now it’s time to make certain you have the right tools before installation. Grab a power drill with a 1/4-inch bit, screwdrivers, a stud finder, and a level to ensure alignment. You’ll also need cable ties and a label maker for efficient cable labeling, which saves hours during troubleshooting. Don’t forget a voltage tester for safety-always confirm power is off. While most hardware is forgiving, proper tool calibration matters; a misleveled box can strain cables or disrupt airflow. A digital level or laser guide helps, especially on drywall or tile. Keep mounting screws and anchors nearby-they usually come with the box, but spares help. Though kits vary, most include basic tools, but verify their quality; flimsy bits strip screws fast. You don’t need pro gear, but reliable tools prevent damage and improve long-term performance. Skip shortcuts-accurate prep ensures durability. For optimal organization, consider pairing your setup with top-rated cable management solutions that enhance airflow and reduce clutter.
Install Your Ventilated Cable Management Box in 5 Steps
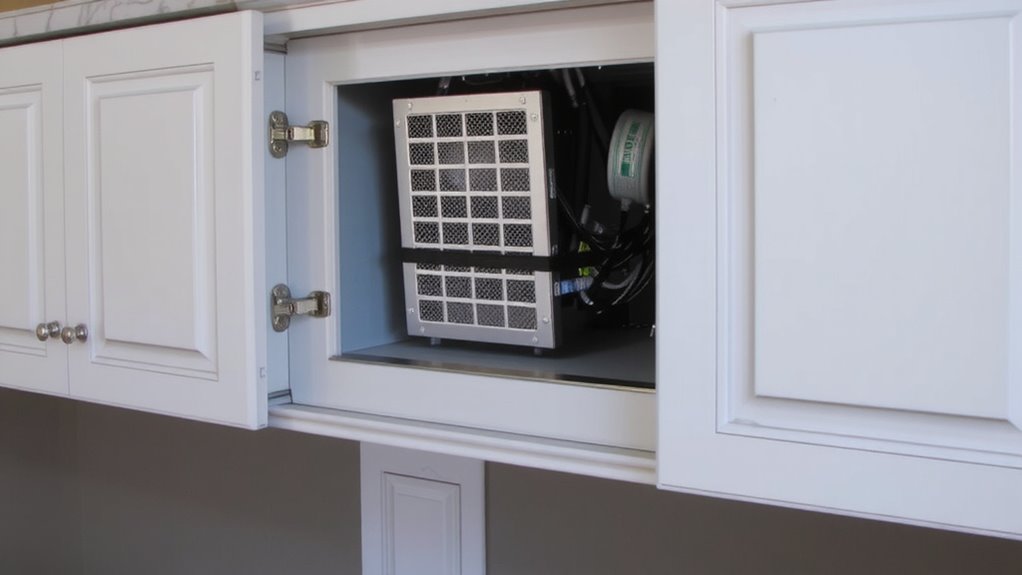
Let’s get that ventilated cable management box securely mounted-doing it right means cleaner wiring, better airflow, and fewer headaches down the line. First, pick a flat, stable surface near your power source and desk outlet. Use the included screws or adhesive mounts-screws offer stronger hold, especially on drywall. Level the box before fastening to maintain cable aesthetics and guarantee even vent alignment. Next, attach the grounding wire if your model requires it; this helps with safety and noise reduction in signal cables. Slide in the pre-ventilated back panel so airflow channels line up with device exhausts. Double-check that none of the vents are blocked by walls or furniture-clearance of at least 2 inches is ideal. Finally, test fit one device to confirm access and fit. Most units come with a 1-year warranty, but long-term dust resistance depends on correct installation. For optimal results, pair your setup with cable management solutions designed to reduce desk clutter.
Route Cables for Airflow in Your Ventilated Box
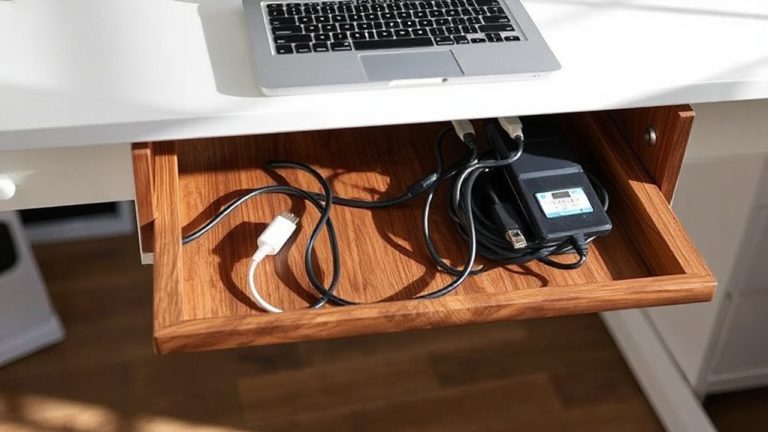
While getting your cables neatly arranged might seem like the main goal, routing them properly inside a ventilated cable management box is actually about maintaining airflow without sacrificing accessibility. You want to avoid pinching or over-bending cables, since excessive cable tension can damage insulation and reduce lifespan. Leave gentle curves when guiding wires through the box, and don’t pack them tightly-this creates airflow gaps that let heat escape efficiently. These gaps are essential; without them, even a well-ventilated box can trap hot air. Keep high-power device cables separated when possible to minimize heat buildup. Make sure vents on the box stay unobstructed by wires or walls. While neatness helps, prioritizing airflow prevents long-term overheating. It’s a small trade-off: slightly looser routing today keeps your gear running cooler and safer over time.
Organize Cables for Easy Access and Cooling
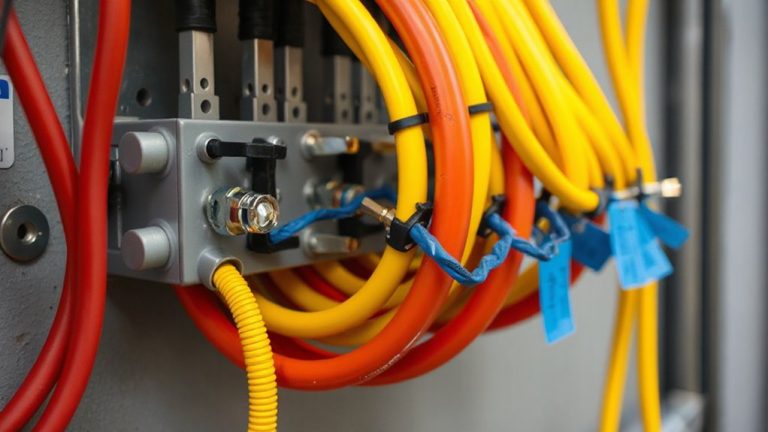
A well-organized cable setup isn’t just about looks-it’s about function, especially when cooling and access matter. Effective cable labeling and airflow optimization guarantee you can troubleshoot fast and keep temperatures low. Avoid tight bundles; instead, group cables by device or function and secure them with Velcro straps. Leave space between cables to support consistent airflow. Use clips or ties to prevent obstruction of intake and exhaust vents in your ventilated box.
| Strategy | Benefit |
|---|---|
| Cable labeling | Quick identification during maintenance |
| Loose grouping | Improved airflow optimization |
| Velcro over zip ties | Easy adjustments without damage |
| Spaced routing | Consistent cooling and access |
Label each end clearly and test airflow with a small fan if needed. Over-organizing can limit flexibility, so balance neatness with serviceability. A tidy interior means safer, cooler operation-but don’t sacrifice accessibility for aesthetics.
Clean and Maintain Your Ventilated Cable Box Every 3 Months
You should clean and maintain your ventilated cable box every three months to guarantee reliable performance and prevent overheating. Dust accumulation inside the box reduces cooling efficiency and can lead to an airflow restriction, which stresses connected devices. Start by powering off all equipment and removing the cover. Use a microfiber cloth and compressed air to wipe down surfaces and blow out debris from vents and corners. Avoid using liquid cleaners-they can damage ports or wiring. Inspect cables for wear and re-secure any loose connections. Clearing dust guarantees consistent airflow and extends hardware life. While regular cleaning takes time, skipping it raises the risk of thermal throttling or failure. Most ventilated boxes aren’t sealed, so they trap dust over time. Check manufacturer guidelines-some recommend specific tools or caution against strong solvents. A 10-minute maintenance session every quarter is a small trade-off for stable, long-term performance.
On a final note
You should install a ventilated cable box if you want to reduce dust and improve airflow around your home office gear. These boxes protect cables while allowing heat to escape through built-in grills or fans. Just pick one with at least 80% open ventilation and secure cable ports. Mount it near your desk or wall outlet for easy access. Empty it and wipe it down every three months to prevent dust buildup. Pick a larger size if you use thick power strips. Make sure not to overload it, or cooling gains drop fast.