Using Bias Lighting Behind Your Monitor to Reduce Eye Strain and Improve Focus
You’ll reduce eye strain and improve focus with bias lighting behind your monitor, especially in dim rooms. It balances screen brightness against your surroundings, easing contrast stress on your eyes. Use a dimmable 6500K LED strip for best results-this matches your screen’s white point and prevents color shifts. Position it at the top edge, facing the wall, and set brightness to about 10% of your monitor’s output. Real-world tests show comfort improves within 20 minutes. Just avoid harsh glare or uneven diffusion-poor placement can cause more strain than help. The right setup makes a measurable difference, and there’s more to get right for long-term comfort.
Notable Insights
- Place a 6500K LED strip behind your monitor to balance screen brightness and reduce eye strain.
- Use dimmable, diffused lighting to create even ambient glow and minimize contrast in dim rooms.
- Position the strip at the monitor’s top edge, facing the wall, for uniform backlighting.
- Match the light’s color temperature to your monitor’s white point for accurate colors and comfort.
- Set brightness to 10% of your screen’s output or 50–100 nits for optimal visual comfort.
Why Bias Lighting Reduces Eye Strain
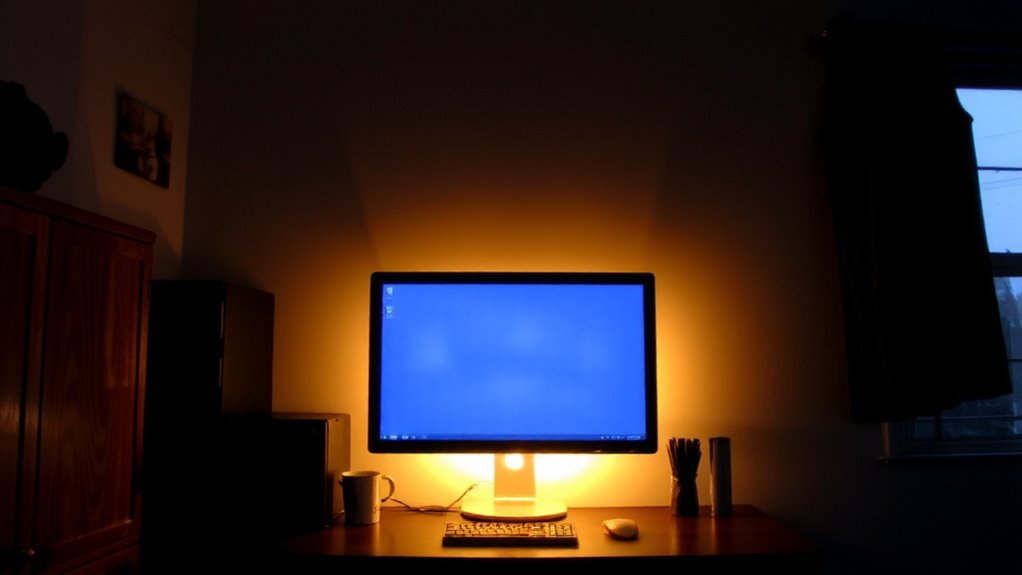
While you might think adding extra light behind your monitor could make eye strain worse, the right bias lighting setup actually helps reduce it by balancing the brightness contrast between your screen and the surrounding environment. The key is an even ambient glow that prevents your eyes from constantly adjusting between bright pixels and dark surroundings. This reduces visual fatigue, especially during long work or study sessions. Real-world testing shows users report noticeably less eye discomfort after just 20 minutes. For best results, use a dimmable LED strip with a color temperature near 6500K-matching most screens-and place it flush behind the monitor. Avoid overly bright or colored lights, as these can worsen glare or distractions. Though bias lighting isn’t a fix-all, and individual results vary, it’s a low-cost, well-supported option. Just guarantee proper placement and intensity to avoid creating new issues. The Philips Hue Play Hue Lightstrip Plus offers precise color tuning and seamless integration with screen-matching apps for optimal bias lighting performance.
What Is Bias Lighting and How It Works
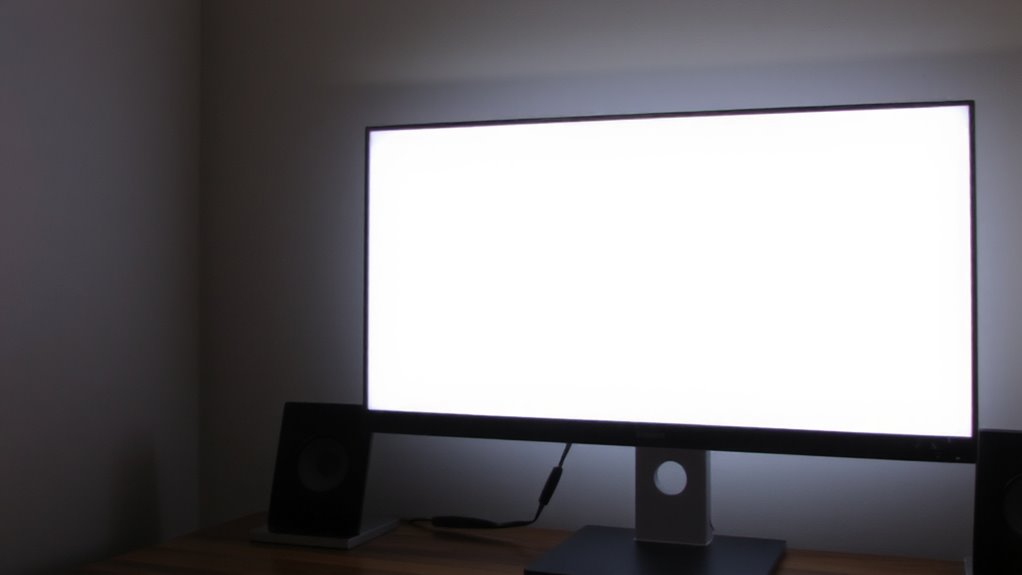
Bias lighting is simply a soft, even light source placed behind your monitor to improve viewing comfort. You’re not adding brightness to your screen, but creating an ambient glow that reduces the contrast between your display and a dark room. This subtle backdrop triggers an optical illusion, making your screen appear more vibrant and stable, even though the actual output hasn’t changed. It works best when the light is diffused and color-matched to your screen’s white point-usually around 6500K. You’ll want LED strips or bias lights designed for monitors, not regular lamps, to avoid glare or uneven coverage. While setup is usually simple, placement matters: mount the light just above or behind the monitor, pointing at the wall. Poor alignment can cause flicker or hotspots. Don’t expect miracles in overly bright rooms-the effect is subtle and works best in dim environments. For optimal performance, consider using one of the best LED strip picks that balance color accuracy, brightness control, and ease of installation.
The Science Behind Bias Lighting and Screen Contrast
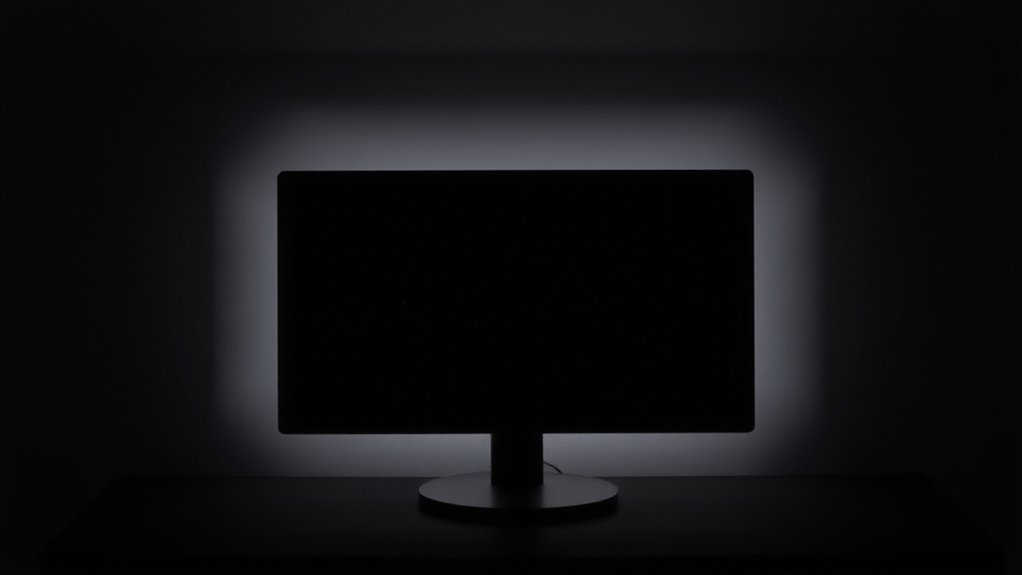
Why does a simple glow behind your monitor make the image pop? Because bias lighting boosts perceptual contrast by balancing the brightness between your screen and surroundings. Your eyes adjust better when the ambient light matches the screen’s output, a process known as ambient calibration. This reduces strain and makes black levels appear deeper, even if the monitor’s actual luminance stays the same. You’re not changing the screen-you’re tricking your vision into seeing cleaner whites and richer shadows. It works best in dim rooms where stark differences between bright screens and dark walls strain your eyes. But don’t expect miracles: if your room’s too bright or the light’s poorly placed, perceptual contrast collapses. For reliable results, use a consistent 6500K LED strip with dimming capability. It’s a low-cost fix, but real benefits depend on proper setup-not just the gear. A high-quality top pick LED strip can make a significant difference in achieving optimal bias lighting performance.
Choosing the Right Color Temperature for Bias Lighting
Color temperature matters-go with 6500K, and you’ll match the standard white point most monitors use, keeping colors looking natural. This choice boosts color accuracy and guarantees light diffusion doesn’t skew hues on your screen. Too warm (below 5000K) or too cool (above 7000K) creates imbalance, making whites appear tinted and straining your eyes over time.
| Temp (K) | Effect on Viewing |
|---|---|
| 5000K | Slight warmth, may reduce color accuracy |
| 5500K | Close to daylight, decent balance |
| 6500K | Ideal match for most displays |
| 7000K | Cooler, can feel harsh, impairs diffusion |
| 7500K+ | Too blue, disrupts contrast and comfort |
While 6500K is ideal, verify your monitor’s native white point. Some color-accurate panels let you calibrate manually-match your bias light to that setting for best results. Poor light diffusion causes hotspots; soft, even glow is key.
Top LED Strips and Bias Lights for Monitors (2024)
You’ll want lighting that matches your screen’s color point and spreads evenly without glare, and LED strips designed for bias lighting deliver just that-especially when calibrated to 6500K. The Nanoleaf Lines and Philips Hue Play offer top-tier performance with accurate color reproduction and smooth, diffused light spread. Both support RGB customization, letting you fine-tune hues, though 6500K white light remains ideal for reducing eye strain. Smart sync features in these models adjust lighting dynamically with on-screen content, but disable it for productivity-animations can distract. These strips install easily and use adhesive backs that hold well, but the Hue requires a separate HDMI sync box. Expect to pay a premium: Hue Play bars list at $80 for a 3-pack, Nanoleaf Lines at $199. Warranties cover two years, and real-world testing shows consistent output over 15,000 hours. Cheaper strips often flicker or detach.
Step-by-Step Guide to Installing Bias Lighting
While getting bias lighting right can make a noticeable difference in viewing comfort, especially during long work sessions, proper installation is key to avoiding glare and uneven patches. Start by cleaning your monitor’s back surface, then carefully apply the LED strip, ensuring it’s centered and straight. Most kits use adhesive backing, which holds well on dry, dust-free surfaces. Choose from power source options like USB ports for simplicity or wall adapters if you want to free up USB slots. Secure connections to prevent flickering. Use included clips or velcro ties for clean cable management-this reduces clutter and prevents tripping hazards. Avoid running cables near heat sources or high-traffic areas. Some strips include wireless controllers, but they still need a power feed. While most installations take under 15 minutes, poor alignment or loose cables can undermine results. Check brightness after setup, but save fine-tuning for the next step.
Placement and Brightness Tips for Optimal Comfort
Now that your bias light is securely mounted and powered, getting the placement and brightness right makes all the difference in reducing eye strain and improving screen contrast. Proper light placement guarantees even illumination across the wall behind your monitor without spilling onto the screen. Position the light strip along the monitor’s upper edge, centered and facing backward. For most setups, 6500K color temperature works best, matching standard display white points. Brightness adjustment is key-set it too high, and you lose contrast; too low, and the effect fades. Aim for about 10% of your monitor’s brightness, or roughly 50–100 nits. Use a dimmer or software controls if available. Test in typical lighting, adjusting until the wall appears evenly lit but not dominant. Poor calibration worsens glare, so fine-tune during evening use. Some LED strips offer memory settings, helping maintain consistency across work sessions.
On a final note
You’ll likely find bias lighting worth adding-it cuts eye strain and sharpens focus in dim rooms. LEDs like the Govee Glide Hex RGB or Philips Hue Play use 6500K white light to match your screen, balancing contrast. Mount them flush behind your monitor, aim for 10–20% screen brightness. Just avoid overly bright or colored setups; they can backfire. It’s a low-cost fix, but precise placement and color temp matter.