Identifying Camera Flickering Under Fluorescent Lighting in Conference Rooms
You’ll notice camera flicker under fluorescent lights as rolling dark bands or pulsing brightness, especially in 30fps video. This happens when your camera’s shutter speed or frame rate clashes with the light’s 100–120 Hz flicker. Match 50/60fps settings to your region’s power frequency and use flicker-free LEDs with constant-current drivers for reliable results. Incandescents work too but burn out faster. Test footage at half speed-what your eyes miss, the camera catches-and check different times of day, since aging bulbs worsen flicker. Solutions exist, but real-world performance varies more than specs suggest.
Notable Insights
- Camera flicker under fluorescent lights appears as rolling dark bands or visible pulsing in video.
- Fluorescent bulbs pulse at 100–120 Hz, causing flicker when unmatched with camera frame rate or shutter speed.
- Use 50fps or 60fps frame rates to match power frequency and minimize flicker in conference rooms.
- Test camera output under actual room lighting to catch flicker not visible to the naked eye.
- Replace fluorescent bulbs with flicker-free LEDs or use cameras with anti-flicker modes for reliable video.
What Causes Camera Flicker Under Fluorescent Lights?
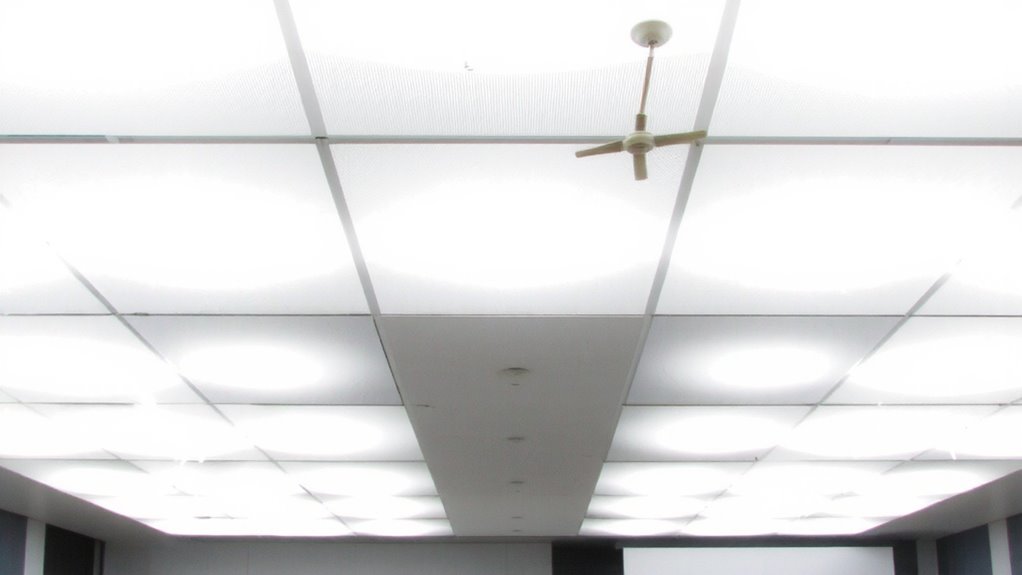
Ever wonder why your videos flicker under office ceiling lights? It’s because fluorescent bulbs don’t emit steady light-they pulse at twice the mains frequency, typically 100–120 Hz. Your camera’s shutter speed often clashes with this flicker, especially if it doesn’t match the light’s cycle. The shifting light spectrum from these bulbs worsens the effect, as phosphors in the tube emit uneven color temperatures over time. Bulb aging amplifies this issue, reducing output consistency and increasing flicker visibility. Even slight mismatches in frequency response between your camera and lighting become obvious in video. While some modern cameras have anti-flicker modes, they aren’t foolproof. Fixing it usually means adjusting shutter speed to match your region’s power frequency-50 Hz or 60 Hz-or switching to high-frequency ballast fluorescents. LED retrofits can help, but only if they use quality drivers and stable current regulation.
Look for Rolling Bars or Flickering Lights in Your Video
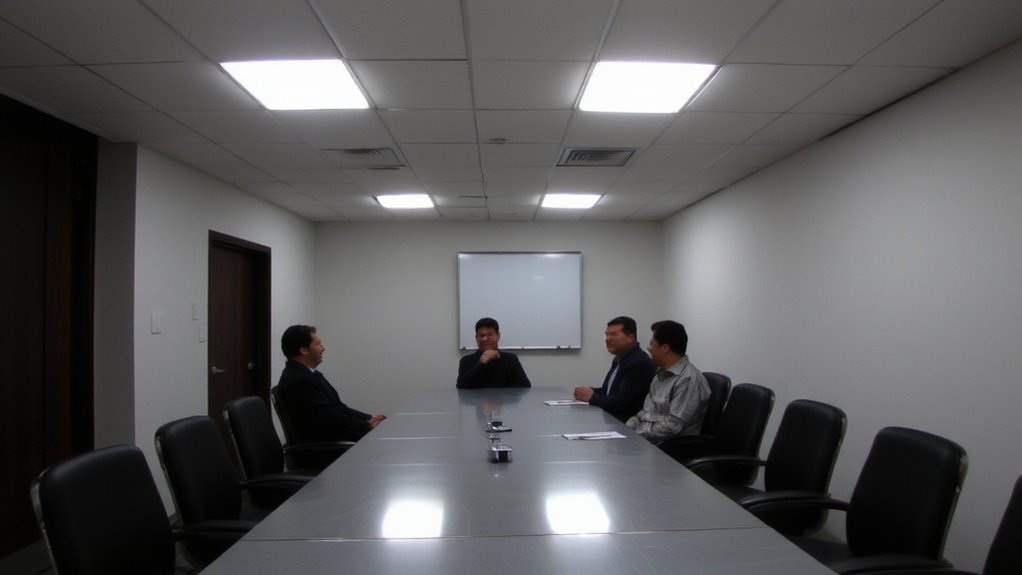
Why do some videos show moving dark bands or pulsing lights even when the scene looks stable to your eyes? You’re likely seeing rolling bars or flickering lights caused by a mismatch between your camera’s frame rate and the AC power frequency driving fluorescent or LED bulbs. Rolling bars appear as dark, horizontal bands that move across the frame, while flickering lights pulse visibly, especially in recorded video. These artifacts don’t affect human vision much because our eyes don’t sample light like a camera sensor does. Instead, cameras capture discrete frames at fixed intervals, making them sensitive to rapid light fluctuations. If you’re filming in a conference room under fluorescent lighting, check for these signs during playback. While higher-end cameras may offer flicker reduction modes, consumer models often lack this feature. Spotting rolling bars early helps you adjust settings before final recording-just don’t assume all gear handles this well out of the box.
Match Frame Rate to Power Frequency to Stop Flicker
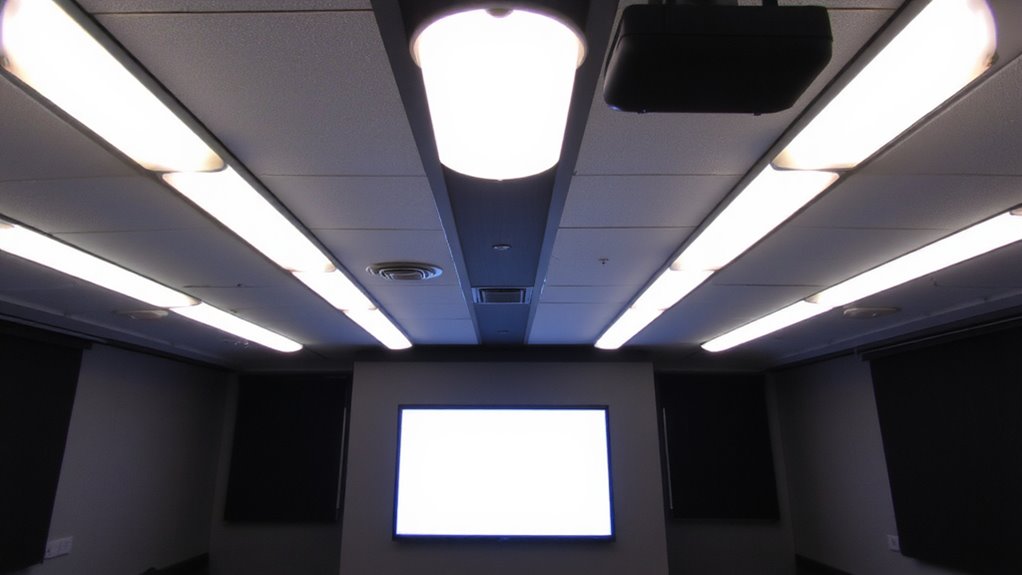
Camera flicker isn’t random-it’s tied directly to how your frame rate lines up with the alternating current (AC) powering the lights in your space. You can stop flicker by matching your camera’s frame rate to your region’s power frequency-30fps or 60fps in 60Hz regions, 25fps or 50fps where it’s 50Hz. This simple fix guarantees proper frame synchronization, so your camera doesn’t capture lights mid-dip in brightness. Exposure matching also matters: if your shutter speed doesn’t align with the AC cycle, you’ll still see flicker. Most modern conference room cameras and prosumer camcorders offer power-frequency settings or flicker-reduction modes. But don’t assume they work perfectly-testing under actual lighting conditions is key. Keep in mind, locking to 50/60fps may limit creativity in post, and not all software handles these frame rates smoothly.
Switch to Flicker-Free LED or Incandescent Lights
Many flicker issues vanish when you switch to truly flicker-free lighting, especially LEDs designed with constant-current drivers or incandescent bulbs that naturally sustain steady output. You’ll get strong LED advantages like energy efficiency, long lifespan-often 25,000 hours or more-and cooler operation, but only if you pick models labeled “flicker-free” and verified by IEEE 1789 standards. Some cheaper LEDs still pulse at 100–120 Hz, which can ruin video. Incandescent benefits include perfectly smooth light output and no electronic ripple, making them inherently safe for cameras. But they’re inefficient, generate heat, and typically last only 1,000 hours. If you choose incandescent, make certain fixtures can handle the heat. For best results, pair either option with dimmers rated for the bulb type-mismatched dimmers often reintroduce flicker. Always check specs, warranties, and independent lab tests before buying.
Test Your Camera Setup for Smooth, Flicker-Free Video
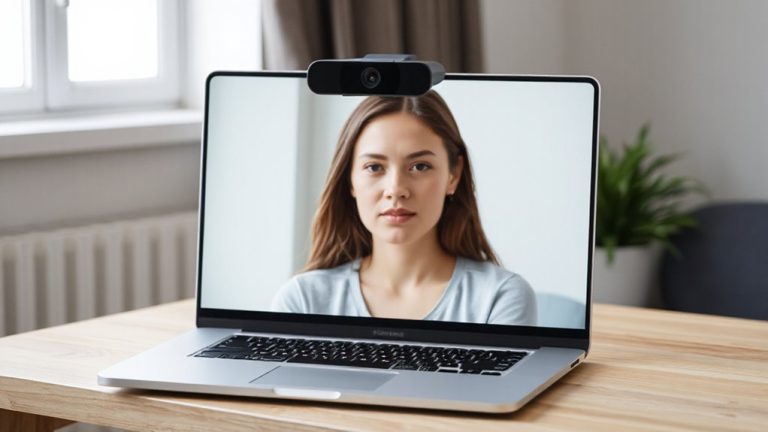
You’ve upgraded to flicker-free LEDs or incandescents, but that doesn’t guarantee your footage will be clean-real-world conditions like power fluctuations or incompatible camera settings can still introduce flicker. Test your setup by recording a short video clip during a normal meeting hour. Check for dark bands or pulsing, especially if your camera placement puts lights in the frame or reflects off glossy surfaces. Ambient brightness matters: too dim, and your camera may boost gain, increasing noise and sensitivity to minor flicker; too bright, and highlights can bloom, masking subtle strobing. Use a light meter app to guarantee even, moderate illumination across your face and background. Replay footage at half speed to catch intermittent issues. Repeat the test multiple days-power load varies. Even top-tier gear can underperform if placement ignores room dynamics. Trust your eyes, not just specs.
Sync Lights and Camera Settings for Perfect Video Calls
Why do some video calls look smooth while others flicker no matter how good the lights or camera seem? It’s because you’re not syncing your camera settings with the ambient lighting’s frequency. Fluorescent lights flicker at power line frequencies-usually 50Hz or 60Hz-and if your camera’s shutter speed doesn’t match, you’ll see bands or pulsing. Set your shutter speed to 1/60 sec for 60Hz regions or 1/50 sec for 50Hz to lock in sync. Also, adjust your camera’s white balance to match the color temperature of the room-typically 3200K for warm fluorescents or 5000K for cool-so skin tones stay natural. While this reduces flicker and improves image quality, it limits low-light flexibility. Most pro webcams and mirrorless cameras let you manually control these settings; test under real conditions before relying on them in meetings. Some firmware won’t allow precise shutter adjustments, so verify compatibility first.
On a final note
You’ll get stable video by syncing your camera’s frame rate to your region’s power frequency-30fps for 60Hz, 25fps for 50Hz. Rolling bars usually disappear with this fix. But if flicker persists, switch to flicker-free LED panels or incandescent bulbs, which lack rapid cycling. Test under actual meeting conditions, since lab results can mislead. Remember: even high-end cameras fail without proper lighting alignment, and premium flicker-free lights often cost 2–3× more, with no improvement if settings are mismatched.