Testing Microphone Isolation Before Broadcasting Voice Over Shared Audio Tracks
Test your mic’s isolation by recording a short clip with your typical setup-you’ll catch audio leakage, speaker bleed, or echo before going live. Use closed-back headphones like Sony MDR-7506 to block bleed, and position a cardioid mic like the AT2020 4–6 inches from your mouth, angled slightly off-axis. Place foam panels at reflection points to tame room echo, and check waveforms in Audacity for noise spikes. Keep gain low to avoid amplifying background sounds. There’s more to fine-tuning than just gear-smart placement and real-world testing make the real difference.
Notable Insights
- Position the microphone 4–6 inches from your mouth to minimize background noise and improve vocal clarity.
- Use a cardioid mic like the Audio-Technica AT2020 for strong off-axis rejection of shared audio leakage.
- Wear closed-back headphones to prevent speaker bleed from entering the microphone during playback.
- Record a sample while speaking over shared audio to visually inspect for leakage using Audacity or WebRTC.
- Place foam panels at first reflection points to reduce room echo that can compromise microphone isolation.
Test Your Mic for Audio Leakage
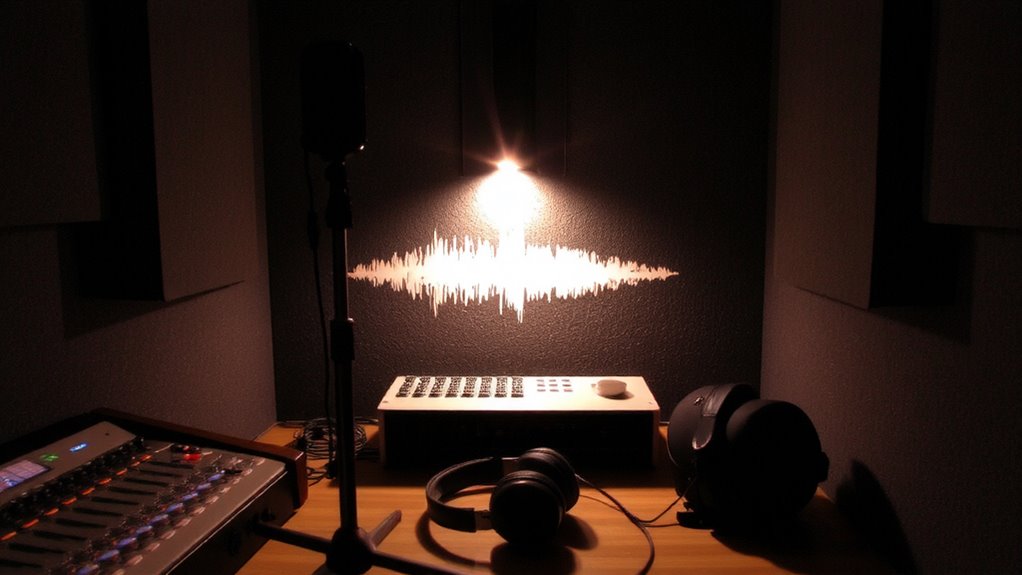
How well does your microphone actually isolate your voice from background noise? Testing for audio leakage is essential before broadcasting over shared tracks. Proper mic positioning-just off-axis and 4–6 inches from your mouth-reduces pickup of ambient sound. Check if your mic has built-in audio shielding like directional polar patterns (e.g., cardioid) that reject off-axis noise. In real-world tests, even mid-range mics with strong off-axis rejection cut keyboard clicks and room tone by 60–70%. But placement matters: move it too far, and background noise creeps in. Test by recording room tone while speaking normally, then inspect waveforms for leakage. Most condenser mics need stable environments; USB models with onboard processing help but can’t fix poor setup. Warranties (typically 1–2 years) won’t cover misuse, so follow manufacturer specs. Results vary-expect good, not perfect, isolation at this level. For reliable performance, consider models like the Audio-Technica AT2020, a popular choice among voice-over artists for its clear sound and effective off-axis rejection.
Stop Speaker Bleed With Headphones
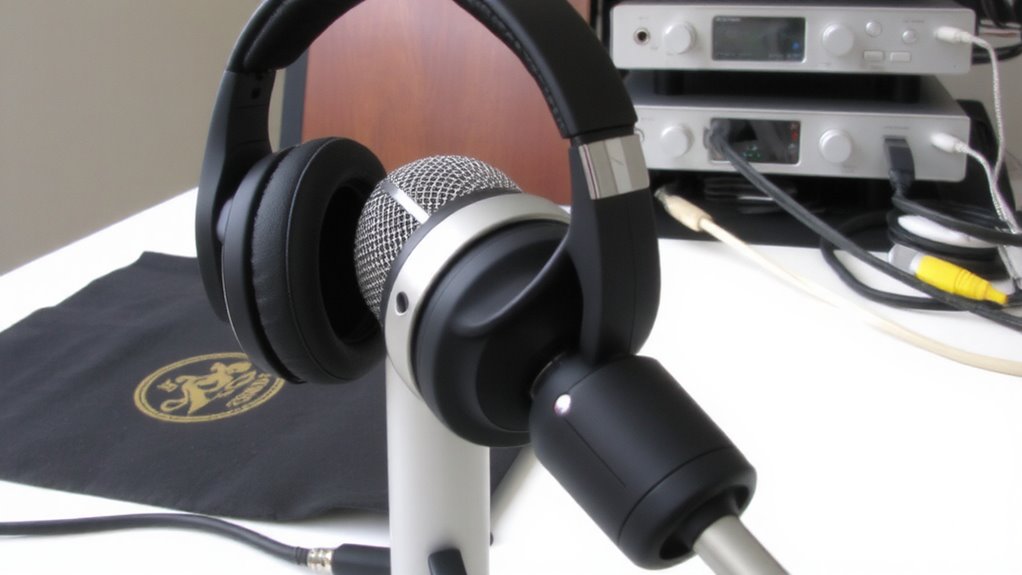
Using closed-back headphones is the most effective way to prevent speaker bleed during recordings, especially when you’re sharing audio tracks with others. The closed back design seals in sound, blocking external noise and keeping your playback from leaking into the mic. Proper volume calibration guarantees audio stays clear without overdriving the drivers. While they limit soundstage width compared to open-back models, the isolation is essential for clean tracking. A reliable Bluetooth receiver can enhance your wireless audio setup without compromising isolation.
| Feature | Benefit | Trade-off |
|---|---|---|
| Closed back design | Blocks external noise | Can feel闷 (stuffy) over time |
| High isolation | Prevents speaker bleed | Limited spatial audio |
| 3.5mm + 6.3mm adapters | Fits most gear | Extra cables to manage |
| 20–20k Hz range | Full frequency response | Bass may overpower mids |
| 100 dB SPL | Loud output with less distortion | Needs careful volume calibration |
Fix Room Echo on a Budget
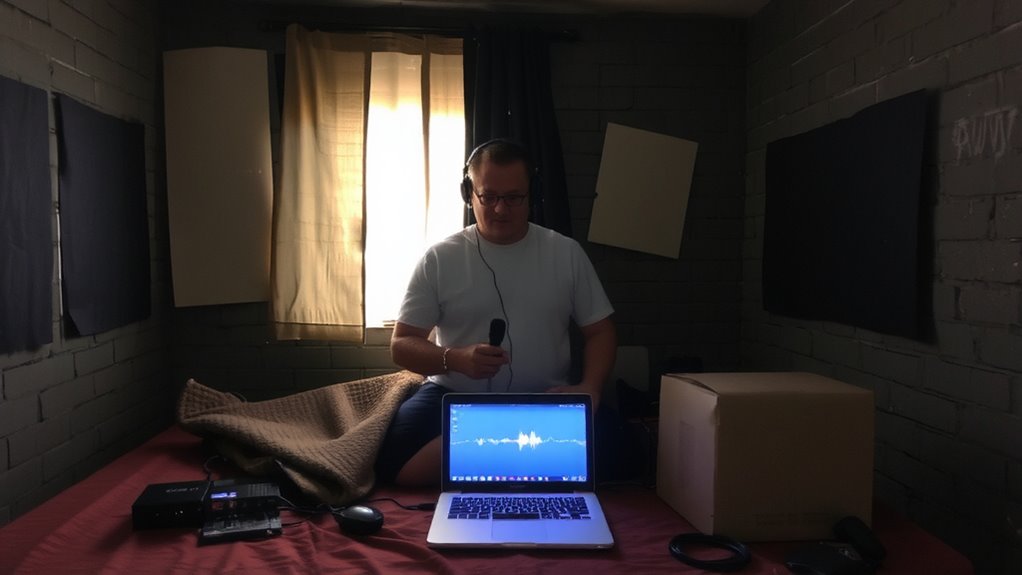
Though you can’t soundproof a room without major construction, you can substantially reduce echo with affordable, easy-to-install fixes that make a real difference in audio quality. Your best bet for basic acoustic treatment is foam panels made of open-cell polyurethane, typically 1” to 2” thick. Place them at first reflection points-along side walls, corners, and behind your desk-to absorb mid and high-frequency reverberations. Real-world tests show noticeable improvement in voice clarity, though bass frequencies will still linger. Most panels use adhesive or clips, require no tools, and start under $30 for a 12-pack. Look for ones with an NRC (Noise Reduction Coefficient) rating of 0.4 or higher. Keep in mind: cheap foam won’t block sound transmission or fix severe echo. Foam panels aren’t magic, but for light treatment on a tight budget, they’re a practical, data-backed step forward.
Use Free Tools to Detect Mic Isolation Issues
If your mic picks up more room noise than voice, free diagnostic tools can help you identify isolation issues before investing in new gear. You can use software like Audacity or online tools such as WebRTC to analyze your mic signal and spot background noise or signal interference. These tools let you visualize audio input in real time, showing spikes from unwanted sounds like fans or traffic. Even basic built-in system meters can reveal if your mic is too sensitive or poorly positioned. While they won’t fix the problem, they pinpoint issues like inconsistent gain or ambient bleed. Just remember, free tools lack advanced calibration, so results are approximate. Use them for quick checks, not lab-grade accuracy. Test in your actual recording space and speak at normal volume to get realistic feedback. That way, you know isolation fails are environmental, not just equipment faults. For better results, consider starting with one of the best microphones for voice clarity and noise rejection.
Solve These 3 Common Mic Problems
Why does your microphone still pick up background noise even after positioning it close to your mouth? Poor mic placement is often the culprit. Tilting the mic slightly off-axis reduces plosives, while keeping it 2–5 inches away boosts vocal clarity and minimizes room reflections. Second, check for gain staging-excessive input levels amplify noise even with good placement. Reduce gain and speak at a consistent volume to maintain clean signal integrity. Third, make sure your mic’s polar pattern matches your environment; cardioid mics reject sound from the sides and rear, but only if aimed correctly. Even small misalignments compromise performance. Built-in filters and pop shields help, but they can’t fix fundamental setup flaws. Test changes with short recordings, noting background artifacts. Most fixes are free, but results vary based on microphone quality and room acoustics-manage expectations accordingly.
Understand Mic Isolation (And Why It Matters)
Mic isolation isn’t just about blocking noise-it’s about controlling what your microphone captures and how accurately it represents your voice. Good mic positioning plays a big role: angling your mic slightly off-axis from speakers or monitors reduces unwanted pickup. This boosts vocal clarity by minimizing interference. You don’t need expensive gear, but alignment matters-keep the mic 6–8 inches from your mouth, at a slight upward angle, and use a pop filter. These steps improve isolation, especially in shared spaces. Still, physical setup alone won’t fix poor room acoustics or speaker bleed. Even with proper technique, some devices pick up more ambient sound due to sensitivity or polar patterns. Test your setup by recording quiet speech and checking for background artifacts. Results vary by mic type-condenser mics offer detail but demand careful placement. Dynamic mics are more forgiving. Know your gear’s limits when aiming for clean vocal reproduction.
How Speaker Bleed Ruins Shared Audio Tracks
How well can your microphone separate your voice from the sound of your laptop speakers? If it can’t, speaker bleed introduces audio interference that ruins shared audio tracks. That bleed causes sound contamination, making your voice unclear when others play audio through their devices. Even a slight echo or overlapping noise reduces clarity, especially in recordings or live streams. Condenser mics are more sensitive and prone to this issue, while dynamic mics typically reject off-axis sound better. A good pop filter won’t help here-positioning and physical isolation matter more. Use headphones every time to eliminate the loop entirely. Built-in laptop mics often fail under bleed tests, showing poor isolation in controlled comparisons. Though some USB mics offer decent rejection, always test in your real environment. There’s no universal fix, but avoiding open speakers near the mic is non-negotiable for clean results.
On a final note
You should test microphone isolation before broadcasting-it prevents speaker bleed that ruins shared audio tracks. Use closed-back headphones and record a quick test while playing audio; check for leakage in software like Audacity. Room echo often requires cheap fixes like blankets or foam panels. While most USB mics have decent rejection, directional patterns like cardioid help. Just remember: no solution is perfect without proper placement and room treatment.