Creating Accessible Video Conferencing Setups for Users With Mobility Limitations
Start with Zoom or Teams, but test them with your eye tracker or switch device-compatibility isn’t guaranteed. Mount your camera at eye level using a tripod or articulating arm (supports 2–7 lbs, check stability). Use an over-ear headset with a boom mic for clear audio and pair it with voice commands via Windows Speech Recognition. Rely on keyboard shortcuts, but verify they work after updates. Real-world testing shows setups vary-your gear, space, and needs will determine what actually works. Tweaking each part improves independence, and there’s more to get right.
Notable Insights
- Choose video conferencing platforms compatible with assistive devices like eye trackers and switch controls for easier navigation.
- Position the camera at eye level using hands-free mounts to reduce physical strain and maintain engagement.
- Use adjustable mounts with secure clamps or bolt-through installations to ensure stability and precise camera positioning.
- Enable voice commands through built-in OS tools to control calls without requiring manual input.
- Opt for over-ear headsets with boom mics to ensure clear, consistent audio with minimal background noise.
Start With an Accessible Video Conferencing Platform
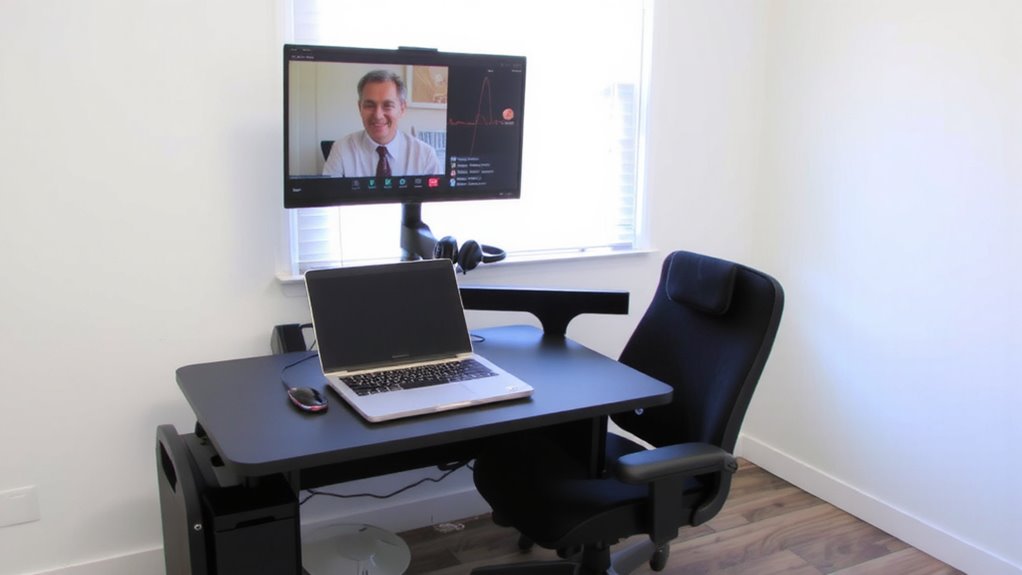
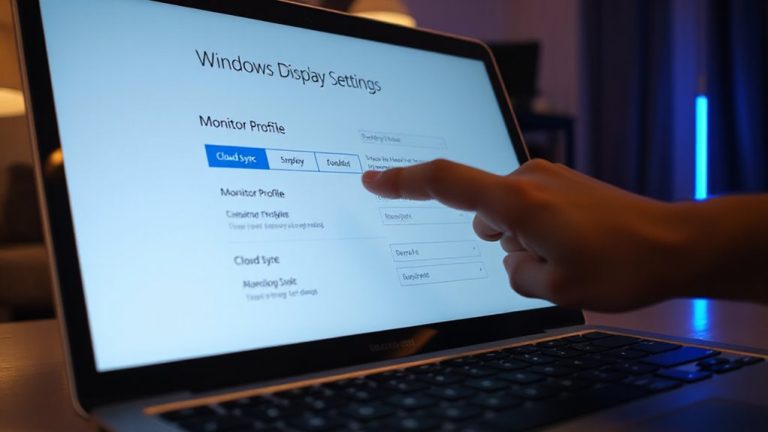
Your choice of video conferencing platform can make or break accessibility, especially when mobility limitations affect how you interact with technology. Prioritize platform compatibility with assistive devices like eye trackers, switch controls, or voice navigation to guarantee seamless access. A clean, predictable user interface reduces the need for precise mouse movements or complex gestures. Look for platforms that support keyboard shortcuts and screen reader integration across Windows, macOS, and mobile OS. While Zoom and Microsoft Teams offer strong accessibility features, test them with your specific setup-compatibility isn’t guaranteed. Some interfaces become cluttered during live calls, making navigation harder. Always verify UI responsiveness with adaptive hardware. Don’t assume the latest version improves access; occasionally, updates disrupt existing workflows. Real-world testing, not marketing claims, should guide your choice.
Position Your Camera at Eye Level Hands-Free
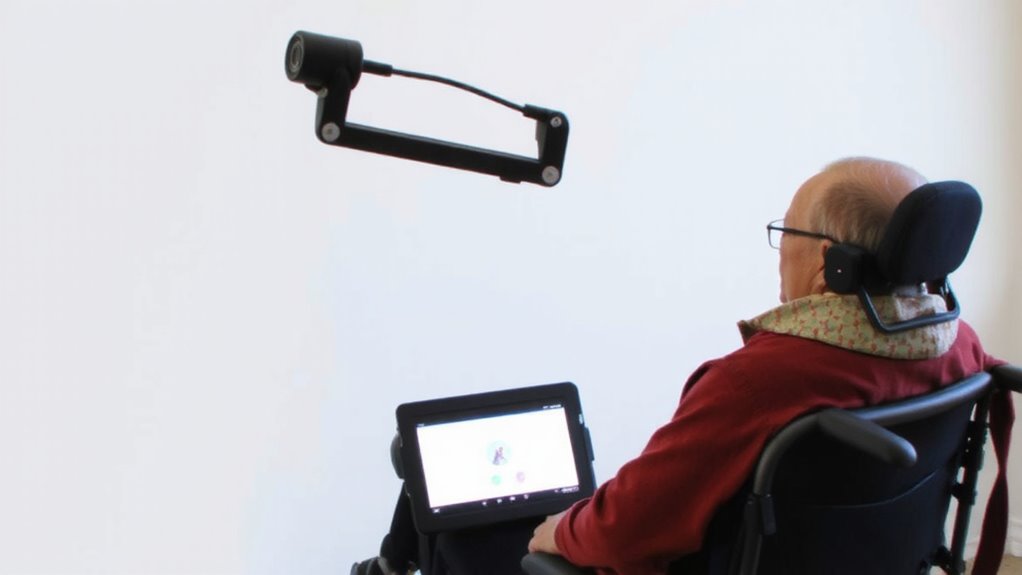
Eye-level camera positioning isn’t just about looking engaged-it reduces neck strain and supports clearer visual communication, especially when extended screen use compounds physical discomfort. Proper camera placement is central to an ergonomic design that accommodates mobility limitations. A stable, hands-free setup lets you focus on conversation, not adjustments. Below are common mounting options, their adjustability, and ideal use cases:
| Mount Type | Adjustability Range | Best For |
|---|---|---|
| Tripod stand | 12–40 inches | Small desks, portability |
| Monitor riser | 6–10 inches | Cluttered workspaces |
| Articulating arm | 18–24 inches | Precision positioning |
| Wall mount | Fixed or pivoting | Permanent setups |
| Laptop stand | 5–9 inches | Minimalist solutions |
Many arms include 360° swivel and tilt, but check weight limits-most support 2–7 lbs. While adjustable mounts improve access, mismatched height or reach can hinder use. For those using a top ergonomic laptop stand, improved height adjustability and stability can further support long-term comfort during video calls.
Pick an Adjustable Mount That Fits Your Space
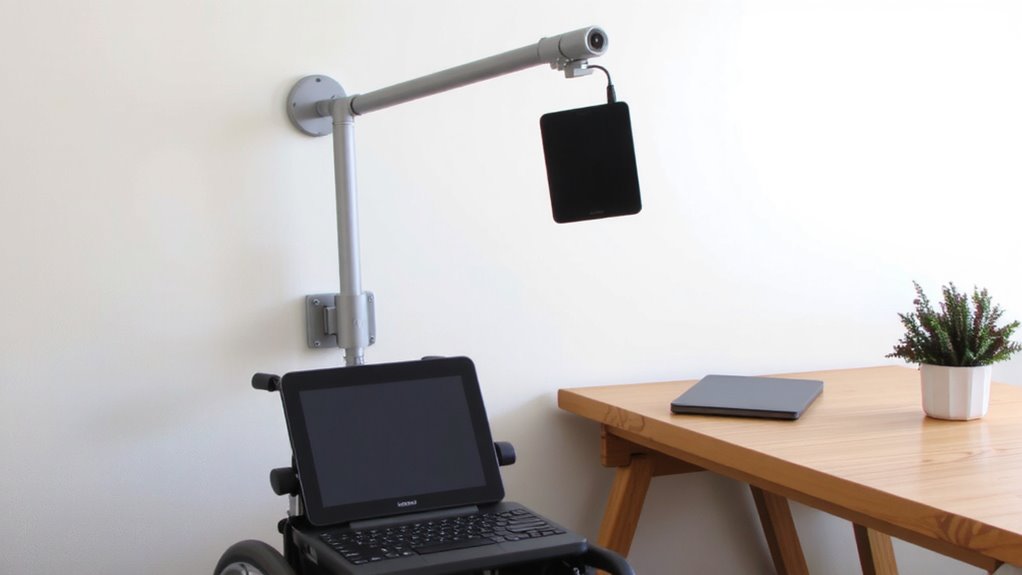
How do you guarantee your video setup works for your space-not against it? Choose an adjustable mount designed for both mount stability and space compatibility. A rigid, full-motion arm lets you pivot and extend your camera into the ideal position without tipping or sagging-critical if you need consistent, hands-free framing. Look for mounts with tension control and durable joints tested to hold your device securely, even after repeated adjustments. Make certain it fits your surface: clamps work well on desks up to 2.5 inches thick, while bolt-through installations offer max stability. Measure your workspace first-some arms need 6+ inches of depth. While gas-spring mounts offer smooth motion, they can be overkill for lighter devices. Check weight ratings closely; overloading risks droop. Most quality mounts include a 1–5 year warranty-use it as a benchmark for reliability. For reliable performance, consider models featured in expert-recommended lists like the best webcam mounts.
Use Voice Commands to Join and Control Calls
Once your camera’s securely mounted and framed, you can shift focus to how you interact with the call itself-starting with voice commands. Voice activation lets you join, mute, or end calls using speech recognition, reducing the need for physical input. Most modern conferencing apps support basic voice commands through built-in OS features like Windows Speech Recognition or macOS Dictation. For best results, pair a sensitive microphone with clear voice profiles. Keep in mind, accuracy varies with background noise and speech patterns-consistent diction improves reliability. While voice activation works well for simple controls, complex tasks may still require manual input. Test commands in your actual environment before relying on them in meetings. Some platforms have limited command libraries, so review support documentation. With proper setup, speech recognition offers real convenience, but it’s not flawless-expect occasional delays or misreads, especially with rapid speech or strong accents.
Wear a Hands-Free Mic or Headset for Ease
While your voice commands help control the call, wearing a hands-free mic or headset takes your participation further by giving you clear audio without tying up your hands. A well-placed headset mic improves microphone placement, keeping the pickup close to your mouth for consistent audio clarity-critical in group meetings. Over-ear headsets with boom mics, like those with unidirectional condenser elements, reduce background noise better than earbuds. Wireless options offer freedom, but test battery life-some last only 10–15 hours on a charge. Wired headsets avoid charging entirely and often provide more stable connections. Make sure your model fits securely without pressure points, especially during long calls. Built-in microphones in laptops or speakers can’t match the audio clarity of a dedicated headset, but microphone placement matters: even great gear fails if too far from your mouth. Check return policies and warranties-most reputable brands offer 1-year coverage. For optimal performance, consider a best microphone recommendation tailored to your conferencing needs.
Master Keyboard Shortcuts for Quick Controls
Control is power when you’re maneuvering through video conferencing with mobility limitations, and keyboard shortcuts put that control at your fingertips-no mouse or touchpad required. You can navigate meetings efficiently using keyboard navigation, switching between chat, video, and audio controls with minimal effort. Most platforms-like Zoom, Teams, and Google Meet-support shortcut customization, letting you assign keys that match your physical needs. For instance, mute and unmute are often set to *Ctrl+Shift+M*, but you can change these in settings if that combo’s hard to reach. While shortcuts boost independence, not all apps label them clearly, and some require digging into menus to enable. Test your preferred mappings before going live. Keep in mind that shortcut customization varies-Windows and macOS support differs, and third-party tools might be needed. Still, mastering these controls usually reduces strain and increases speed.
Test Your Setup for Independent Use
You’ve set up your keyboard shortcuts to streamline navigation, but now you need to make sure everything works smoothly when you’re on your own. Start by testing camera stability-lean back or move slightly to confirm the mount or tripod won’t shift during use. A wobbly frame distracts others and reduces engagement. Check lighting positioning: face a window or soft lamp to evenly illuminate your features without harsh shadows or glare. Avoid backlighting, which can make your image too dark. Run a short recorded session to review both elements in action. Confirm that keyboard commands still control muting, camera toggle, and switching apps without assistive help. While many third-party webcams offer solid stability, built-in laptop cameras often need external reinforcement. Remember, even the best gear fails if poorly positioned-test daily conditions, not just ideal ones. Adjust as needed; comfort and clarity matter equally.
On a final note
You’ll likely succeed with an accessible video setup if you prioritize hands-free control and adjustability. Mount your camera at eye level using a flexible arm or tripod, and rely on voice commands or keyboard shortcuts to manage calls efficiently. A quality headset guarantees clear audio without reaching for controls. Test everything solo to confirm independence. Just remember-ergonomic gear costs more, and not all platforms support every feature seamlessly, so verify compatibility upfront.