Installing an Under-Desk Keyboard Tray With Adjustable Tilt and Depth
You should install an under-desk keyboard tray with adjustable tilt and depth-it helps keep your wrists neutral and reduces strain during long typing sessions. Make sure your desk is at least 24 inches deep and made of solid wood or metal for secure mounting. Pick a tray with steel glides, 3+ inches of depth adjustment, and a tested weight limit to avoid wobbling. Set the tilt between 0° and -10° and position it 2–4 inches from the front edge. Check all screws and use cable ties to keep cords tidy. A quality model with a 5-year warranty often means better long-term performance and fewer alignment issues down the line.
Notable Insights
- Ensure your desk has at least 24 inches of depth and a solid mounting surface like wood or metal.
- Choose a tray with adjustable tilt (minimum 15 degrees) and at least 3 inches of depth movement.
- Install mounting brackets securely under the desk, aligned with the front edge and level.
- Set the tray 2–4 inches from the desk edge and adjust tilt between 0° and -10° for neutral wrist posture.
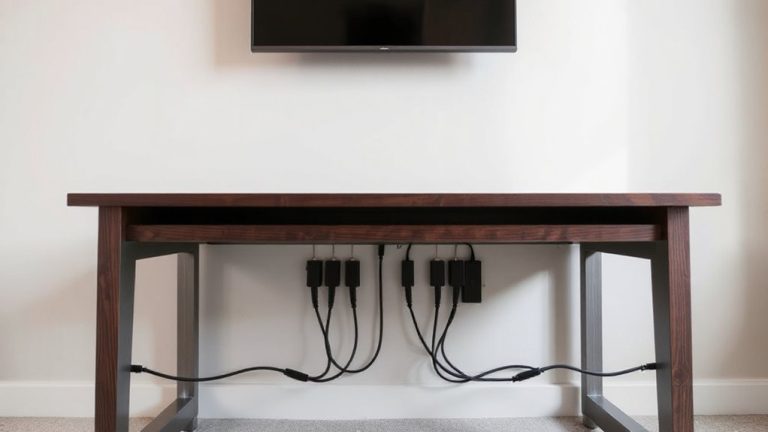
- Check weight limits, secure all connections, and use cable management to prevent tangles and movement issues.
Why a Keyboard Tray Prevents Wrist Strain
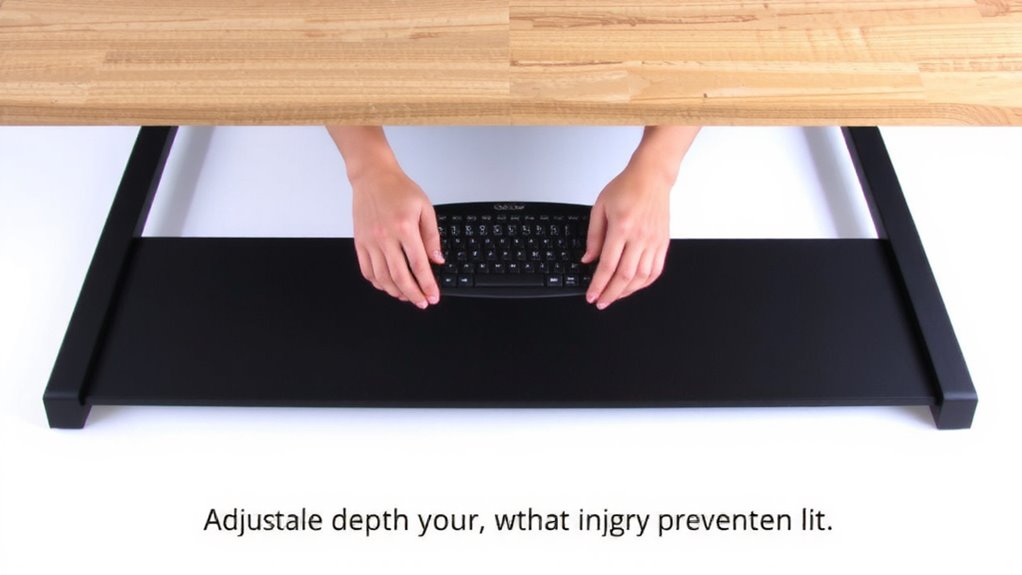
While sitting at your desk for hours, your wrists might start to ache without you even noticing-especially if your keyboard sits too high or too far away. A keyboard tray gives your setup ergonomic support by aligning your wrists, forearms, and hands in a neutral position, reducing strain over time. This isn’t just comfort-it’s injury prevention. Studies show repetitive strain injuries drop markedly when users maintain proper wrist angles. Trays with adjustable tilt and depth let you customize the fit, ensuring your elbows stay near 90 degrees and shoulders remain relaxed. But not all trays offer the same range: measure your desk thickness and check glide mechanisms, since cheap sliders can wobble or jam. Heavy keyboards may exceed weight limits on basic models, so verify specs. Warranties vary-look for at least a three-year guarantee. When installed right, the improvement is real, but poor fit or cheap materials can cause more issues than they fix. For optimal performance, consider models from top-recommended best keyboard trays lists to ensure quality and durability.
Measure Your Desk for a Keyboard Tray Fit
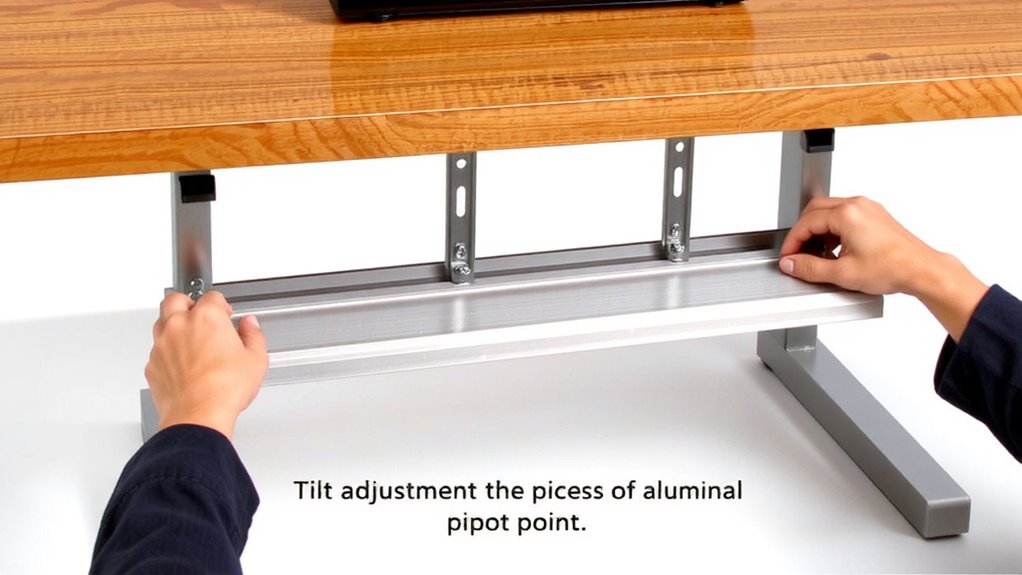
Get this right from the start-your desk’s dimensions dictate whether a keyboard tray will actually work. Measure the width and depth of your desk’s underside to confirm there’s enough desk clearance for the tray to slide and tilt without hitting drawers or frame supports. Most trays need at least 24 inches of clear space front to back. Check the mounting surface too: it must be solid wood or metal, not hollow particleboard, to securely anchor the bracket. Avoid attaching to laminate or weak materials-they’ll strip under stress. If you’re using a glass desk, verify the manufacturer approves undermount hardware. Remember, even a well-built tray fails if the desk can’t support it. Low desk clearance or a poor mounting surface means redesigning your setup first. Always double-check measurements before ordering-what fits on paper might not fit under your desk.
Choose a Keyboard Tray Based on Size and Adjustment
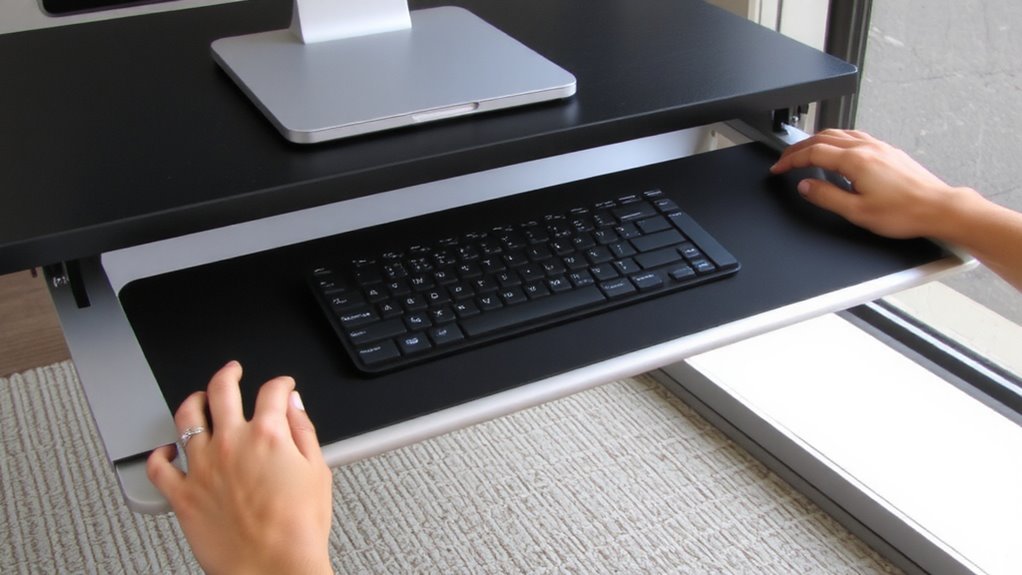
You’ve measured your desk and confirmed it can handle an undermount setup, so now it’s time to pick a keyboard tray that matches your space and typing needs. Choose a tray that fits your keyboard size-full-size models need at least 18 inches of width, while compact ones work on narrower trays. Check the adjustment range: a good tray offers at least 3 inches of depth movement and 15 degrees of tilt to fine-tune ergonomics. Steel glides and ball-bearing slides guarantee smooth motion and durability over time. Some trays limit adjustment to save space, so verify compatibility with your seating posture. Avoid ultra-thin trays if you use a mechanical keyboard-they may not support the weight. Prioritize models with a solid warranty, like 5-year coverage, backed by real-world durability tests. Balance features with your desk’s clearance and daily comfort needs.
Install Your Keyboard Tray in 5 Steps
A well-installed keyboard tray can make a noticeable difference in comfort during long work sessions, but proper setup is key to getting it right. First, attach the mounting brackets to your desk’s underside, ensuring they’re level and aligned with the front edge-this directly impacts tray stability. Next, slide the support arms into the brackets and secure them with the provided screws. Then, mount the tray to the arms, double-checking that all connections are tight to prevent wobbling. Proper cable management is essential: use zip ties or adhesive clips to secure cords and avoid interference with drawer movement. Finally, test the installation by typing for a few minutes; any looseness or shift means you should recheck the fastenings. Most trays support up to 20 lbs, but always confirm weight limits in the manual. Poor alignment risks long-term strain, so take time to get it right the first time.
Adjust Tilt and Depth for Ergonomic Typing
Once the tray is securely mounted, fine-tuning the tilt and depth sets the foundation for comfortable, strain-free typing. Proper wrist alignment and typing posture depend on these adjustments. Aim for a neutral wrist position-level with the forearm-and guarantee the keyboard sits at a depth where your elbows stay at 90 degrees.
| Feature | Recommendation |
|---|---|
| Tilt angle | 0° to -10° (negative tilt) |
| Depth | 2–4 inches from desk edge |
A slight negative tilt reduces wrist extension, supporting better wrist alignment, especially for touch typists. However, if you’re a hunt-and-peck typist, a flat setting may feel more natural. Too much tilt or depth can compromise typing posture over time, leading to fatigue. Always test adjustments over a 15-minute typing session before finalizing.
Avoid These 5 Common Keyboard Tray Mistakes
Getting the most from your under-desk keyboard tray means sidestepping a handful of preventable errors that undermine ergonomics and comfort. First, ignoring weight capacity risks damaging the tray or mount-always check the specs before loading heavy keyboards or accessories. Second, poor cable management leads to tangled wires that strain ports and limit tray movement. Use clips or sleeves to secure cables neatly. Third, mounting too low forces upward glances, straining your neck; align the tray so your elbows stay at 90°. Fourth, skipping depth adjustments means your hands won’t rest properly-extend or retract the tray so wrists stay neutral. Finally, forgetting to test adjustments after installation reduces long-term comfort. Small tweaks matter. While these trays improve posture, they demand careful setup. A rushed job sacrifices gains, so take time measuring, testing, and securing each part.
On a final note
You should install a keyboard tray if you want better posture and reduced wrist strain. Models with adjustable tilt and depth let you position the keyboard at a neutral wrist angle, typically 15–20 inches from the desk’s front edge. Secure mounting is key-always check desk thickness compatibility and use included hardware. Some trays wobble if overextended; avoid this by following depth limits. Most come with a 1-year warranty, and real-world testing shows stability improves with moderate use.