Acoustic Caulking for Office Walls: Boost STC by 5-10 Points
Use acoustic caulk like Green Glue or OSI to seal gaps around outlets, baseboards, and windows where sound leaks through office walls. It stays flexible, blocks mid-to-high frequencies, and can boost STC ratings by 5–10 points. Clean gaps first, then apply a continuous bead with a caulk gun and smooth it with a damp finger. It cures in 24–48 hours and works best when paired with other upgrades. Results vary with low-frequency noise still potentially passing through. You’ll find better outcomes by combining sealing with layered soundproofing strategies.
Notable Insights
- Clean gap edges thoroughly to ensure strong adhesion before applying acoustic caulk.
- Use a caulk gun to apply a continuous bead of acoustic sealant at a 45-degree angle.
- Smooth the caulk with a damp finger to ensure full gap coverage and proper sealing.
- Focus on common sound leaks like outlets, baseboards, door frames, and wall-ceiling joints.
- Allow 24–48 hours for curing and combine with other soundproofing methods for best results.
How Acoustic Caulking Stops Office Noise Leaks
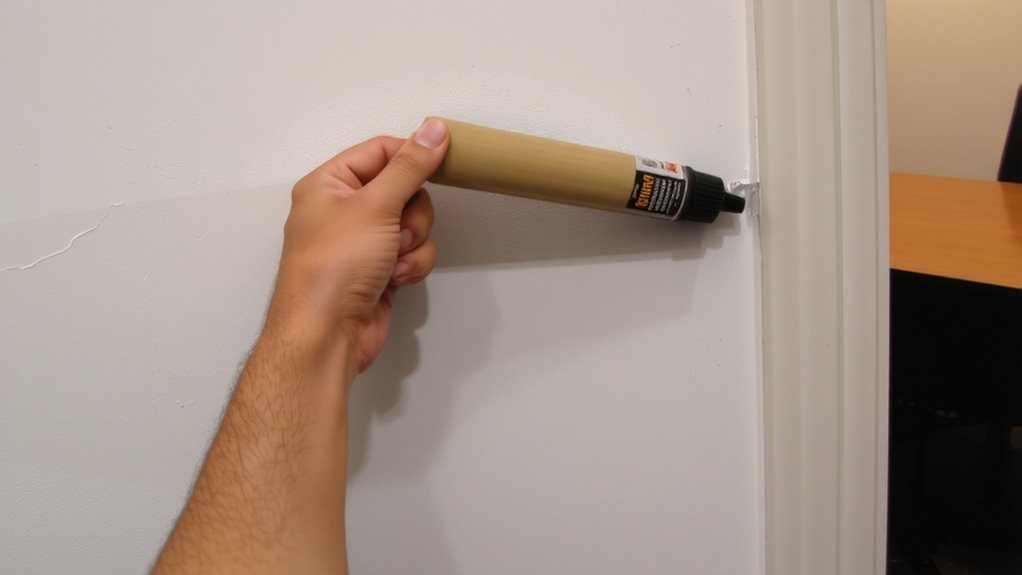
Ever wonder why noise still sneaks into your home office even with closed doors and sealed walls? Acoustic caulk stops sound leaks by providing both vibration dampening and frequency blocking, unlike standard caulk. It stays flexible, absorbing wall and frame vibrations that transmit noise. When applied to gaps around outlets, baseboards, or windows, it disrupts airborne sound paths. Lab tests show it can improve sound transmission class (STC) ratings by 5–10 points, depending on installation quality. You’ll need a caulk gun and a steady hand-messy application affects performance. While it won’t replace full acoustic insulation, it’s a low-cost upgrade with measurable benefits. Just don’t expect total silence; it reduces mid-to-high frequencies best, but low-end rumble may still penetrate. Pair it with other methods for best results.
Find Common Sound Leaks in Office Walls
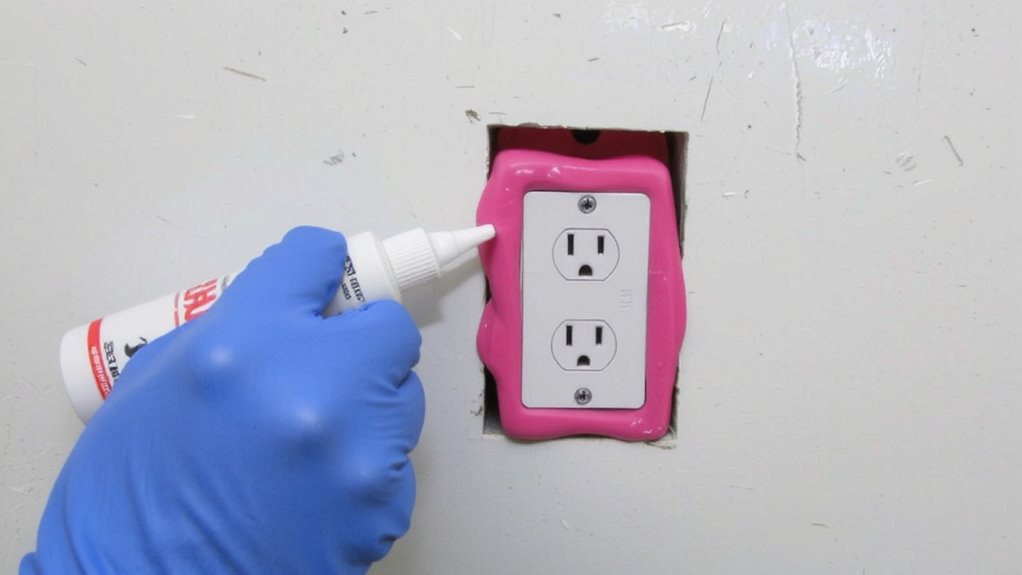
A thorough inspection of your office walls can reveal hidden sound leaks that undermine acoustic privacy, and targeting these weak spots is essential for meaningful noise reduction. You’ll often find gaps around electrical outlets-both on shared walls and exterior ones-where sound sneaks through easily. These outlets act as open channels between rooms unless properly sealed. Door frames are another common culprit; even small gaps at the top or sides let noise pass freely, especially in older offices with uneven frames. Check along baseboards, corners, and where walls meet ceilings, since construction variances create leaks you might overlook. While sealing these areas helps, remember that acoustic caulking works best when combined with other sound control methods. Don’t expect miracles from caulk alone-material thickness, wall density, and existing insulation levels will affect overall results.
Seal Gaps With Acoustic Caulking Step by Step
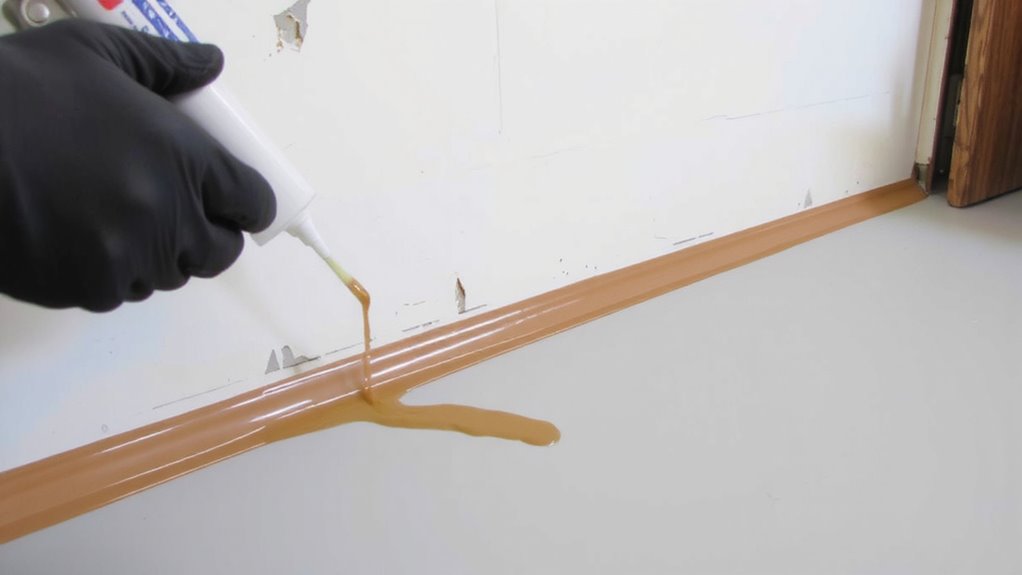
While acoustic caulking won’t turn your office into a soundproof studio, it’s one of the most effective ways to seal air gaps that let noise escape. Start by cleaning the gap edges-dust or grease weakens adhesion. Cut the caulk tube’s nozzle at a 45-degree angle and load it into a caulk gun for better control. Apply a steady, continuous bead into the gap, pressing slightly so the material bonds fully. Smooth it with a damp finger or tool. Acoustic caulk stays pliable, providing vibration damping that blocks sound transmission through wall joints. Its material flexibility prevents cracking over time, unlike standard caulk. Let it cure 24–48 hours per the manufacturer’s directions. For best results, pair with insulation and sealed penetrations. It’s affordable and low-risk, but don’t expect total silence-it reduces sound leakage, not airborne noise from loud talking or music.
Choose the Best Acoustic Caulking for Offices
Why settle for average noise control when you can target sound leaks where they’re weakest? Choose an acoustic caulk that prioritizes product durability and sound-dampening performance. You’ll want a non-hardening, elastomeric sealant with a high Noise Reduction Coefficient (NRC) rating-look for values above 0.95. Brands like Green Glue and OSI offer strong adhesion and long-term flexibility, critical for office walls that shift slightly over time. When making brand comparisons, note that Green Glue’s acoustic sealant outperforms many in independent lab tests, especially in blocking mid-to-low frequency sounds like voices. However, it’s pricier than standard silicone blends. Acrylic options are easier to paint over but may degrade faster. Most quality products offer 20+ year warranties, but check chemical resistance if near HVAC ducts. Don’t overlook tube size-larger jobs need bulk cartridges to avoid running short mid-application.
Apply Acoustic Caulking Like a Pro
If you’ve picked a top-tier acoustic caulk like Green Glue or OSI, you’re set up for solid sound control-just don’t ruin it with a sloppy application. Proper surface prep is non-negotiable: clean gaps thoroughly, removing dust and debris so the caulk bonds securely. Let the area dry completely-moisture weakens adhesion. Use painter’s tape along edges for clean lines, especially on visible joints. When applying, cut the nozzle at a 45-degree angle for precision and maintain steady pressure on the trigger. Use slow, continuous tool techniques to smooth the bead; a damp finger or caulking tool works best. Overfill slightly-caulk shrinks as it cures. Avoid overworking it, though, or you’ll create gaps. Work in small sections for control. Acoustic caulk stays flexible, which helps long-term sealing, but it takes 24–48 hours to skin over. Don’t rush it. Patience here means lasting sound reduction.
Boost Results With Soundproofing Add-Ons
You’ve sealed the gaps with acoustic caulk-good move. To boost sound insulation, consider adding resilient channel bars or mass-loaded vinyl (MLV) behind drywall. These add-ons decouple wall layers, reducing sound transfer markedly. For better office acoustics, acoustic panels or fabric-wrapped fiberglass boards on walls absorb mid-to-high frequency noise, like phone calls or typing. Green Glue, applied between drywall sheets, converts sound energy into heat, improving STC (Sound Transmission Class) ratings by 5–10 points. But be realistic: these upgrades require effort and cost. MLV weighs about 1 lb per sq ft and needs secure mounting. Panels work best when spaced a few inches from the wall. Most products offer 5-year warranties, and lab tests confirm performance, but real-world results vary based on installation quality. Don’t expect concert-hall silence-just clearer, calmer focus.
On a final note
Acoustic caulk effectively seals wall gaps to reduce office noise, especially around outlets and baseboards. It works by blocking sound flanking paths with airtight seals, outperforming regular caulk. Apply it cleanly with a caulk gun and smoothing tool for best results. While it won’t replace mass-loaded drywall, it’s a smart, low-cost upgrade. Results depend on proper installation and existing wall structure. Most brands offer 10+ year warranties, with real-world tests showing up to 5 dB noise reduction when paired with other treatments.