Creating a Distraction-Free Workspace for Professional Video Conferencing
Set up your video calls in a quiet corner away from foot traffic and appliances to cut background noise by up to 50%. Use front lighting-like a desk lamp or ring light at 4000K–5000K-to look clear and professional. Keep your background clean and neutral with matte, non-reflective surfaces. Position your camera at eye level using a stable stand, and silence all notifications. Test your mic, camera, and internet (3+ Mbps upload) first-because real-world performance beats specs alone. There’s more to optimize than just gear.
Notable Insights
- Choose a quiet spot away from noise sources like appliances, vents, or foot traffic to ensure clear, professional audio.
- Position front lighting such as a lamp or window in front of you to evenly illuminate your face and reduce shadows.
- Keep your background clean and free of clutter, using neutral tones to maintain focus and project professionalism.
- Set your camera at eye level using a stand or books to create a natural, balanced framing during calls.
- Silence all notifications and test your mic, camera, and internet before calls to prevent disruptions and technical issues.
Choose a Quiet Spot for Distraction-Free Calls
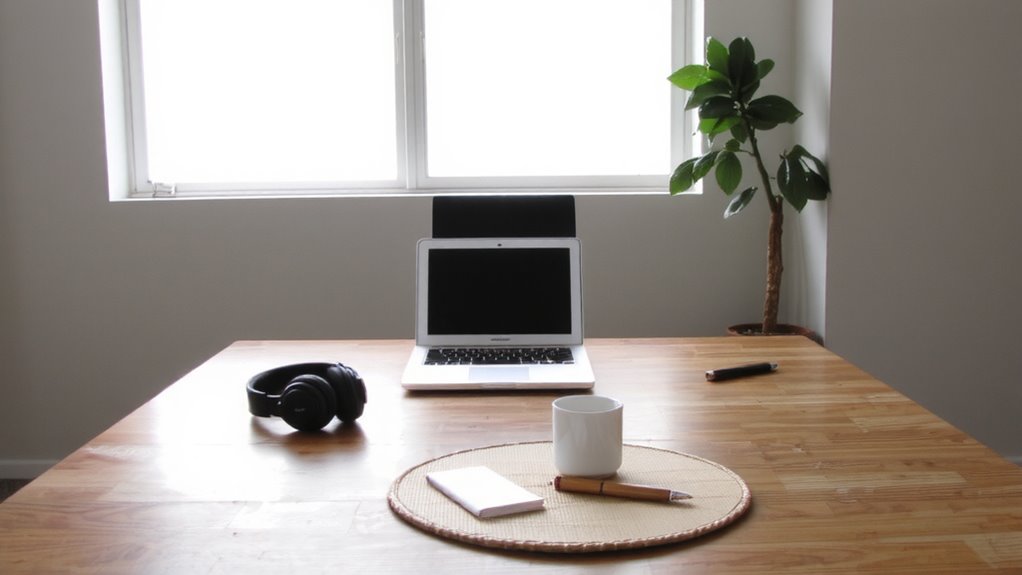
While background noise can derail even the most prepared meeting, picking a quiet spot goes a long way in keeping your calls clear and professional. You’ll want to avoid areas near appliances, vents, or busy streets where ambient noise creeps in. If you’re in a noisy household, consider a corner away from foot traffic and close doors to dampen sound. Even basic acoustic treatment-like thick curtains, carpets, or foam panels-can reduce echo and improve clarity. These materials absorb reflections rather than block sound completely, so don’t expect them to silence a barking dog. Headphones with good mic isolation help, but location matters more. There’s a trade-off: quieter spots may be less convenient or poorly lit. Still, choosing silence over comfort during calls pays off. Real-world tests show background noise drops by up to 50% with simple changes. Pick quiet first, then adapt. For improved sound absorption, consider installing best acoustic panels designed specifically for home office environments.
Use Front Lighting to Look Clear and Professional
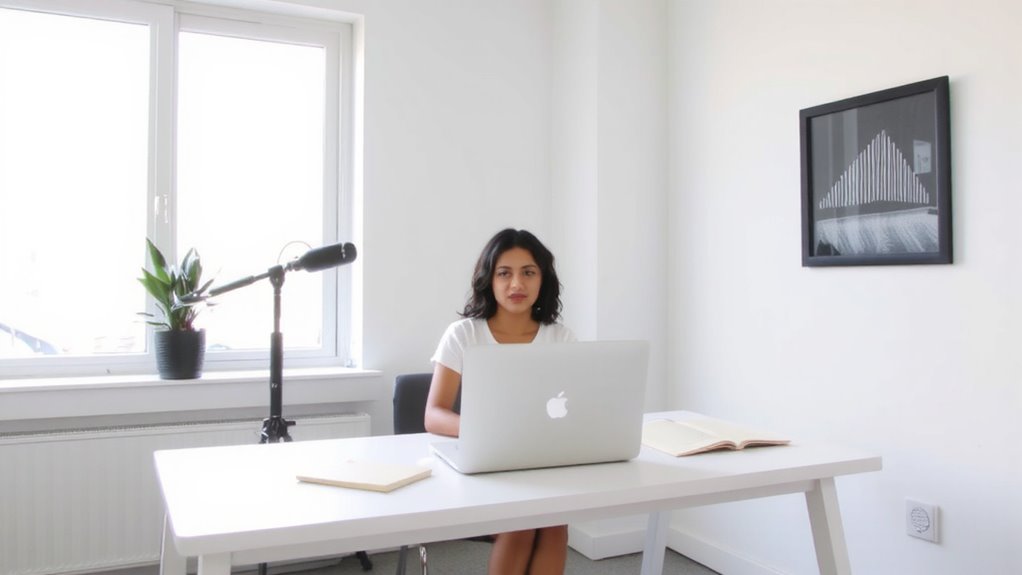
When your face is well-lit from the front, you’ll look sharp and stay clearly visible on camera, which makes a real difference in how you’re perceived during video calls. Positioning a light source in front of you-like a desk lamp or ring light-creates soft lighting that reduces shadows and delivers a natural glow. This setup avoids the harsh contrasts seen with overhead or back lighting. Natural window light works well too, as long as it’s diffuse and not directly behind you. Soft lighting from the front minimizes skin imperfections without looking artificial. Avoid placing lights too close, though-it can wash out your features. A color temperature around 4000K to 5000K mimics daylight and keeps your tone neutral. Test adjustments in real video meetings to confirm visibility without glare. Lighting isn’t about perfection-it’s about clarity, consistency, and appearing approachable and focused. For sustained home office wellness, consider a best light therapy lamp to support circadian rhythm and alertness during long meeting days.
Keep Your Background Clean and Neutral
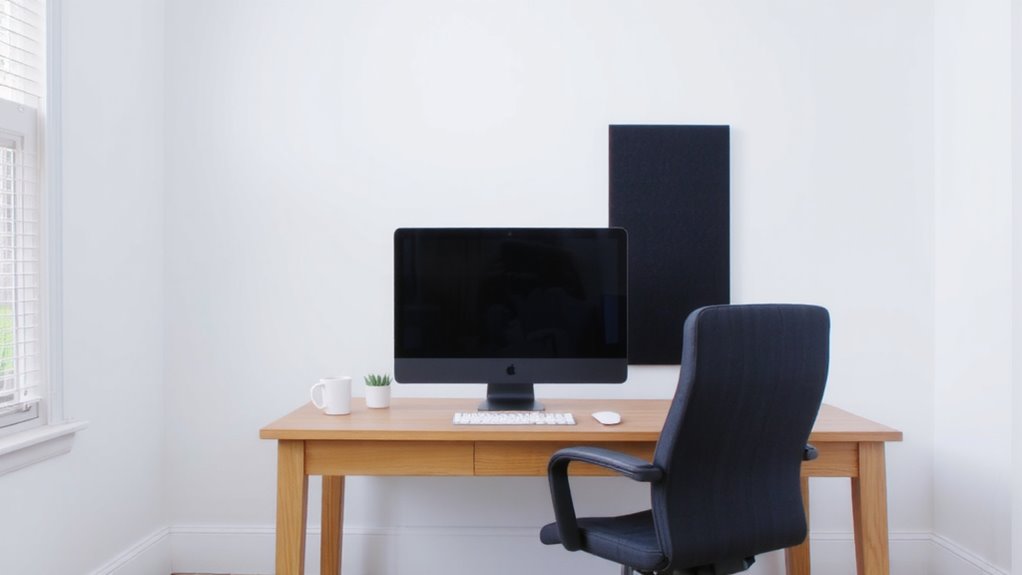
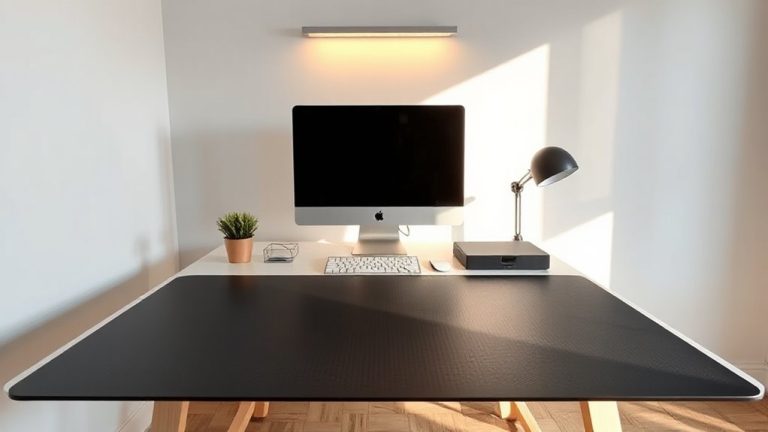
A clean, neutral background keeps the focus on you during video calls, not your surroundings. Background clutter-like piles of books, clothing, or personal items-distracts viewers and undermines professionalism. Stick to neutral tones like gray, beige, or soft white on walls or backdrop fabric; they’re visually calming and don’t compete with your presence. These colors also reduce eye strain for remote participants during long meetings. While virtual backgrounds offer a quick fix, they often glitch or distort edges, especially with low-frame-rate webcams, making you appear unsteady or artificial. A real, tidy space looks more credible. If you lack wall space, use a simple folding backdrop stand with matte fabric to avoid glare. Avoid busy patterns or shiny surfaces. Remember, consistency across calls builds trust. You don’t need expensive decor-just intentionality. A few minutes clearing the frame pays off in perceived focus and reliability.
Position Your Camera at Eye Level
Set your camera at eye level to create a natural, engaging connection during video calls. Proper visual alignment prevents unflattering angles and keeps focus on your face. Below is how setup choices affect your image:
| Position | Effect on Appearance |
|---|---|
| Eye level | Balanced, professional look |
| Below eye level | Unflattering upward angle |
| Above eye level | Looking down, may seem dismissive |
| Tilted sideways | Poor camera stability, odd framing |
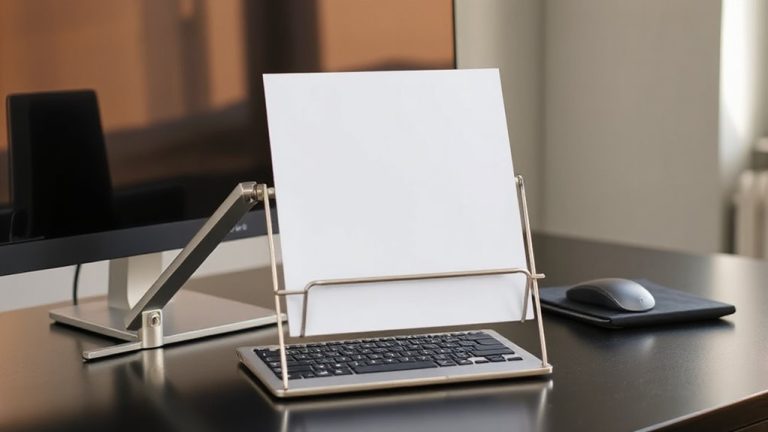
Use books or a small stand to position your laptop or webcam correctly. Built-in tripod threads on most webcams help with stability. Even slight adjustments improve visual alignment. While some stands offer tilt and height control, make certain they don’t compromise camera stability on smooth desks. A wobbly camera undermines professionalism. Most quality arms include rubber grips or weighted bases. Test movement by lightly tapping your desk-real-world checks matter. For adjustable and ergonomic setups, consider a laptop stand with height control.
Stop Notifications Before Video Calls
You’ve nailed the camera angle, but a single pop-up can still break the professionalism you’re aiming for. Silence is key, so mute alerts and disable popups before every call. Most operating systems let you enable a “Do Not Disturb” mode-use it. On Windows, turn on Focus Assist; macOS users should activate Notification Center’s quiet hours. Both stop banners, sounds, and banner interruptions. Mobile? Lock it face-down or switch to Airplane Mode. Third-party apps like Slack or Teams also allow you to schedule status updates, reducing the urge to check during calls. Just remember: a fully silent system might make you miss urgent messages, so weigh convenience against availability. Test your setup briefly before going live-what looks off in practice may not show in settings. It’s a small step, but disabling distractions proactively keeps your focus where it belongs: on the conversation.
Check Your Mic, Cam, and Connection First
Before you click join, verify your mic, camera, and internet-because even top-tier gear fails silently. Poor microphone quality or spotty internet stability can derail a professional call fast. Test your mic: speak naturally and check for clarity, background hiss, or distortion. Built-in laptop mics often lack range and capture too much ambient noise. If you use a USB mic, confirm it’s selected in your settings. Position your camera at eye level; a crooked or tilted frame distracts. Webcams like Logitech’s C920 perform well in varied lighting but need a firm mount. Check internet stability with a speed test-aim for at least 3 Mbps upload for HD video. Wi-Fi works, but Ethernet offers more consistent performance. Restart your router if needed. Don’t assume gear works just because it did yesterday. A quick pre-call check prevents delays and maintains credibility.
On a final note
You’ll look sharp and stay focused with these simple fixes. Position your camera at eye level using a stack of books or a laptop stand, and face a window or soft front light for clear visibility. Silence notifications and test your mic, cam, and Wi-Fi strength first-especially on older laptops. A plain wall works fine; no need for expensive backdrops. While ring lights help, harsh lighting casts shadows. Balance matters-quality shows without overspending.