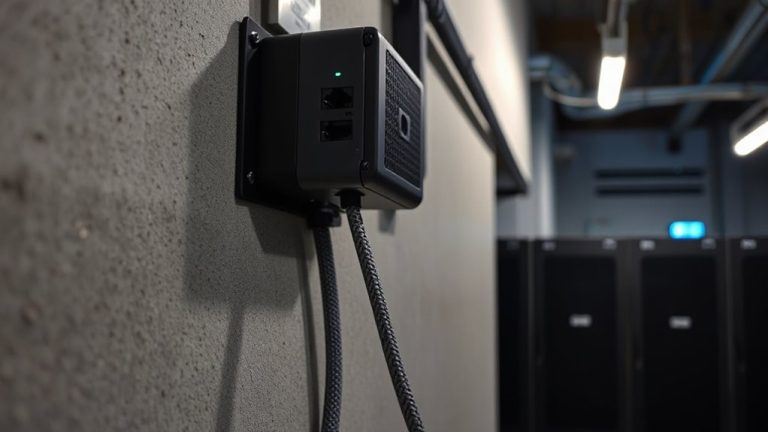
How to Plan Desk Cable Routing to Avoid Tripping Hazards in Meeting Spaces
Use under-desk trays or adhesive clips to keep cables off the floor and prevent tripping in meeting spaces. Durable ABS trays support up to 10 lbs, but avoid overloading them. Pair rubber-padded clips with anchor points every 12–18 inches to stop sagging. Run cables along desk backs or rear legs, avoiding walkways. Label both ends and inspect every 3 months. You’ll find smarter ways to balance clean looks with easy access.
Notable Insights
- Use under-desk cable trays to secure cords and keep them off the floor in high-traffic meeting areas.
- Route cables along desk backs or rear legs to minimize tripping hazards and visibility.
- Install adhesive clips every 12–18 inches to anchor cables and prevent sagging or shifting.
- Avoid running cables across walkways; use grommet holes for concealed, safe cable paths.
- Plan layout in advance, grouping devices and power sources to reduce clutter and cord spans.
Stop Desk Cables From Tripping People in Meetings
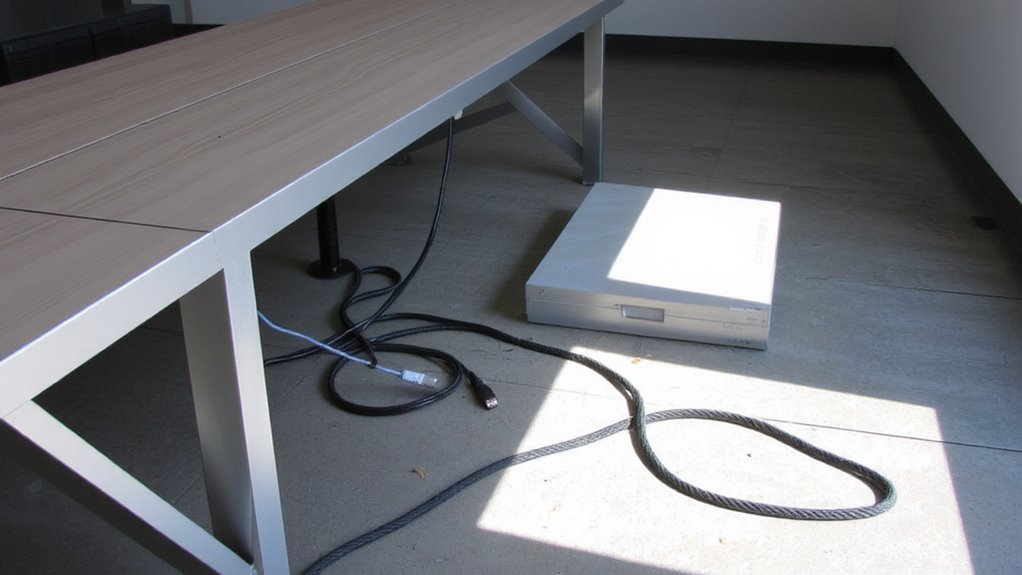
Under your desk, loose cables likely create a tripping hazard during meetings-secure them with a cable management tray or adhesive clips to keep cords off the floor and within reach. Proper cable organization isn’t just about cable aesthetics; it’s a core part of safety compliance in shared workspaces. Trays made of durable ABS plastic typically hold up to 10 lbs, fitting most power strips and USB hubs without sagging. Adhesive clips with rubber padding protect jacketed cables and release cleanly, though they may fail on porous or dusty surfaces. You’ll reduce clutter and eliminate snags, but don’t overload trays-excess weight can pull mounts loose over time. While sleek routing improves cable aesthetics, functionality should guide placement. Test mounts with all devices connected before finalizing placement. A well-managed setup meets safety compliance without sacrificing access. When selecting a desk, consider models from the best standing desks list to ensure built-in cable management features are included.
Plan Every Device and Outlet for Cable Routing
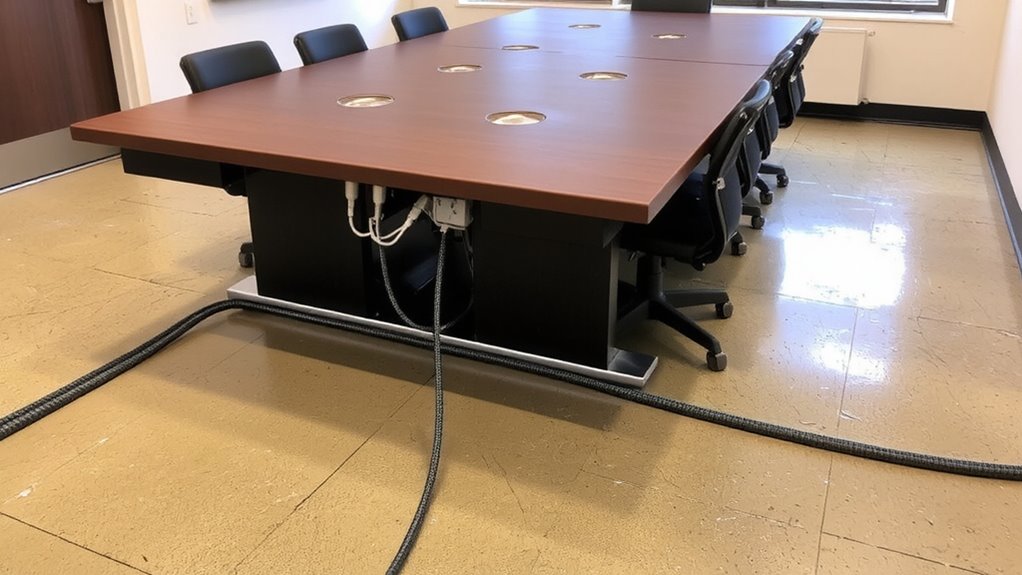
A solid plan starts with a sketch-map every device, power strip, and outlet before running a single cable. You’ll avoid clutter and reduce tripping risks in meeting spaces. List each device’s power requirements so you don’t overload circuits-check wattage and voltage labels. Also, confirm device compatibility with your outlets and adapters, especially if using international or legacy equipment. Some devices need grounded plugs or specific surge protectors, so verify these early. Group nearby devices to minimize cable runs, but don’t daisy-chain power strips-code often limits this and it’s a fire hazard. Plan extra outlet capacity (15–20%) for flexibility. Label devices and outlets on your sketch; it’ll simplify troubleshooting later. While a clean setup looks professional, don’t sacrifice accessibility for neatness-leave slack for adjustments. Accuracy in planning now prevents costly changes and safety issues later. Implementing cable management solutions can further enhance organization and safety in shared workspaces.
Pick the Best Cable Organizers for Your Desk
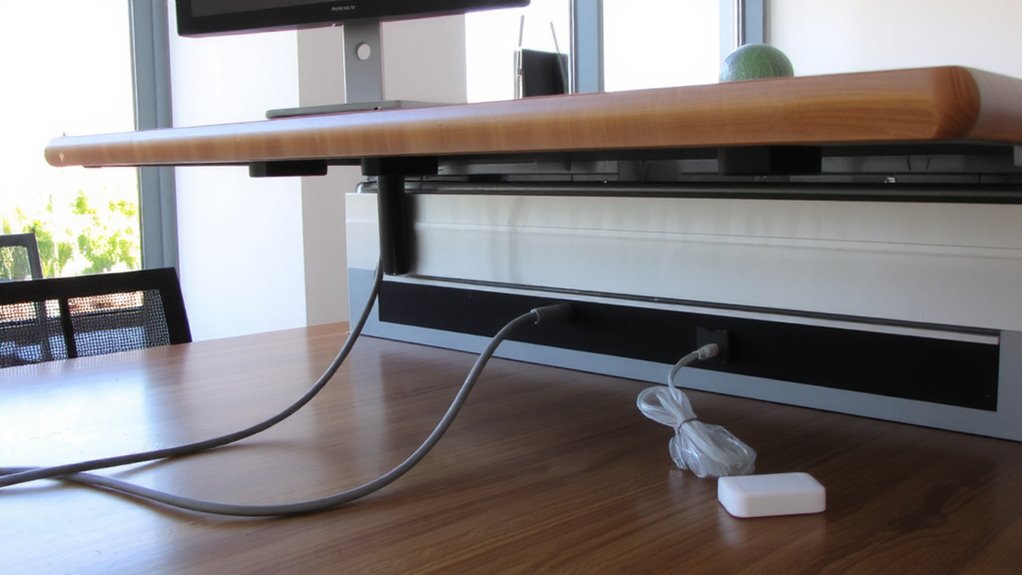
While you might be tempted to grab the first cable sleeve or clamp on sale, investing in the right organizers can actually reduce desk clutter and save time over the long run-especially if you swap devices often. Good cable management boosts both cable aesthetics and desk ergonomics, creating a cleaner, safer workspace. Choose mounts and sleeves that fit your cable volume and desk material. A well-organized setup also minimizes tripping hazards, particularly important in high-traffic meeting spaces where cable hiding options play a critical role in maintaining safety and professionalism.
| Organizer Type | Best For |
|---|---|
| Braided sleeves | High cable aesthetics, flexible routing |
| Adhesive clips | Quick setup, light-duty desk ergonomics |
| Under-desk trays | Heavy setups, long-term cable organization |
Velcro ties offer easy adjustments, while rigid channels suit permanent layouts. Note that some adhesive products lose grip over time, especially on textured surfaces. Always check weight ratings and desk compatibility-steel desks may need magnetic mounts. Test one unit before buying in bulk.
Run Cables Along Safe, Out-of-the-Way Paths
Keep cables out of harm’s way by routing them along the back edge of your desk or down the rear leg, where they’re less likely to snag or get stepped on. This supports both safety and cable aesthetics, giving your workspace design a clean, professional look. Use grommet holes if your desk has them-they’re ideal for threading cables through to the floor or rear access points. Avoid tight bends near sharp desk edges, which can damage insulation over time. While flat cable routing looks neat, it may not suit deep desks, since longer runs can sag. Think about how people move around the room-don’t route cables across walkways, even if it seems convenient. In shared meeting spaces, subtle cable paths improve both function and visual clarity. However, overly hidden setups can make troubleshooting harder, so balance concealment with access. Proper routing isn’t just about looks-it’s a core part of smart workspace design.
Fasten Cables Securely to Prevent Snags
You’ve routed your cables safely along the back of the desk, but loose cords still pose a tripping hazard and could get yanked free by accident-so now it’s time to fast prote the them down. Use adhesive-backed cable clips or metal tie-downs at key anchor points to hold cords firmly in place. This reduces cable tension that might pull connectors loose or strain ports over time. Mount anchor points every 12–18 inches along longer runs to prevent sagging and shifting, especially near movable parts like sit-stand desks. Avoid overtightening zip ties, which can damage insulation or increase tension on delicate wires. Instead, opt for hook-and-loop straps where repeated access is needed. Secure fastening keeps cords stable during daily use, but make sure your method allows for future adjustments without damaging desk surfaces or cables. A well-anchored setup lasts longer and stays safe with minimal maintenance.
Label Your Desk Cable Routing for Quick Access
A clear labeling system for your desk cable routing makes troubleshooting and upgrades faster and less frustrating. Cable labeling guarantees quick identification, especially when multiple devices share similar-looking power cords or data cables. Use adhesive labels or cable tags near connection points so you can tell which cord powers your monitor, docking station, or VoIP phone at a glance. You’ll save time during swaps or when diagnosing an issue. Label both ends of each cable to avoid confusion. While printed labels last longer, handwritten ones work fine if legible. Just avoid cheap stickers that peel or fade. Keep label text consistent-use device names or port numbers, not vague terms. Though it adds a few minutes to setup, the payoff comes during maintenance. Remember, no label survives dust and handling forever-inspect them occasionally, but don’t overthink font or color unless you’re managing a large team setup.
Check and Update Your Cable Setup Regularly
Occasionally, even a well-organized cable setup degrades over time due to wear, changing needs, or device upgrades-so it’s smart to inspect yours every three to six months. Regular connectivity checks help catch signal drops or slow data transfer early, while visual scans reveal cable wear like frayed insulation or bent connectors. Don’t wait for failure-proactive updates prevent hazards and downtime.
| Task | Frequency |
|---|---|
| Inspect for cable wear | Every 3 months |
| Perform connectivity checks | Every 6 months |
| Re-route or replace cables | As needed |
Replace damaged cables with braided or shielded types (e.g., 16 AWG minimum) for durability. Use velcro ties instead of zip ties for easy adjustments. While frequent updates take time, the trade-off is safer, more reliable setups. Test new configurations under real meeting loads before finalizing.
On a final note
You should secure desk cables to cut tripping risks in meeting spaces. Use cable sleeves or raceways along the desk’s underside, keeping cords tight and out of foot traffic zones. Adhesive mounts beat clips-they stay fixed after weeks of use. Label each wire so swaps take seconds. But cheap ties can yellow or crack; go for nylon or rubber-coated. Even solid setups need checking every 60 to 90 days to stay safe and functional.