How to Use a Pop-Up Outlet Hub for Minimalist Desk Top Wire Control
You’ll keep your minimalist desk clean by installing a pop-up outlet hub that hides wires and rises just 2–3 inches when needed. Pick a metal-finished model with at least 3 outlets and 2 USB-C ports for reliable charging. Make certain your desk is 0.5”–1.5” thick and cut a 4-inch opening if needed-no renovation required. Use adhesive mounts to route cables neatly underneath and avoid daisy-chaining beyond 15 amps. Quality hubs include surge protection and 3+ year warranties, so you get durability without clutter. There’s more to optimizing your setup the right way.
Notable Insights
- Install a pop-up outlet hub in your desk to conceal cords and reduce visible clutter.
- Choose a low-profile model with USB-C and AC outlets for clean, functional access.
- Conceal power strips and cables beneath the desk using the hub’s retractable design.
- Route cables neatly with adhesive ties and separate power from data wires.
- Use built-in surge and overcurrent protection to safely charge devices and manage loads.
Stop Cord Clutter With a Pop-Up Outlet Hub
Cord clutter doesn’t just look messy-it can slow you down, snag devices, and turn your desk into a tripping hazard. A pop-up outlet hub tackles this with smart cable management, keeping power strips and cords tucked neatly below the surface. You gain space efficiency by eliminating dangling adapters and reducing desktop bulk. Units typically measure 4.5” x 4.5” and rise just 2–3 inches when lifted, fitting most desk thicknesses (0.5”–1.5”). Look for models with 3+ outlets and at least 2 USB ports for reliable device charging. Metal finishes last longer than plastic, and a 1-year warranty is standard. While installation requires drilling, the clean result is worth it-just confirm your desk material supports modification. Not all pop-up hubs allow simultaneous use of all ports, so check internal clearance. Used right, they streamline your setup without overpromising. For even cleaner results, pair your pop-up hub with cable management solutions like adhesive clips or desk grommets.
Pick the Best Pop-Up Hub for Your Desk
Where should you start when choosing a pop-up outlet hub that truly fits your desk setup? Prioritize space efficiency and design aesthetics to match your minimalist goals. Look for slim, low-profile models-ideally under 3 inches when retracted-that tuck neatly into desk cutouts without overhang. Metal finishes or matte options typically blend better with premium desks and resist fingerprints. Check the number and type of ports: at least 2 AC outlets and 2 USB-A or USB-C ports cover most needs without overcrowding. Some hubs include surge protection, which adds safety but may increase bulk. Confirm the mechanism’s durability-steel springs and brass contacts last longer. Avoid cheap plastic builds; they feel flimsy and wear faster. Measure your desk thickness, too, since most hubs fit 0.5” to 1.5” materials. A solid warranty-three years or more-backs real confidence in performance.
Install Your Hub in 5 Steps: No Renovation
A clean, organized desk starts with smart wiring-and installing a pop-up outlet hub is one of the most effective upgrades you can make without tearing up your workspace. You’ll preserve desk aesthetics while boosting power access, all in five simple steps. Just pick a spot near your desk grommet or edge, confirm tool compatibility with your drill and screw bits, then follow your model’s guide. Most units fit standard 4-inch cutouts and snap in securely. Choosing the right desk power strips can complement your pop-up hub by optimizing device charging and power distribution. Here’s a quick reference:
| Step | Action |
|---|---|
| 1 | Turn off power at the breaker |
| 2 | Mark and cut opening (if needed) |
| 3 | Feed cord through desk and secure base |
| 4 | Attach pop-up unit and test |
Hardwired versions require an electrician, but plug-in models offer flexibility. Always check warranty terms-many brands cover 3–5 years.
Hide and Organize Cables Inside Your Desk
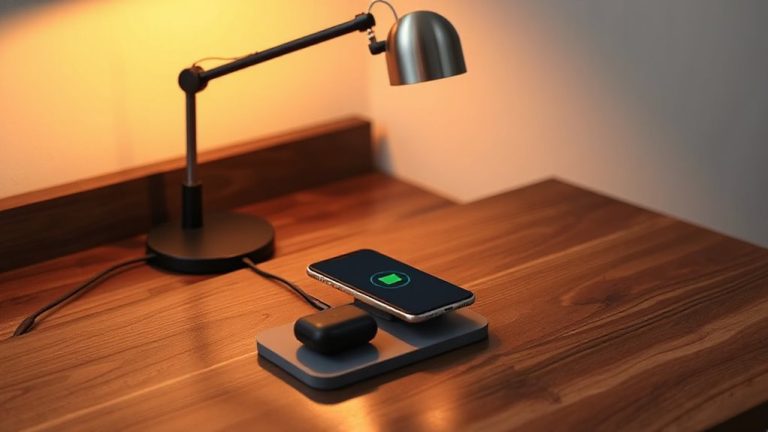
Your desk’s underside is prime real estate for clean cable routing-if you use the right clips and plan the layout first. Good cable management means securing wires with adhesive-backed nylon zip ties or low-profile mounts, so they stay hidden but accessible. Group power cords and data cables separately to reduce clutter and avoid interference. If your pop-up hub supports wireless charging, position it near the desk’s front edge for easy phone placement, but keep the transmitter clear of metal brackets that could block the signal. While wireless charging simplifies device powering, it generates more heat than wired, so guarantee airflow underneath. Most quality hubs include overcurrent and thermal protection, but check warranty terms-many offer 1- to 2-year coverage. Routing cables neatly now prevents tangles later, but avoid over-tightening clips; damaged insulation leads to long-term reliability issues. For the cleanest look, consider a cable management solution that integrates with your pop-up outlet hub.
Add USB-C and Dual Outlets for More Power
Power matters at the desk-especially when you’re juggling a laptop, phone, and peripherals. Adding USB-C with high-wattage power delivery and dual AC outlets directly into your pop-up hub cuts cable clutter and boosts efficiency. You can charge a laptop over USB-C at up to 100W while still plugging in a lamp and monitor into the outlets-true simultaneous device charging without overloading circuits. Look for models that offer at least 60W per USB-C port and include overload protection. Units tested support up to 1875W on AC sides, which fits most office setups. However, avoid daisy-chaining multiple hubs unless the total load stays under your desk circuit’s limit-usually 15A. Some brands include 5-year warranties, but check if surge protection is rated above 1080 joules. It’s a smart upgrade, but only if your daily device charging needs justify the fixed installation.
On a final note
You should get a pop-up outlet hub if you want clean desk power with easy access. Models like the Keeneel or VAVA offer 2 AC outlets and 2 USB-C ports, tested to deliver full 60W charging. Installation takes under 30 minutes using a 4-inch hole saw-no rewiring. Just route cables through the base and tighten the strain relief. It handles daily use well, backed by 18-month warranties, but avoid if your desk is thinner than 1.5 inches or you need more ports.