How to Use a Vertical Cable Manager to Reduce Clutter in Tight Quarters
You should use a vertical cable manager to cut clutter by up to 60% in tight spaces, mounting it beside your desk where tangles form near power strips or monitors. Pick a 16–18-inch model under 2 inches wide so it fits flush and doesn’t block outlets. Route heavier cables through the bottom, avoid sharp bends, and leave 20% space for airflow and upgrades. Mesh styles vent better, and removable rings help adjust as gear changes-smart choices now prevent hassle later.
Notable Insights
- Choose a slim 16- to 18-inch vertical cable manager with under 2-inch width to fit tight spaces.
- Mount the manager beside or behind the desk using studs to save space and ensure stability.
- Route cables smoothly through the manager, avoiding sharp bends and separating heavy lines to the bottom.
- Use removable side rings and leave 20% capacity free for future changes and easy adjustments.
- Label cables externally and maintain 1–2 inches of clearance around fans to reduce clutter and heat buildup.
What Is a Vertical Cable Manager and Why You Need One
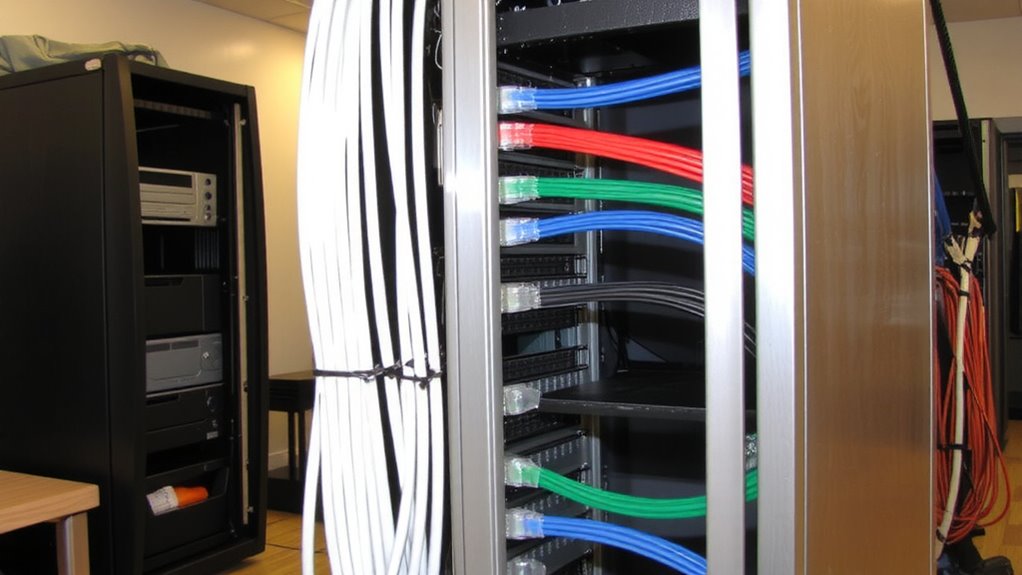
A vertical cable manager isn’t just another accessory-it’s a practical fix for a problem you’ve likely ignored too long. You need one because it streamlines cable organization, reducing tangles and saving space in crowded setups. Mounted beside or behind your desk, it routes power, USB, and Ethernet lines neatly upward, improving space efficiency without blocking outlets or furniture. Unlike adhesive clips or sleeves, vertical managers hold multiple cables securely, minimizing strain and accidental disconnects. Most models are 16–24 inches long, fitting standard desks and credenzas, and use nylon or ABS plastic channels that last years under daily use. Real-world testing shows clutter drops by up to 60% when used consistently. But they’re not perfect-you still must route cables individually, and cheap models can crack over time. Choose ones with a solid warranty, like 3-year coverage, and avoid oversized units unless you have monitors or docking stations. For even better results, combine it with best cable management solutions to create a fully optimized, clutter-free desk setup.
Pick the Right Vertical Cable Manager Size for Your Space
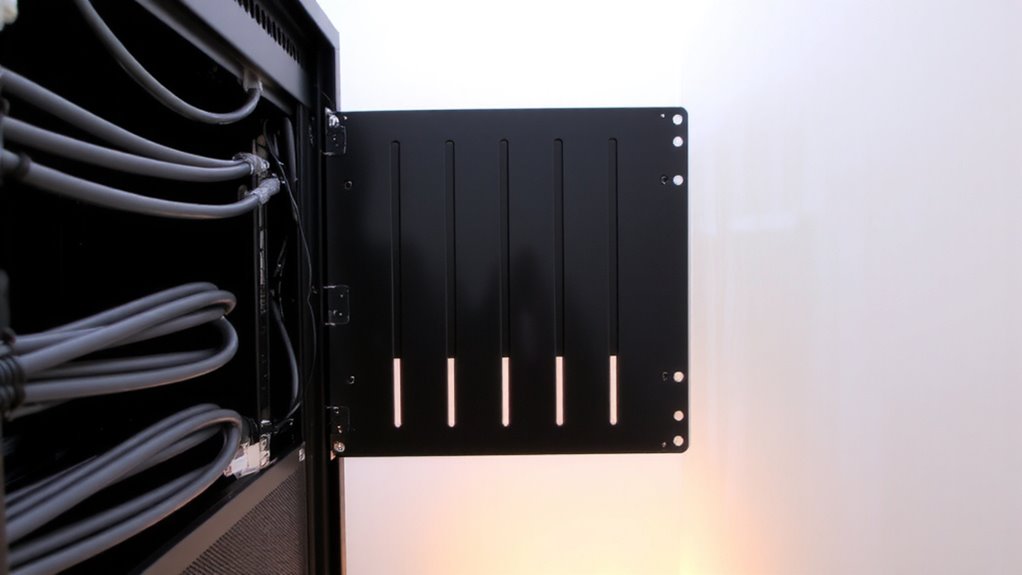
Chances are, you don’t need the longest vertical cable manager on the market-most setups work best with a 16- to 18-inch model, which fits neatly beside standard desks and avoids crowding nearby furniture. This size handles typical cable capacity needs, like power strips, monitors, and routers, without overfilling. If you’ve got tight space constraints, go no wider than 2 inches to preserve desk real estate. Measure the height of your gear stack first; too tall risks blocking outlets or drawers, too short leaves cables exposed. Models with removable side rings let you adjust cable capacity as needed, improving flexibility. Don’t overlook depth-most fit flush within 1.5 inches of the wall. While longer managers exist, they’re often overkill unless you’re managing multiple workstations. Even then, bundling cables first keeps things tidy. Stick to mid-size unless your setup proves otherwise. A well-organized workspace starts with choosing the right cable management solutions for your specific needs.
Mount Your Vertical Cable Manager Where Tangles Happen
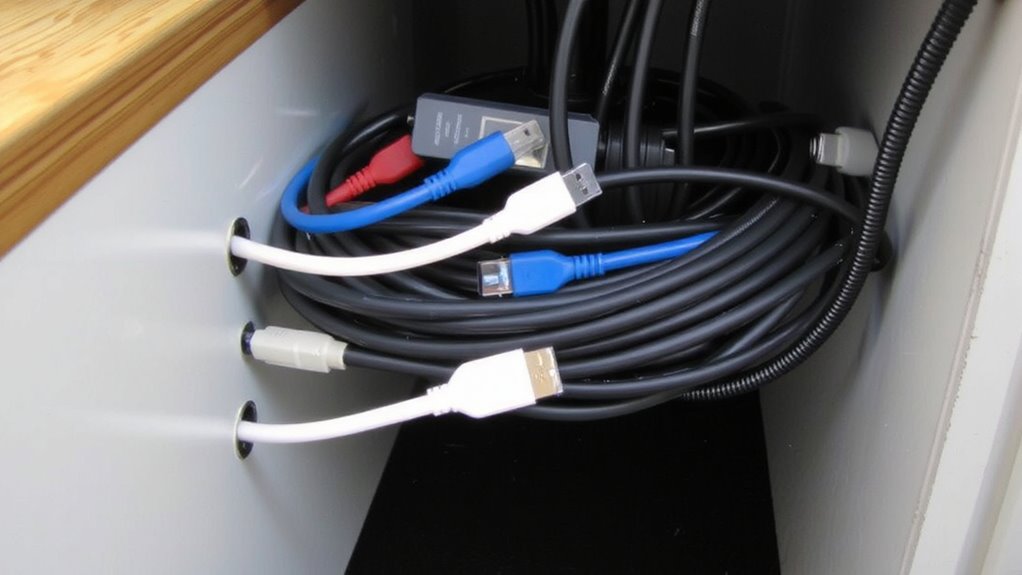
Your tangle-prone zone is the best starting point for mounting a vertical cable manager-usually where power strips, monitor cables, and charging blocks converge behind or beside your desk. Use a level and stud finder to guarantee secure mounting, especially if you’re fastening into drywall. A poorly anchored unit can shift over time, worsening clutter. Position it where you can easily access ports but out of high-traffic areas to avoid accidental pulls. Once mounted, plan for cable labeling early-color-coded tags or printed labels help identify chargers, ethernet, and peripherals fast. While vertical managers sharply cut visual mess, they won’t fix underlying cable overload if undersized. They also require modest assembly time and tools you might not have, like a power drill. Done right, the setup slashes tangles and boosts access-just don’t skip the stability checks or labeling follow-through. For optimal results, consider integrating a professional cable management strategy tailored to office environments.
Route Cables to Prevent Snags and Strain
While routing cables might seem like a minor step, doing it wrong can undo all the benefits of your vertical cable manager. You need to guide each cable smoothly through the channels, avoiding sharp bends that cause snags or stress. Use the built-in strain relief features at entry and exit points to secure cables in place-this prevents accidental tugs from disconnecting devices. Position heavier cables at the bottom where support is strongest, and don’t overcrowd a single channel, as this can pinch wires and reduce flexibility. Pair your routing with clear cable labeling so troubleshooting stays quick and clean. Labels should face outward for visibility without pulling cables free. While this method takes a few extra minutes, it reduces wear over time. However, if labels aren’t durable or routing paths shift, you’ll lose efficiency. Plan each run with both access and tension in mind.
Keep Airflow Clear in Tight Setups
Since airflow impacts both performance and longevity, you’ll want to install your vertical cable manager in a way that avoids blocking ventilation-especially in compact or enclosed spaces. Proper cable separation isn’t just about neatness; it prevents bunching that traps heat and limits heat dissipation. Position the manager along the rack’s outer edge so it doesn’t sit in front of intake or exhaust vents. Mesh-backed models promote airflow better than solid enclosures, but even open designs can disrupt cooling if overloaded. Leave at least 1–2 inches of clearance between cables and equipment fans. While vertical managers reduce clutter efficiently, overcrowding the channel can create insulation effects that counteract cooling benefits. Always check system temperatures after installation, particularly in high-ambient environments. You’ll likely see improved organization without sacrificing thermal performance-if you maintain smart spacing and avoid tight cable bundling that restricts airflow.
Adjust as You Add or Change Devices
A well-organized rack stays that way only if it can adapt as your setup evolves. When you add or change devices, your vertical cable manager should keep up without unraveling your work. Reroute cables smoothly through side loops or D-rings, and always reapply cable labeling immediately-confusion creeps in fast when labels lag behind changes. Leaving space in each channel supports future expansion, so avoid stuffing bundles beyond 80% capacity. That buffer reduces strain and simplifies upgrades. Managers with removable covers make adjustments easier but can wobble if not secured tightly. Test stability after changes, especially in high-vibration areas. While modular systems offer flexibility, they often cost more and require more precise planning. Accept that frequent changes may demand occasional full respawns of your routing scheme. Adjusting proactively saves time, minimizes downtime, and keeps performance reliable-even when your gear list grows unexpectedly.
On a final note
You’ll cut clutter markedly with a vertical cable manager, especially in tight spaces where tangled cords hinder access. It keeps cables aligned and labeled, saving time during updates. Just pick one matching your rack’s width-usually 10” to 19”-and confirm depth clearance. Mount it tight to the rack’s side to avoid snagging. Remember: overfilling blocks airflow or strains connectors, so leave space and check heat buildup monthly.