Creating a Multi-Tiered Desk Setup Using Stacked Shelves and Platforms
You can build a stable, ergonomic multi-tiered desk with stacked shelves if you use rigid, weight-rated platforms like powder-coated steel or solid wood-avoid particleboard. Set the monitor 20–30 inches away, top at eye level, and place the keyboard lower to keep wrists straight. Use L-brackets and center supports for stability, align tiers with a level, and allow 12–16 inches between levels. Manage cables with raceways and grommets. Test the layout empty first and check alignment after assembly. Longer-term comfort depends on precise height matching and durable materials-small gaps or wobbles add up. Pick units with strong warranties and verified load ratings to avoid sagging over time. Proper setup means lasting function without trade-offs. The details in selection and alignment make all the difference for a workspace that works as hard as you do.
Notable Insights
- Position the monitor on the upper tier with the top at eye level, 20–30 inches away, to reduce neck strain.
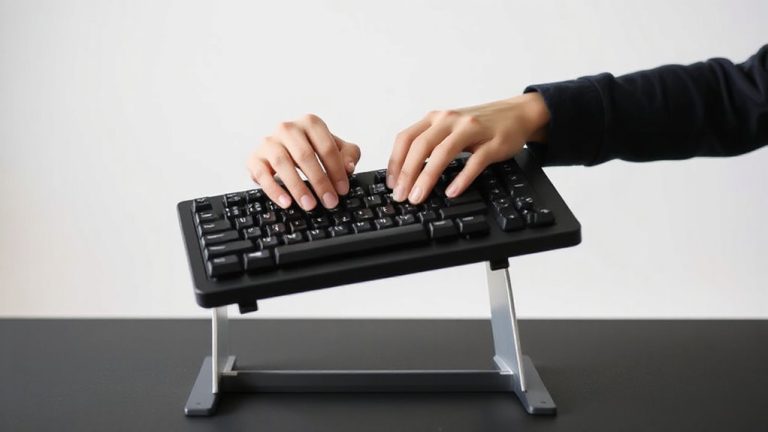
- Place the keyboard on a lower tier to maintain a 90-degree elbow angle and promote wrist alignment.
- Use durable materials like solid wood or steel with at least 30 lbs load capacity per shelf for stability.
- Space shelves 12–16 inches apart and ensure 25 inches of depth on the top tier for functional clearance.
- Secure cables under shelves using raceways or clips to maintain organization and prevent clutter.
Design Your Tiered Desk for Better Ergonomics
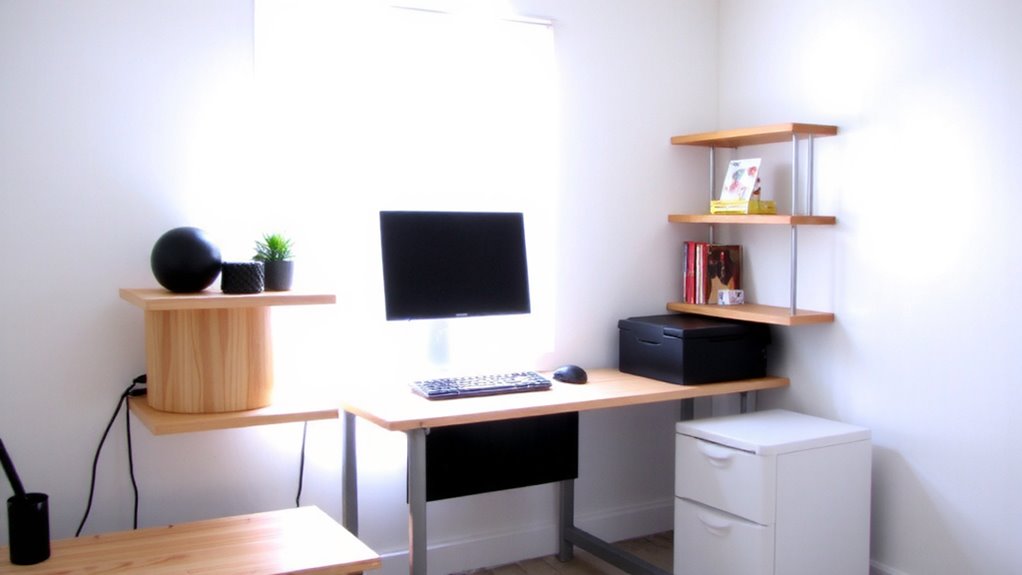
While you might think stacking work surfaces is just about saving space, designing a tiered desk setup can seriously improve your posture and comfort-if done right. You’ll want monitor alignment so the top of your screen sits at or slightly below eye level, about 20–30 inches from your face, reducing neck strain. Your keyboard placement matters just as much: position it on a lower tier so your elbows stay at 90 degrees, wrists straight, and shoulders relaxed. A well-layered desk supports this natural posture, but misaligned tiers can cause more harm than good. Even minor height mismatches add up over hours. You’re not just building shelves-you’re crafting a workflow zone. Stick to rigid, non-slip surfaces and guarantee each level has enough depth for your gear. Measure twice, assemble once. Small errors in setup can lead to long-term discomfort, so get it right the first time. A high-quality desk mat can further enhance comfort by providing a smooth, cushioned surface for your wrists during extended typing sessions.
Pick Sturdy Shelves and Platforms by Size and Load
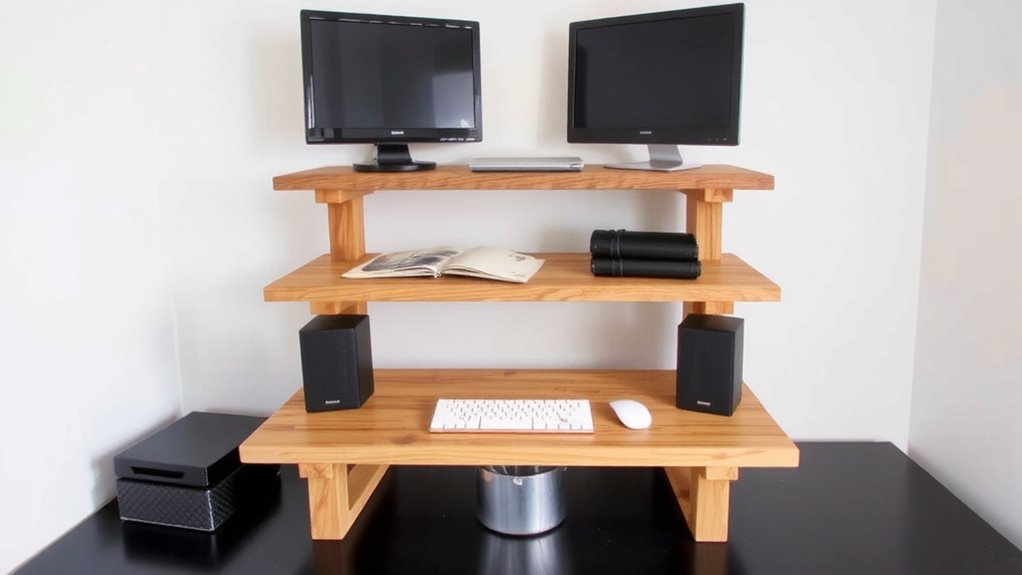
A single flimsy shelf can undermine your entire tiered desk setup, so pick platforms built to handle both size and weight demands. You need strong material durability-think powder-coated steel, solid wood, or high-grade MDF-because wobbling or sagging ruins function and safety. Always check the weight capacity listed by the manufacturer; aim for at least 30 lbs per shelf for monitors and office gear, more if stacking heavier items. Particleboard might save money, but it dents easily and won’t support load long-term. Metal brackets or L-shaped supports add stability, especially for deeper shelves. Units tested to hold weight over time-like those with reinforced edges or center supports-are worth the extra cost. Don’t assume bigger is stronger; a wide shelf with poor supports will bow. Read warranties and real-user reviews to verify performance. Your setup’s strength depends on smart, measured choices, not just looks. For reliable options, consider models featured in expert evaluations of the best floating shelves.
Plan Your Layout: Height, Depth, and Workflow
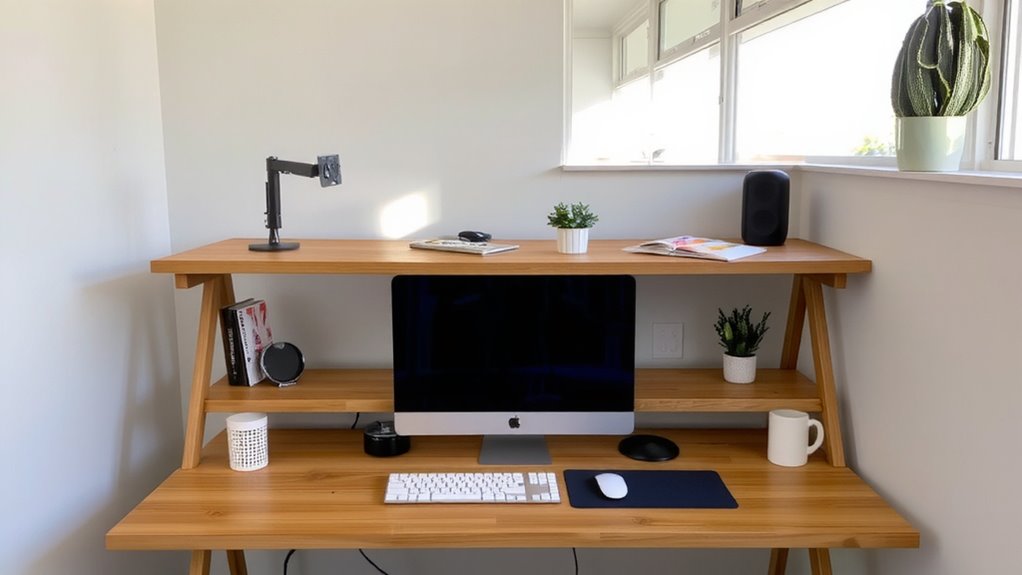
You’ve picked strong shelves built to last-now it’s time to position them where they’ll work best. Aim for shelf alignment that keeps your monitor at eye level and your keyboard within easy reach, reducing neck and wrist strain. Platform symmetry helps balance your workflow-center your main work surface, then stack secondary tiers slightly behind for storage or monitors. Leave at least 25 inches of depth on the top tier so your gear fits without crowding. Too much height between levels slows access; stick to 12–16 inches between shelves. Measure your chair and desk clearance first-some setups limit vertical space. While symmetry improves looks and function, don’t sacrifice ergonomics for perfect alignment. Test placement with empty shelves before loading. Some users report stability issues if weight shifts forward, so keep heavy items low. Always recheck alignment after assembly-minor shifts affect long-term comfort. For an affordable yet reliable display option, consider a refurbished monitor that meets your resolution and size needs.
Build and Stack Each Tier With Simple Tools
Since most pre-fab shelving systems rely on basic hardware and intuitive designs, you’ll likely need just a few common tools-an Allen wrench, a screwdriver, and a level-to get each tier assembled and properly aligned. Your material selection affects both durability and ease of assembly; steel frames offer sturdiness, while engineered wood is easier to handle but less resilient. Always follow manufacturer-recommended fastening techniques to avoid wobbling or misalignment between tiers.
| Tier Level | Recommended Tool | Purpose |
|---|---|---|
| Base | Allen wrench | Frame stability |
| Mid | Screwdriver | Shelf attachment |
| Upper | Level | Alignment check |
| All | Wood screws | Secure fastening |
| Optional | Washer | Reinforce joints |
Don’t skip tightening every joint-small gaps add up. Test stability after each tier. Some kits lack washers; adding them improves load distribution. Follow weight limits precisely.
Route Cables and Position Devices Tidily
Every well-organized multi-tiered desk starts with clean cable management-because tangled cords not only look unprofessional but can make troubleshooting and upgrades a hassle. You’ll want to group power and data cables together using twist ties or low-profile raceways under each shelf. Plan cable management loops with enough slack to move devices, but not so much that excess coils create clutter. Route cords through grommets or along adhesive-backed clips to keep them secure and out of sight. Device alignment matters: align monitors at eye level and keyboards at elbow height to avoid strain. Center devices on each tier for balance and accessibility. Use cable sleeves for a neater look, but avoid overstuffing them-they can restrict airflow and strain connectors. While vertical cable trays help, they sometimes limit shelf adjustability. Good cable management and smart device alignment reduce fatigue and improve workflow, but they do require precise planning before full setup.
Customize Surfaces for Your Tools and Aesthetic
Your desk’s surface choices shape both workflow efficiency and visual cohesion, so pick materials that support your tools while reflecting your taste. Opt for durable, smooth finishes like tempered glass or matte laminate if you use mechanical keyboards or drawing tablets-they resist wear and ease cleaning. For color coordination, match surface tones to your walls or tech finishes (e.g., charcoal desks with black monitors) to create calm, focused spaces. Material matching across tiers-like pairing wooden shelves with a bamboo desktop-adds polish but beware of overcommitting to a single material; it can highlight imperfections or limit future upgrades. Lighter surfaces brighten small rooms but show dust and smudges faster. Textured tops improve grip for heavy gear but may trap debris. Always test samples under your lighting, and check manufacturer warranties for scratch resistance. Balance aesthetics and function-your setup should last, not just look good.
On a final note
You’ll get better posture and workspace efficiency with a tiered desk setup, especially if you use heavy monitors or dual screens. Stacked shelving units from IKEA or Prepac offer solid support when anchored properly. Just mind the depth-each tier should leave 10–12 inches of usable surface. Cable management is harder here than with prefab desks, so budget extra time. It’s affordable and functional, but not as sleek or durable as premium standing desks.