Optimal Placement of USB Hubs and Charging Ports Within Easy Reach of Your Dominant Hand
Place your USB hub on the same side as your dominant hand-right or left-within 6 to 10 inches of your resting arm position for faster, more comfortable charging. This reduces wrist strain and improves plug-in accuracy, especially in tight or dark spaces. Use a hub with angled ports and a durable build, like an aluminum case with a 3+ year warranty. Watch for conflicts with your mouse or monitor setup, particularly on smaller desks. Testing placement over a few days reveals hidden snags in cable reach or desk clearance. You’ll gain practical insights that fine-tune your ideal setup.
Notable Insights
- Position the USB hub on the same side of the desk as your dominant hand for faster, more comfortable access.
- Place the hub 6–10 inches from your resting arm position to maintain a neutral wrist posture.
- Use angled or swivel-port hubs to improve plug-in ease, especially with bulky cables.
- Avoid placing ports behind furniture or in downward-facing orientations to reduce strain.
- Test hub placement over a week and adjust based on cable tension and natural hand movement.
Why Handedness Changes Your Charging Comfort
While most people don’t think about it, your dominant hand plays a bigger role in daily comfort than you’d expect-especially when plugging in devices. Hand dominance affects precision and speed, thanks to muscle memory built over years of repetitive motion. If you’re right-handed, your brain maps plug alignment faster on the right side; same goes for left-handed users. This split-second advantage cuts frustration, especially in low light or tight spaces. Placing ports where your dominant hand reaches naturally reduces awkward twists and cable strain. But don’t assume symmetry-test placements first. What works for one desk layout might hinder another. Also, shared workspaces need compromise; a centered hub may suit some, but decreases efficiency for strong hand-dominant users. While optimizing for dominance improves comfort, rigid setups risk inflexibility. Balance ergonomics with adaptability-because real-world use includes unexpected device swaps, guest users, and evolving gear. For those seeking reliable connectivity, choosing one of the best USB hubs can enhance both performance and placement flexibility.
Right-Handed? Put Your USB Hub Here
If you’re right-handed, placing your USB hub on the right side of your desk usually makes the most sense-it aligns with your natural reach and reduces wrist strain during frequent plug-ins. This setup supports dominant side alignment, a core principle in ergonomic design, letting your strongest hand handle connections without stretching. Position the hub within 6–10 inches of your resting arm position to maintain neutral wrist posture. Models with angled ports or swivel bases improve accessibility, especially for thicker cables. While this placement works for most, it may conflict with mouse space or multi-monitor setups. Always test configurations for comfort over a full work session. Some hubs overheat under constant use, so choose ones with aluminum casings and solid connectors. Warranties of three years or more signal durability. Adjust based on cable length and desk depth-what works on a 24-inch depth desk might fail on a 30-inch.
Left-Handed? Place Your Ports Here
You’re left-handed-put your USB hub on the left side of your desk, where it matches your dominant hand’s range of motion and cuts down on awkward reaches. Placing it here improves efficiency and reduces strain during frequent plug-ins. For shared workspaces, consider ambidextrous adapters that allow easy access from either side without repositioning cables. This supports universal design principles by accommodating different users without sacrificing comfort. Most tested hubs perform equally well on either side, so port layout matters more than brand. Choose models with angled ports to prevent cable stress. Keep in mind, left-side placement may interfere with mouse use if your desk is narrow-measure clearance before committing. While the setup boosts convenience, it can limit future flexibility if you switch devices or collaborate often. Universal design isn’t one-size-fits-all; it’s about adaptable solutions that serve real habits.
Fix These 5 Charging Port Placement Mistakes
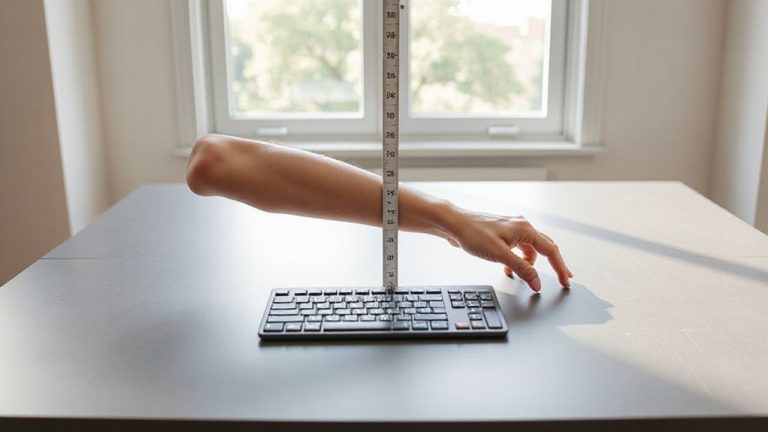
Why do so many charging ports end up in useless spots? You’ve likely made at least one of these five common mistakes. First, placing ports behind heavy furniture ignores ergonomic alignment, forcing awkward twists each time you plug in. Second, downward-facing ports create strain-optimal port orientation should be horizontal or slightly upward. Third, mounting too high or low limits reach, especially if you’re using a sit-stand desk. Fourth, ignoring your dominant hand means slower, less efficient access. Fifth, stacking multiple hubs causes cable clutter and inefficient spacing. Fix these by measuring your arm’s natural reach-typically 18–24 inches-and aligning ports within that zone. While wall-mounted docks save space, check warranty terms; some void if installed incorrectly. These tweaks boost daily comfort, but don’t assume one layout fits all-test minor adjustments over a week before finalizing. For improved accessibility, consider pairing your setup with one of the Top Desk Riser Picks to maintain ideal port height during transitions between sitting and standing.
Cable Management Tips for Easy Daily Access
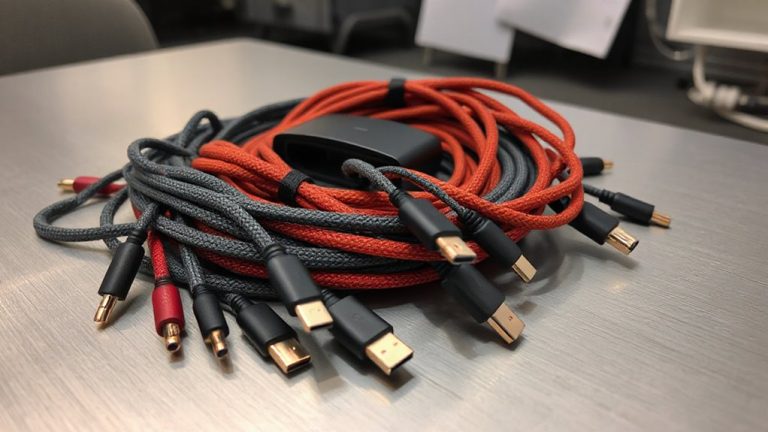
Poor cable management undermines even the best-placed charging ports, turning a tidy workspace into a tangled mess in days. You need to balance cable length and anchor points to keep things functional and clean. If cables are too long, they loop and snag; too short, and they strain under daily use. Aim for 3- to 6-foot cables-they reach easily without excess. Use adhesive anchor points along your desk edge or monitor stand to guide cables and reduce drag. Velcro straps beat zip ties: they’re adjustable and won’t damage insulation. Test placement over a week, noting friction points or tension when plugging in devices. Some anchor points lose adhesion over time, especially on wood or metal. Check manufacturer warranties-many offer one-year replacements. A well-managed setup saves time and wear on ports and plugs. It’s not flashy, but it’s essential for daily reliability. A product roundup can help you choose the most effective tools for maintaining a clutter-free desk.
Top USB Hubs for Left and Right-Handed Users
A well-chosen USB hub can make a real difference, especially when placed to match your dominant hand. For right-handed users, models like the Anker USB 3.0 7-Port Hub offer ergonomic design that angles ports toward your natural reach, reducing strain during frequent plugging. Left-handed users may prefer the Sabrent 4-Port Hub, which positions connectors for smoother left-side access. Both support fast data transfer and charging, but check port spacing-some bulky adapters can block adjacent slots. User preference plays a key role: powered hubs deliver stable output but require an outlet; bus-powered ones are simpler but may underperform with multiple devices. Most top models include overcurrent protection and come with an 18-month warranty. Real-world testing shows fewer disconnections with metal-cased hubs, though they’re slightly heavier. Ultimately, match hub layout to your hand dominance-and confirm fit before final placement.
Test Your Perfect Port Position in 2 Minutes
Where should you actually place your USB hub for the quickest, most comfortable access? Test it in two minutes-position the hub just forward of your dominant hand while seated with proper ergonomic posture. Reach for a port as if plugging in a device, ensuring your wrist stays neutral and relaxed. This dominant hand testing reveals strain points: if you’re twisting your arm or hunching, adjust the hub’s placement. Ideal spots sit between 2–6 inches from your body’s midline, just outside your keyboard. Avoid mounting too far left or right, which forces overreaching. While some hubs offer flexible placement, most work best just within natural forearm sweep. Real-world testing shows even 1-inch shifts reduce fatigue over time. Keep cables short to limit drag. Results vary based on desk depth and chair height, so retest when changing setups. No universal position fits all-your comfort defines the sweet spot.
On a final note
Position your USB hub on the side matching your dominant hand-right for right-handed, left for left-to cut cable strain and boost efficiency. Test placement with a 2-minute reach check to confirm comfort. Hubs like Anker 4-Port or Sabrent 4-Port work well, but verify port spacing and cable length. Always factor in device weight and desk depth, since poor positioning risks long-term discomfort despite short-term convenience.