Positioning a Fill Light to Balance Harsh Side Lighting in Your Meeting Room
Place your fill light 30 to 45 degrees opposite the side lighting, slightly below eye level, to reduce harsh shadows without creating glare. Use a diffused source with a CRI of 90 or higher and match its color temperature to your key light-ideally 4500K to 5600K. Keep the fill 1–2 stops dimmer to maintain natural contrast. Test the setup on camera during a call, adjusting for room size or reflective surfaces. Small spaces may need lower brightness to avoid washout.
Notable Insights
- Place the fill light opposite the side key light to reduce harsh shadows on the face.
- Angle the fill light 30 to 45 degrees from the subject for balanced, natural illumination.
- Position the fill slightly below eye level to minimize under-eye shadows and glare.
- Use a diffused fill light source to soften shadows without creating hotspots or reflections.
- Match the fill light’s color temperature to the key light for consistent, realistic skin tones.
Why Side Lighting Causes Harsh Shadows
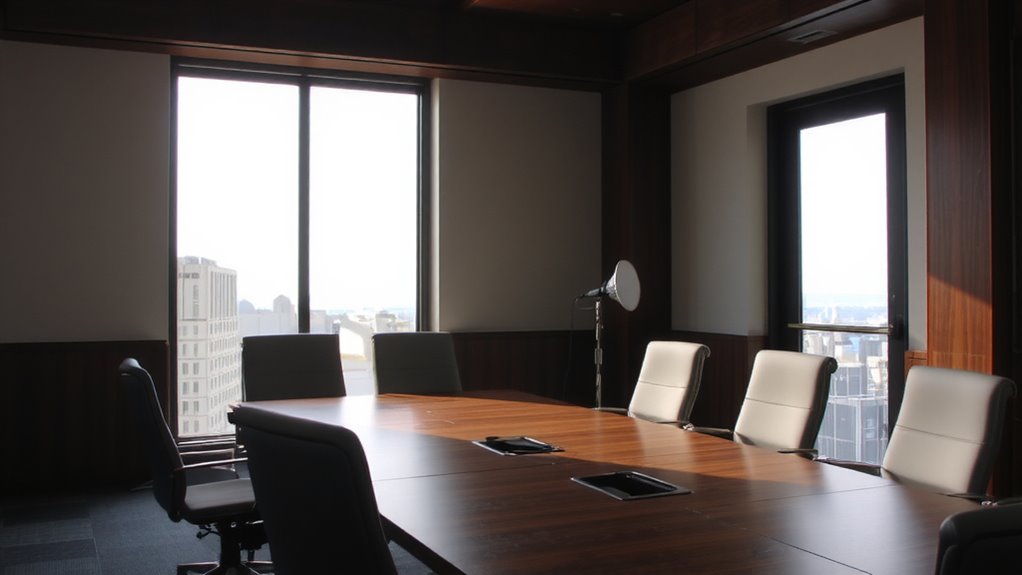
Why does side lighting so often leave you looking like a noir film villain? Because it creates strong light intensity on one side of your face while casting deep shadows in the opposite direction. You’re left with uneven exposure-your left cheek might be washed out while your right vanishes into darkness. Shadow direction becomes unflattering, slicing across your features in ways that suggest mystery, not meeting readiness. This contrast distracts viewers and reduces facial clarity on camera. While some drama works in cinema, it doesn’t suit professional video calls. You can’t rely on room lighting alone if your only source sits to the side. Even with bright overheads, lateral light creates hard shifts. The fix isn’t more light-it’s smarter placement. But don’t expect perfect balance from a single fixture. You’ll need supplementary tools, and even then, results vary by room layout and wall reflectivity.
Position Your Fill Light at the Right Angle
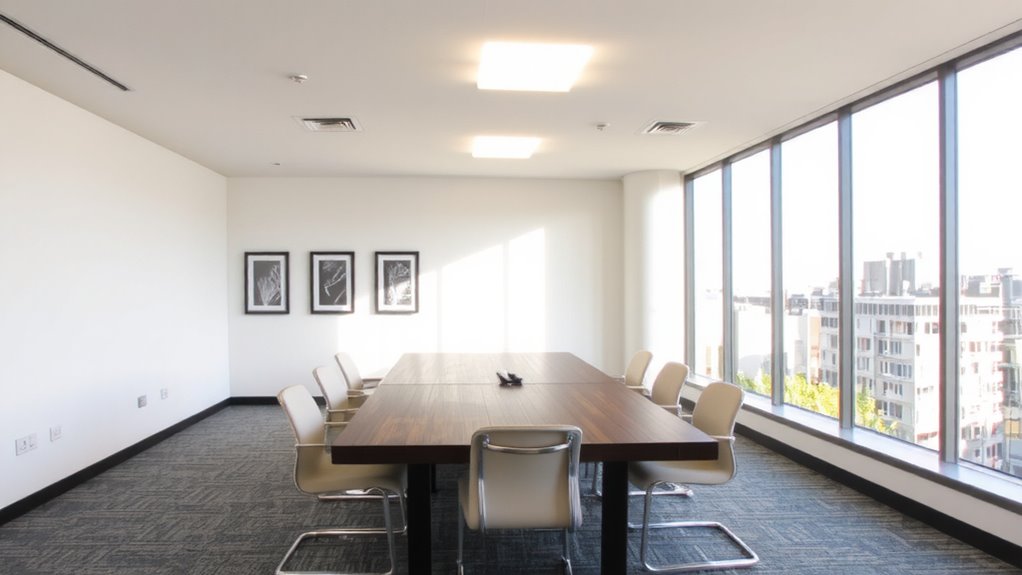
Even if you’ve already placed your key light correctly, your setup won’t look balanced without a fill light positioned at the right angle. For effective shadow reduction, place your fill light opposite the key light, around 30 to 45 degrees from your face, and slightly lower than the key. This light placement softens harsh shadows without flattening your features. Use a diffused source to avoid introducing new glare or hotspots. You’ll need to adjust based on room size and wall reflectivity-light-colored walls can help bounce light naturally. While precise angles improve image quality, too much fill can rob your look of depth. Test the setup on camera, not just by eye, since screens reveal imbalances faster. There’s no universal angle, so prioritize real-world results over rigid rules. Fine-tune until shadows are minimized but still present enough to maintain dimension.
Choose a Simple Fill Light for Meetings
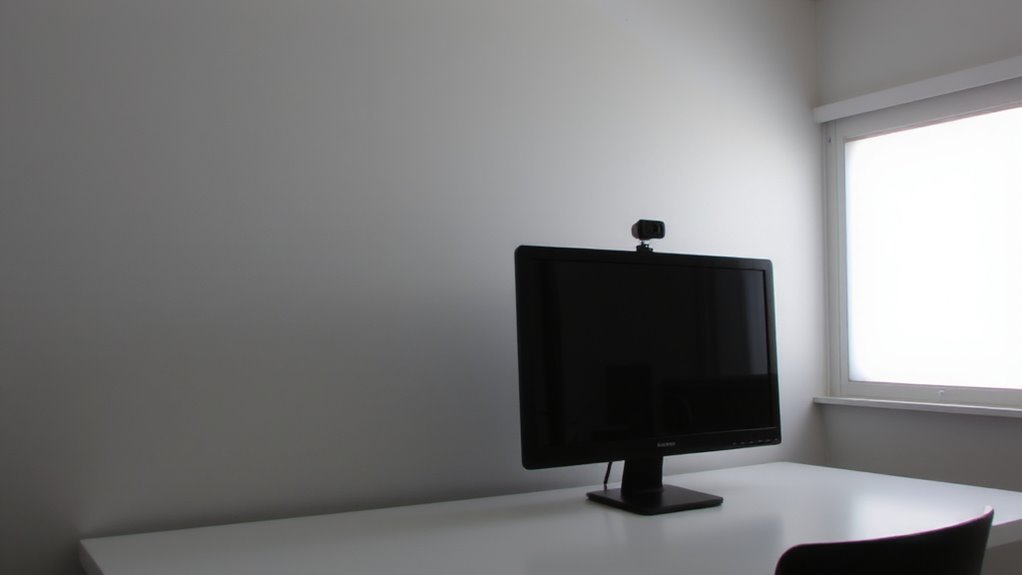
A solid fill light doesn’t need to be flashy or expensive-just effective. You want consistent color accuracy so your skin tones look natural on camera, not overly warm or cool. Many affordable LED panels or compact bi-color lights deliver this without hype. Look for a CRI of 90 or higher-that’s tested, not just claimed. Light portability matters too, especially if you move between meeting rooms. A lightweight, USB-powered panel or a small, adjustable gooseneck light fits neatly on a desk or shelf. These stay out of frame but still soften shadows from side lighting. Avoid oversized solutions-they’re bulky and often overkill. While built-in camera lights are convenient, they lack control and often sacrifice color accuracy. Stick with a dedicated, simple fixture you can fine-tune. Just make certain it doesn’t overheat during long meetings and has a stable mount. Good performance doesn’t demand complexity.
Match Your Fill Light to the Main Light
Matching your fill light to the main light guarantees your face appears balanced and natural on camera, not split by clashing tones or uneven contrast. You’ll want both lights set to the same color temperature-typically 4500K to 5600K-to avoid one side looking warm while the other appears cool. Most office LEDs offer adjustable color temps, so double-check with a calibrated monitor or phone app. Match the light intensity too, but keep the fill about 1–2 stops dimmer than the main; otherwise, shadows vanish and your face looks flat. Use dimmer switches or camera histograms to measure output precisely. While consistent lighting boosts image quality, overmatching can backfire if fixtures differ in CRI or beam angle. Test combinations before calls. Built-in camera meters help, but real-world testing beats specs. A high-quality desk lamp for content creators can provide the precise, consistent output needed for professional fill lighting.
Diffuse Your Fill Light to Soften Shadows
You’ll get the best results by diffusing your fill light to soften harsh shadows and create a more flattering look on camera. Light diffusion spreads the output evenly, reducing contrast and aiding shadow softening without washing out details. A softbox or diffusion panel works well, especially if your fill light is a bright LED panel. Keep in mind, excessive diffusion can lower light intensity, requiring you to adjust brightness or position. Below are three common diffusion tools, their effectiveness, and trade-offs:
| Tool | Diffusion Quality | Light Loss |
|---|---|---|
| Softbox | High | Medium |
| Diffusion Panel | High | Low-Medium |
| White Scrim | Medium | High |
Choose based on your space and lighting needs. While light diffusion improves image quality, don’t sacrifice too much brightness-finding balance guarantees clear, professional video without underexposure.
Test Your Lighting During a Video Call
Once you’ve diffused your fill light to soften shadows, the next move is confirming how it actually looks on camera-because no setup is truly complete until tested in real time. Start a video call with a colleague or record yourself to evaluate balance and exposure. Watch for light flickering, especially if you’re using LED panels; even slight flickering disrupts image quality and strains viewers’ eyes. Make sure your diffuser and light position deliver consistent output under your meeting room’s ambient lighting. Glare reduction is equally critical-tilt your screen or adjust the fill light angle to prevent hotspots on your face or background surfaces. Real-world testing reveals issues specs don’t: a light rated at 3000K might still cast uneven tones on skin under fluorescent overheads. Always test with your camera’s native settings-don’t rely on software filters. You might lose flexibility in low light, but accurate previews beat artificial fixes.
Fix Fill Light Mistakes in Small Rooms
Where do you even place a fill light when your meeting room barely fits your desk? Light placement becomes critical in tight spaces-your best bet is a small LED panel mounted on your monitor or clipped to a shelf. This minimizes shadows without eating up surface area. For effective shadow control, aim the fill light at a 30-degree angle from your face, just enough to soften harsh side lighting. Avoid placing it too close, or you’ll wash out your features. A dimmable light helps you fine-tune brightness based on ambient conditions. Remember, the goal isn’t perfect evenness but balanced contrast. Wall color matters, too-light walls bounce more fill light, improving diffusion. Test your setup on camera, not by eye. You might lose a little warmth, but you’ll gain clarity. It’s a trade-off worth making for professional-looking calls. A best desk lamp for photography can also serve as an effective, space-saving fill light if positioned correctly.
On a final note
You’ll get balanced lighting by placing a soft, diffused fill light opposite your main source at about 30–45 degrees. Match color temperatures-ideally 4000K-to avoid unnatural tones. A simple LED panel or adjustable desk lamp works well, but avoid overly bright outputs in small rooms. Test during actual calls to tweak positioning. Over-lighting can wash out faces, so prioritize subtle correction over brightness.