Using Magnification Tools to Detect Micro-Cracks in USB-C Connectors
You need at least 10x magnification to spot micro-cracks in USB-C connectors, since these fractures hide at stress points near solder joints and often escape the naked eye. A 30x digital microscope with adjustable LED lighting gives the clearest view, revealing hairline splits and misalignments before they cause sync issues or failure-but higher magnification narrows your field of view. Poor lighting or shaky hands can fool you, so use stable setups and clean the port first. Spotting early damage means you can act before data loss hits. If you’re seeing cracks, what comes next could save your device.
Notable Insights
- Micro-cracks in USB-C connectors are often invisible without magnification and require tools like 10x to 30x loupe or digital microscopes for detection.
- Use a 30x digital microscope with adjustable LED lighting to clearly reveal fine fractures and structural anomalies in the connector.
- Focus inspection on stress points such as solder joints, housing edges, and flex zones where cracks commonly initiate and propagate.
- Proper lighting and magnification help distinguish actual cracks from debris or shadows, improving diagnostic accuracy during visual examination.
- Detecting early-stage micro-cracks allows for timely intervention, preventing signal loss, port failure, and unnecessary replacement of cables or devices.
Why Micro-Cracks in USB-C Connectors Demand Early Detection
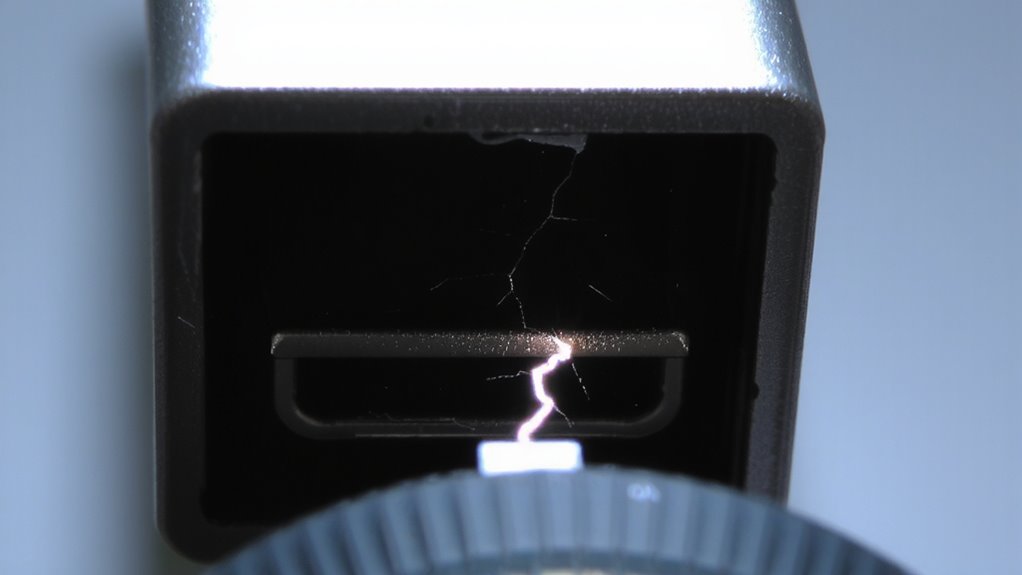
While you might not notice a problem at first, catching micro-cracks in USB-C connectors early can save you from costly failures down the line. These tiny fractures often lead to signal degradation and intermittent connectivity, especially during data transfers or fast charging. You may see slow sync speeds or random disconnects that seem like software issues but stem from physical damage. Over time, the crack expands, worsening performance until the port fails completely. Early detection helps avoid data loss, downtime, or unnecessary cable replacements. However, accurate diagnosis requires more than guesswork-symptoms alone can’t confirm micro-cracks. You’ll need proper inspection tools to verify. While some devices have durable ports with strong strain relief, not all deliver equal longevity. Warranty coverage varies, so relying on it isn’t foolproof. Spotting issues early gives you time to decide: repair, replace, or monitor-before the problem escalates silently.
How Magnification Uncovers Hidden USB-C Port Damage
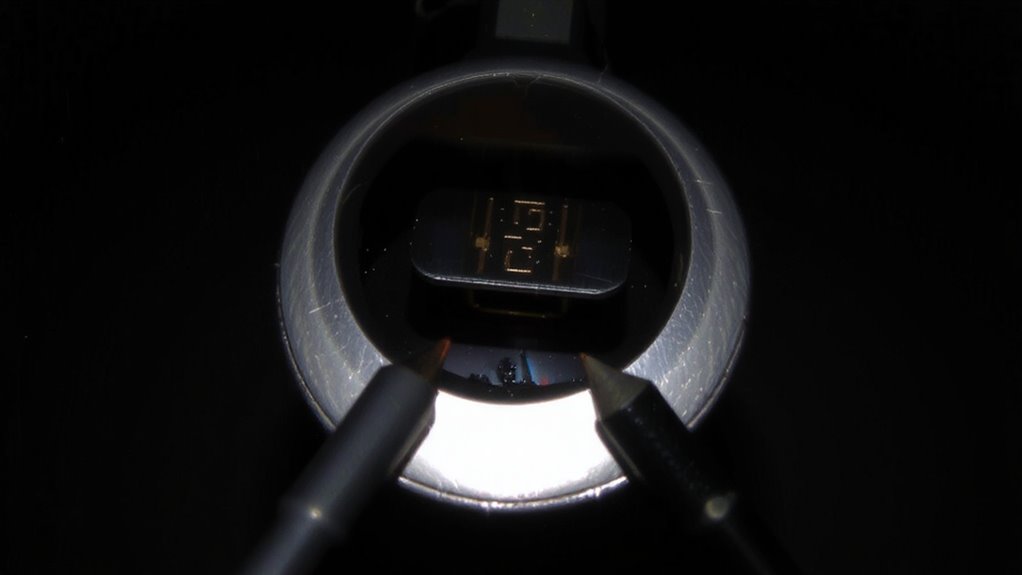
Because micro-cracks in USB-C ports are often too small to see with the naked eye, using magnification tools like 10x to 30x loupe magnifiers or digital microscopes is your best bet for spotting hidden damage. You’ll notice telltale signs of material fatigue, especially near solder joints or housing edges, where repeated plugging and unplugging stress the metal. Thermal expansion from frequent heating and cooling cycles worsens these weak points, making cracks spread invisibly over time. With magnification, you can see tiny fissures in contacts or misaligned pins that indicate internal compromise. This level of detail helps you decide whether repair or replacement is truly needed. While these tools don’t fix the port, they give you clear evidence before failure occurs. Just remember-good lighting and steady hands matter, and cheap magnifiers may distort, so invest wisely.
Top 5 Tools for Inspecting USB-C Connectors Up Close
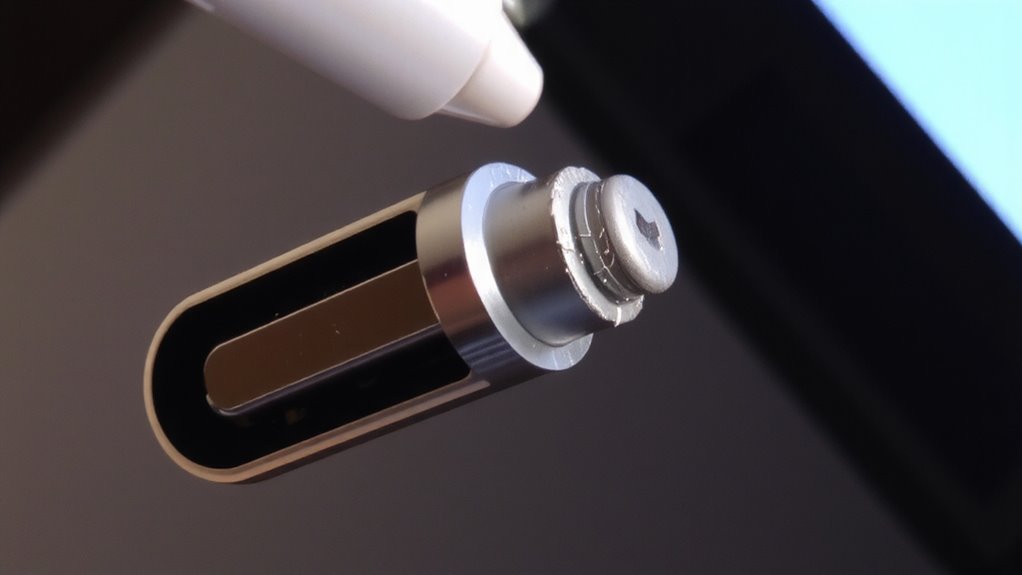
A solid inspection starts with the right tool in hand, and when it comes to spotting micro-cracks in USB-C connectors, a 30x digital microscope with adjustable LED lighting is your best bet. You can clearly see surface texture variations that hint at stress fractures, especially when you tweak the lighting angle to reveal subtle shadows. A 50x model offers more detail but often sacrifices field of view, making it harder to navigate. USB-powered handheld scopes are portable and affordable, yet lack the stability of stand-mounted versions. Reputable brands like Plugable and Gosky provide solid warranties and consistent focus calibration. While phone clip-on lenses are convenient, they struggle with consistent magnification and poor lighting control. For reliable results, stick with a digital unit that lets you fine-tune focus, lighting angle, and capture stills to review surface texture later.
How to Examine a USB-C Connector Under Magnification
You’ve got the right tool-now it’s time to use it effectively. Position your USB-C connector under stable lighting and adjust magnification to at least 10x for clear detail. Inspect connector alignment first: the port’s metal housing should sit straight, not tilted or offset, which could signal physical stress. Misalignment may compromise durability even if no cracks are visible. Next, closely examine the solder joints along the board; they should appear smooth, shiny, and fully bonded-not lumpy, dull, or cracked. Use fine-tipped tweezers to gently nudge the connector; any movement suggests joint failure. Avoid excessive pressure-you don’t want to damage working hardware. While magnification reveals subtle flaws, false positives happen. Surface debris or shadows can mimic cracks. Clean the area with compressed air before drawing conclusions. This method won’t replace electrical testing but gives strong visual evidence when done carefully.
Where Micro-Cracks Usually Appear (And What They Mean)
While most wear on a USB-C connector happens near the stress points, micro-cracks typically show up where flex meets solder-especially along the edges of the connector’s mounting tabs and at the base of the USB-C port where it meets the circuit board. You’ll often see these fine fractures radiating from solder joints, a clear sign of solder fatigue caused by repeated plugging and thermal cycling. These cracks compromise electrical contact and are early warnings of connector degradation. Under magnification, they appear as jagged, dark lines in the metallic surface. Ignoring them risks intermittent charging or data loss. Though some devices tolerate minor cracking, widespread damage means reliability is already declining. Repair isn’t always worth it-especially with glued-in connectors or multi-layer boards. You’re better off catching these issues early with regular inspection. Remember, visible cracks mean the structural margin has shrunk, even if the port still “works” now.
Decide: Repair or Replace a Damaged USB-C Connector
Spotting micro-cracks doesn’t automatically mean you’re down for a replacement-sometimes repair holds up just fine. If the damage is minor and caught early, a qualified technician can often reflow solder joints or reinforce stressed areas, especially on mounted connectors. Start with a cost analysis: compare repair quotes to the price of a new cable or device port. Repairs under $25 make sense for otherwise healthy gear. Check warranty options first-many manufacturers cover connector faults within 12–24 months, especially if strain relief failed. Voiding warranties via DIY fixes isn’t worth the risk. For devices nearing end-of-life or repairs exceeding 60% of replacement cost, swap it out. High-use setups demand reliable connections, so prioritize longevity over short-term savings. Weigh stability, cost, and support-don’t gamble on shaky fixes when daily workflows depend on solid links.
Prevent USB-C Connector Micro-Cracks
Since micro-cracks in USB-C connectors often stem from repeated stress at strain points, adopting simple handling habits and using well-built accessories can dramatically extend connector life. You should avoid sharply bending cables near the plug and unplug by gripping the connector, not the cord. High-quality cables with reinforced strain reliefs-like those with braided nylon or rubberized sleeves-resist material fatigue better than thin, stiff ones. Frequent plugging and unplugging accelerates wear, especially with cheap connectors that lack durability. Thermal stress from fast charging or hot environments worsens fatigue over time. Rotating multiple cables helps distribute wear, but don’t assume all “premium” brands are equal-check independent bend-test results. Most fail within 5,000 cycles, though top models endure 10,000. Look for 18-month or longer warranties as a durability signal. No solution is foolproof, but smart use and proven gear reduce risk markedly.
On a final note
You should inspect USB-C connectors with magnification regularly, as micro-cracks often hide beneath the surface. A 10x–30x loupe or digital microscope quickly reveals damage in common stress points like pin bases and housing seams. Catching flaws early means you can replace cables before data corruption or charging issues arise. But don’t assume every mark is critical-some wear is normal. Always test connectors functionally after inspection. Replace frayed or visibly cracked ones immediately-safety and performance aren’t worth risking.