Using Under-Desk Grommets to Feed Cables Through Desk Surfaces
You should use under-desk grommets to route cables cleanly through your desktop-they reduce clutter, lower tripping risks, and work with power, USB, and monitor cables. Most fit standard 60–100 mm holes and suit wood, laminate, or metal desks, but check thickness (usually 0.75″ to 1.5″) and avoid oversized models on veneers. Aluminum lasts longer; ABS plastic works for light use. Install with a ¾” drill bit, wear goggles, and pair with clips or trays to prevent strain. Options with rubber sleeves reduce wobble and protect surfaces. Models backed by at least a 1-year warranty tend to hold up better under daily use. You’ll find pairing them with monitor arms or USB hubs simplifies setups even further.
Notable Insights
- Choose a grommet that fits your desk’s hole size and thickness to ensure secure, wobble-free installation.
- Use the correct drill bit size to create a clean opening without damaging wood veneers or laminate surfaces.
- Route power, USB, and monitor cables through the grommet to reduce clutter and improve cable access.
- Avoid overfilling the grommet to prevent strain on cables and maintain proper airflow around connections.
- Combine grommets with adhesive clips and under-desk trays for a fully organized and safe cable management system.
What Are Under-Desk Grommets and Why Do You Need Them?
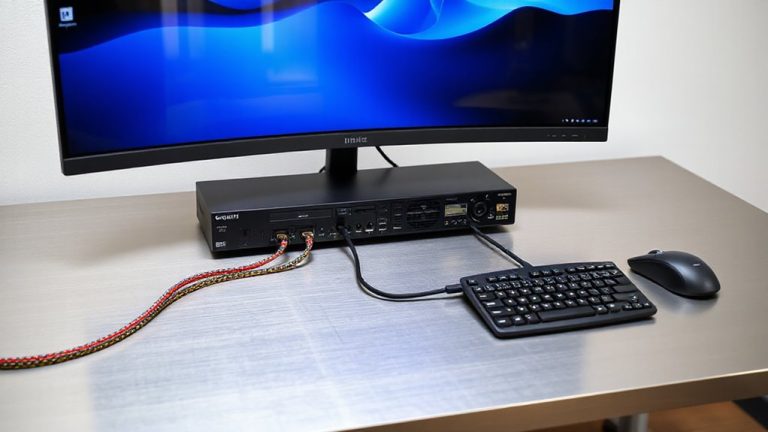
Cable clutter. You’ve seen it-wires snaking across your floor, tangled under your desk, making cable management a daily hassle. Under-desk grommets solve this by letting you route cables neatly through your desktop, improving both function and desk organization. They’re metal or plastic rings installed in a hole on your desk surface, creating a clean pass-through point for power, USB, and monitor cables. This setup reduces tripping hazards and dust buildup while streamlining access to ports. Most grommets fit standard 60–100 mm openings and work with wood, laminate, or metal desks. Some include rubber liners to protect cables and dampen vibrations. Real-world testing shows they hold up over time, though improper sizing can lead to wobbling or surface damage. Always measure your desk thickness and grommet diameter before buying. They’re not universal, but when matched correctly, they’re a solid upgrade. For those aiming for a minimalist aesthetic, pairing grommets with other Top Cable Management Solutions can maximize both cleanliness and efficiency in your workspace.
Choose the Right Grommet for Your Desk
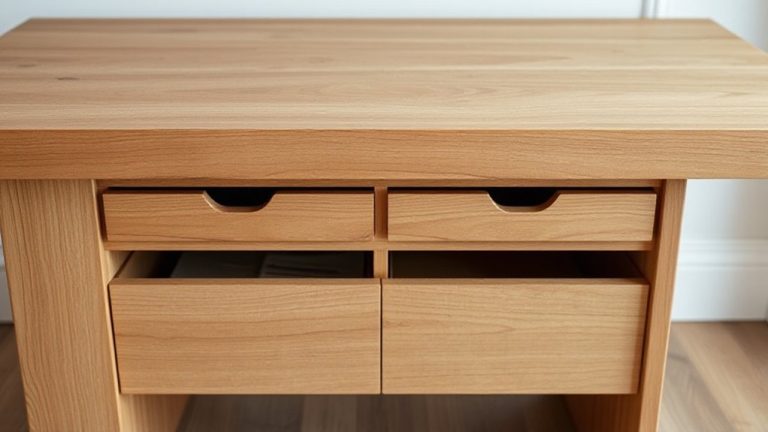
The right grommet makes a noticeable difference in how cleanly your workspace comes together, and choosing one that fits your desk’s specs is key. Material selection impacts both durability and aesthetics-aluminum grommets resist wear but may dent, while plastic options are lighter but less rugged. Size compatibility guarantees a secure fit without damaging your desk surface. Measure your desk’s thickness and grommet hole diameter before buying.
| Material | Best For |
|---|---|
| Aluminum | Heavy use, modern desks |
| ABS Plastic | Light use, budget setups |
Avoid oversized grommets that stress wood veneers. Confirm fit with manufacturer specs-most support 0.75″ to 1.5″ desktops. Some include rubber sleeves for wobble reduction. Check warranty length; 1–3 years is common. Poor size compatibility leads to gaps or cracks over time. Match your grommet to both function and desktop material. Implementing proper cable management solutions enhances both functionality and visual appeal of your desk setup.
Install Under-Desk Grommets in Any Work Surface
You’ve picked the right grommet-now it’s time to lock it in place. Start by marking your drill point, ensuring it’s away from desk supports and pre-existing holes. Check material compatibility: metal, laminate, and solid wood handle grommets well, but particleboard or veneer may crack under pressure. Use a drill bit sized for your grommet’s collar-usually ¾” or as specified-then drill straight through with steady, moderate speed. Prioritize drill safety: wear goggles, secure the desk, and let the bit do the work to prevent kickback. Most grommets install with a screw-on backplate or snap-in ring that tightens under the surface. Test fit before final tightening. While installation is usually quick, mismatched materials or poor drilling can ruin both desk and grommet. A successful fit offers long-term cable access, but incorrect setup risks structural damage and safety hazards. For seamless integration, pair your grommet with a Top Cable Management Solutions system to maintain a clutter-free workspace.
Route Cables Through Grommets for a Clean Desk
A sleek, tangle-free desk starts with smart cable routing through your newly installed grommet. You boost both cable management aesthetics and workspace organization efficiency by threading power, data, and peripherals neatly through the opening. Plan your cable layout before feeding them through-once they’re in, adjustments get tricky. Below is a quick guide:
| Cable Type | Recommended Count |
|---|---|
| Power adapter | 1–2 |
| HDMI/USB-C | 1–2 |
| Charging cable | 2–3 |
| Ethernet | 1 |
Overstuffing reduces airflow and strains connectors, so leave a small gap. Rigid grommets hold shape better, but rubber ones suit irregular bundles. While this setup improves visual clarity and access, it won’t fix poor cable length choices. For best results, match cord lengths to desk depth-typically 24″ to 30″-and avoid sharp bends near the port edge.
Pair Grommets With Cable Clips and Trays
Smart cable management doesn’t stop at the grommet-pairing it with clips and trays is key to keeping your desk both clean and functional. For effective cable management, use adhesive cable clips to secure cords along the desk frame or legs, preventing tangles and reducing stress on connections. Combine this with an under-desk tray to hold power strips or excess cable length, promoting better desk organization. Clips typically handle cables up to 0.5 inches thick and adhere best to clean, dry surfaces-test adhesion first on laminated or porous materials to avoid residue. Trays should support at least 5 pounds and attach securely with bolts or heavy-duty straps to prevent sagging over time. While these additions improve accessibility and neatness, overcrowding can make changes harder. Always leave slack for adjustments. In real-world setups, users report fewer tripping hazards and easier cleaning, though cheap clips may fail after 6–8 months. Choose models with at least a 1-year warranty.
Use Grommets for Monitor Arms and USB Hubs
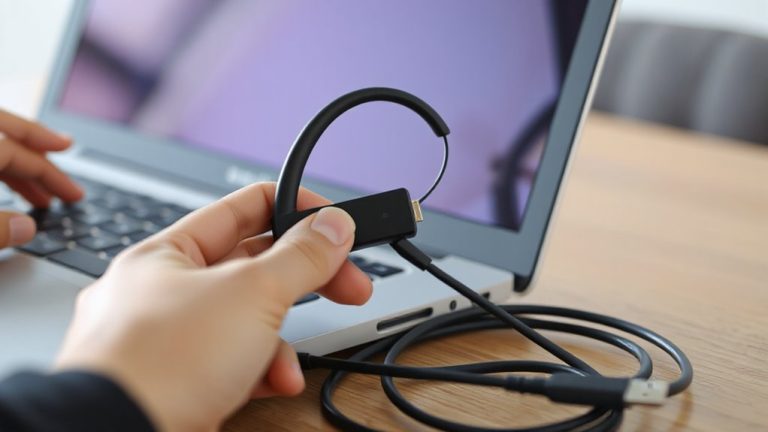
Grommets aren’t just for routing power cords-they’re equally effective when setting up monitor arms and USB hubs, especially if you’re aiming to reduce desktop clutter while maintaining easy access to critical connections. You’ll improve cable management by feeding monitor arm power and data cables neatly through the grommet hole, minimizing tangles and strain. For USB hubs, routing the upstream cable through a grommet keeps your desk organization consistent and prevents accidental disconnections. Most monitor arms and hubs use standard 3–6 ft cables, so guarantee your desk cutout depth allows slack for smooth adjustments. Aluminum grommets also protect cables from sharp desk edges. However, avoid overstuffing a single grommet-especially with thick power bricks, as it limits arm movement and strain relief. Test fit your hub and arm first. While not all desks have pre-drilled holes, retrofitted grommets with adhesive or screw-in bases work well when installed properly.
On a final note
You should install under-desk grommets-they keep cables tidy and protect wire insulation from sharp desk edges. Metal grommets last longer than plastic, and 1.5-inch diameters fit most bundles. But measure your desk thickness first; some grommets only fit 0.5” to 1” surfaces. They work great with monitor arms and USB hubs, but routing too many cables can make removal harder. Pair them with clips or trays to manage strain. Test fit before final installation.