How to Use a Lavalier Mic to Reduce Room Noise Pickup During Video Conferencing
Use a wired lavalier mic with a 3.5mm jack for plug-and-play clarity-position it 6–8 inches below your chin, centered on your chest, and avoid placing it under clothes to prevent muffled sound. Set input levels to 75% to capture clean voice without boosting room noise. A foam windscreen reduces breath pops, while secure cable clipping minimizes rustle. Wireless models offer freedom but can introduce latency or interference in busy environments.
Notable Insights
- Position the lavalier mic 6–8 inches below the chin, centered on the chest for clear voice capture and reduced room noise.
- Clip the mic on smooth, outer clothing to minimize fabric rustle and avoid muffling by layered garments.
- Use a foam windscreen to reduce breath pops and attenuate HVAC or ambient room noise during indoor use.
- Set input levels to 75–80% to maintain clean audio and prevent distortion that can exaggerate background noise.
- Ensure stable wired or 2.4 GHz wireless connection to eliminate dropouts and interference that may amplify room noise.
How to Connect a Lavalier Mic to Your Device
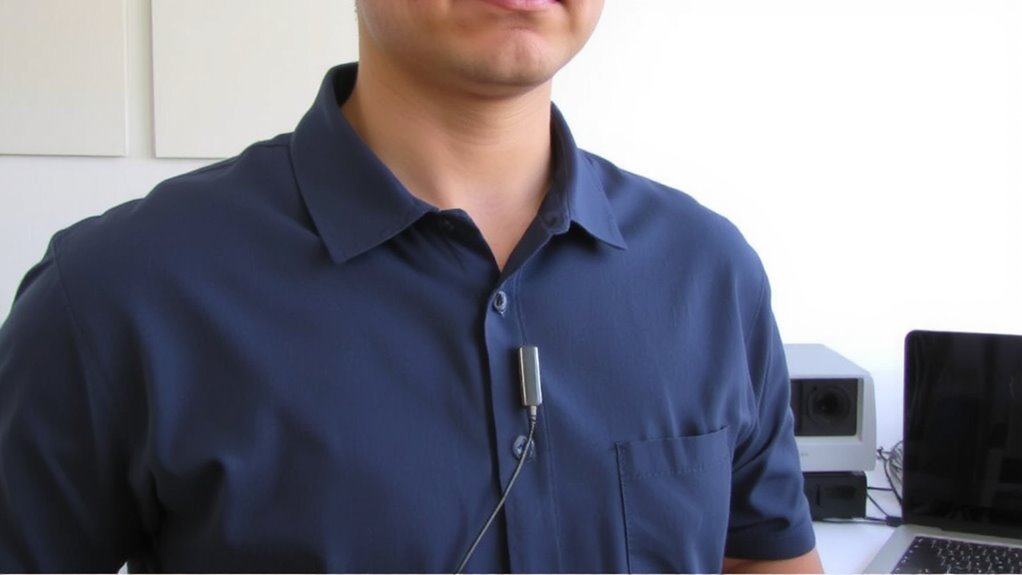
If you’re aiming to upgrade your audio quality for video calls, plugging in a lavalier mic is one of the quickest wins-just make sure you’ve got the right connection for your device. Wired mics with a 3.5mm jack work plug-and-play with most laptops and smartphones, but always verify compatibility first. For wireless freedom, Bluetooth pairing lets you move without tripping over cables, though it may introduce slight latency. Keep cable management in mind with wired models-use clips or a strain relief adapter to prevent tugs and signal loss during long meetings. Some Bluetooth lavaliers offer stable connections up to 10 meters, but interference from nearby devices can disrupt audio. Test the mic with your conferencing app beforehand. Battery life on wireless models typically ranges from 4 to 8 hours, so charge it daily if you rely on it heavily.
Pick the Right Lavalier Mic for Your Needs
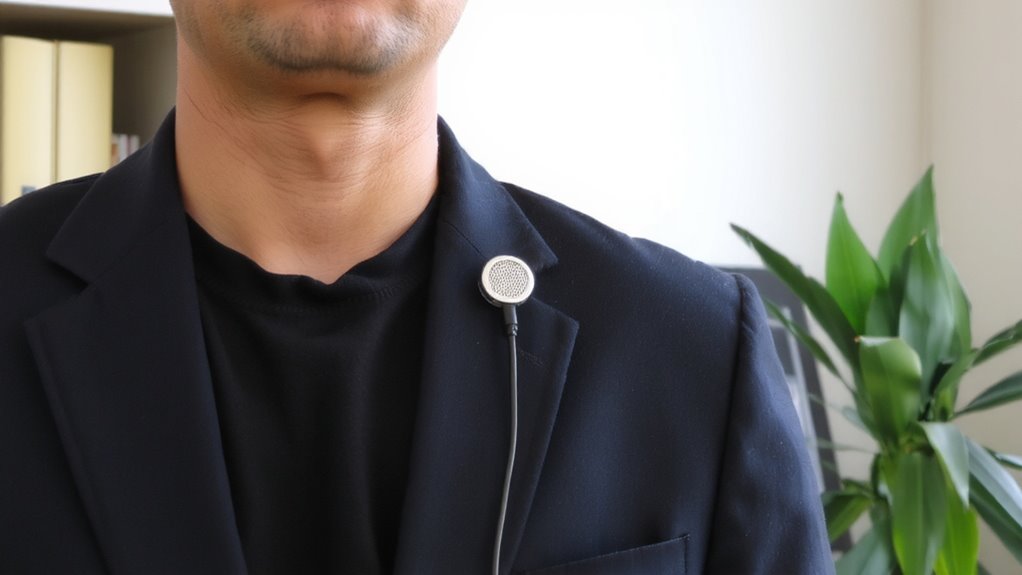
Why settle for average sound when your microphone can make or break a professional call? You need a lavalier mic that matches your device and environment. Start by checking compatibility issues-some mics only work with specific smartphones, laptops, or cameras. Wired mics avoid frequency interference but limit movement; wireless options offer freedom but risk interference, especially in crowded RF environments like offices. Choose a mic with a reliable frequency band, like 2.4 GHz or UHF, to stay clear of static. Look for omnidirectional polar patterns-they capture your voice consistently, even if you move. Check warranty length and real-world battery life too. While higher-priced models often test better for noise rejection, even budget picks can outperform built-in mics-if you avoid compatibility issues and interference risks. For seamless plug-and-play audio, consider pairing your setup with one of the top USB mics at Best Buy.
Place the Mic for Clear, Quiet Audio
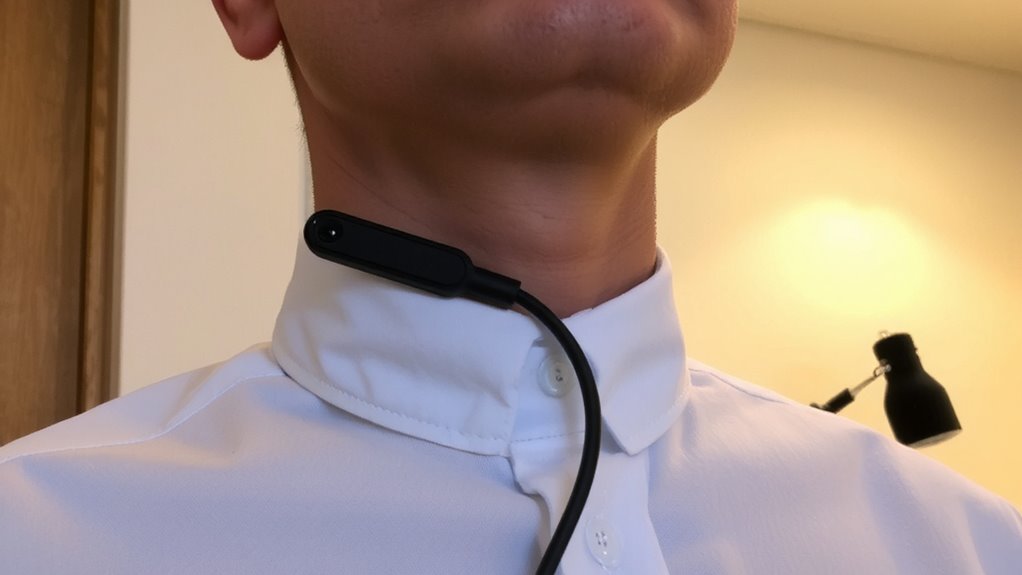
Proper mic placement makes all the difference when you’re chasing clear, professional audio without a studio. Position your lavalier mic 6–8 inches below your chin, centered on your chest, to capture strong vocal clarity while minimizing breath pops and room noise. Good mic placement reduces the need for gain, which keeps background sounds quieter. Avoid tucking the mic under clothing-this causes annoying fabric rustle. Instead, clip it on the outside of a smooth layer, like a blouse or sweater. A high-quality dynamic microphone can further reduce unwanted room noise due to its naturally lower sensitivity to ambient sound.
| Spot | Result |
|---|---|
| 6–8 inches below chin | Clear voice, low room noise |
| Under clothing | Muffled audio, fabric rustle |
Test different angles during quiet speech to find what works. Some fabric still causes minor rustle, even when clipped outside-move the mic slightly if it’s distracting. Always double-check positioning after adjusting clothes or standing up.
Set the Right Input Level to Reduce Noise
You’ve nailed the position-now it’s time to fine-tune how your lavalier mic sends audio to your computer. Setting the right input level is essential for clean audio calibration: too high, and you’ll capture room echo or distortion; too low, and your voice gets buried in background noise. Most lavalier mics work best at 75–80% input volume in your OS sound settings, balancing clarity with headroom. This improves noise suppression by letting software focus on actual speech, not amplified ambient sounds. Test levels by speaking naturally and watching the input meter-peaks should stay just below clipping. Built-in mic preamps can help, but avoid boosting gain excessively. While proper levels won’t eliminate all noise, they’re foundational-without them, even the best noise suppression tools struggle. It’s a small step with measurable impact, backed by real-world testing across platforms like Zoom and Teams.
Use a Lavalier Mic for Crisper Call Quality
A lavalier mic is one of the most effective upgrades for clearer, more professional-sounding calls-especially in typical home office environments. Its close positioning to your mouth guarantees superior audio clarity, capturing your voice with consistent volume and reduced distortion. Because it clips near your collar, it naturally improves background isolation, minimizing echo, HVAC noise, and distant conversations that desktop mics often pick up. Most models offer omnidirectional polar patterns, which are ideal for seated video calls, though they can catch rustling if not positioned carefully. Wired versions like the Shure MV5L deliver reliable performance without latency, while wireless options add mobility at the cost of potential interference. Battery life, cable durability, and clothing compatibility vary-check fit and materials before relying on one daily. Overall, it’s a practical boost to call quality if you value clear, intelligible speech without investing in a full studio setup. For those seeking high-quality options, the Audio-Technica microphones lineup includes compact lavalier models well-suited for conferencing.
Fix Common Lavalier Mic Problems Fast
Why does your lavalier mic sometimes pick up muffled speech or sudden static? Poor placement and cable movement are usually to blame. Wind interference and cable rustling can dominate your audio if unchecked. Here’s how it feels when things go wrong:
| Problem | Emotional Impact |
|---|---|
| Muffled voice | You sound unprepared |
| Sudden static | Listeners lose trust |
| Wind interference | Outdoor clips feel amateur |
| Cable rustling | Distractions ruin focus |
Tuck the mic near your chin, not your chest, for clearer speech. Use a foam windscreen even indoors-it reduces breath pops and HVAC gusts. Secure the cable with clips every 4–6 inches to minimize rustling. Wired mics are reliable, but tripping hazards exist. Battery-powered wireless models offer mobility, but need charging. Always test audio in your actual workspace-acoustics vary. Most brands offer 1-year warranties, so check return policies. Good setup beats expensive gear.
On a final note
You’ll get clearer audio in video calls with a lavalier mic, especially in noisy rooms. Its close positioning to your mouth boosts vocal clarity while reducing background noise by up to 10–15 dB compared to built-in mics. Match the mic to your device-use USB-C or 3.5mm based on port availability-and set input levels to avoid clipping. Watch for cable rustle and positioning shifts; secure the mic properly. It’s a solid upgrade, but not a fix for extremely loud environments.