Joint Stress Reduction Guide: How Proper Equipment Setup Can Prevent Joint Loading and Pressure Points in Your Home Office Workspace
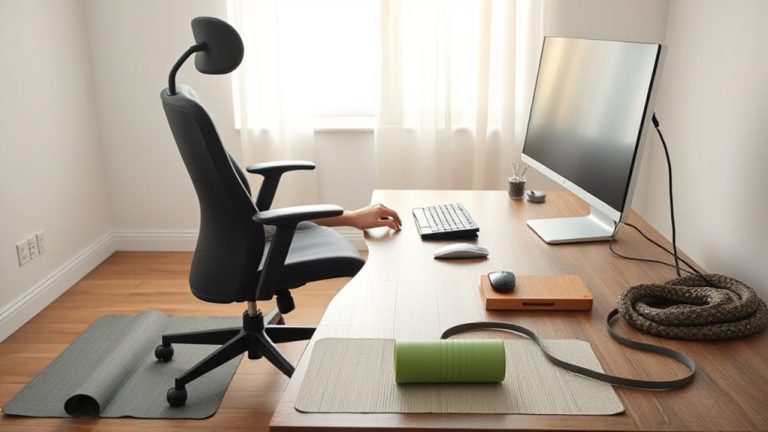
You’re cutting joint stress when your monitor sits at eye level, your chair lets feet rest flat with knees near 90 degrees, and lumbar support fits snugly into your lower back. A desk 24–30 inches deep keeps elbows at 90°, reducing shoulder strain. Keyboard height, monitor arms, and footrests help-but only if adjusted to your body. No setup prevents fatigue entirely; movement is essential. Better alignment means less daily load, and small tweaks add up in ways you’ll want to explore.
Notable Insights
- Position your monitor at eye level to maintain a neutral neck posture and reduce cervical joint stress.
- Adjust chair height so feet rest flat on the floor and knees form a 90-degree angle to minimize hip and knee loading.
- Use a chair with proper lumbar support to maintain spinal curvature and reduce lower back disc pressure.
- Keep elbows at 90 degrees and close to the body by setting desk and keyboard height correctly to prevent shoulder strain.
- Ensure desk depth allows arms to reach the workspace comfortably without hunching, reducing upper body joint stress.
Identify How Poor Ergonomics Stress Your Joints
While you might not notice it right away, poor ergonomics can quietly strain your joints over time, especially if you’re sitting for hours at a desk that doesn’t fit your body. Joint misalignment often develops when your chair or keyboard forces wrists, elbows, or hips into unnatural positions, increasing pressure on connective tissues. Over time, this setup encourages repetitive strain, particularly in the shoulders, lower back, and wrists-common trouble spots for remote workers. You don’t need expensive gear to fix this, but you do need precision: seat height should allow feet flat on the floor, thighs parallel to the floor, and arms at 90 degrees when typing. Even durable, adjustable chairs with lumbar support can fail if you ignore posture habits. Short-term fixes won’t reverse long-term patterns. Watch for early discomfort-it’s a signal, not just fatigue-and adjust your setup before pain becomes chronic. Small changes now prevent bigger issues later. Choosing one of the best ergonomic office chairs can significantly improve spinal alignment and reduce joint loading during prolonged sitting.
Keep Your Monitor at Eye Level to Reduce Neck Joint Stress
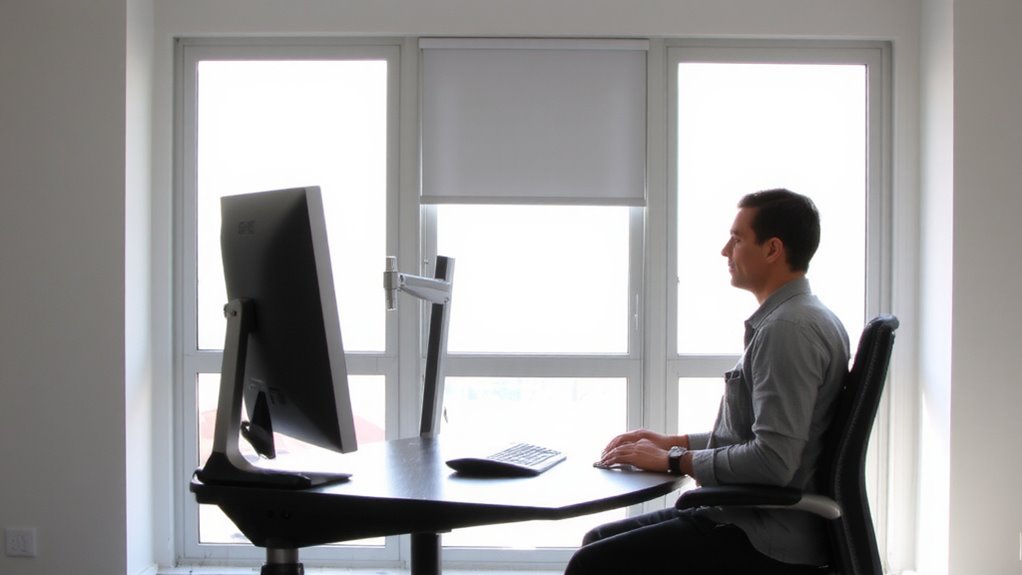
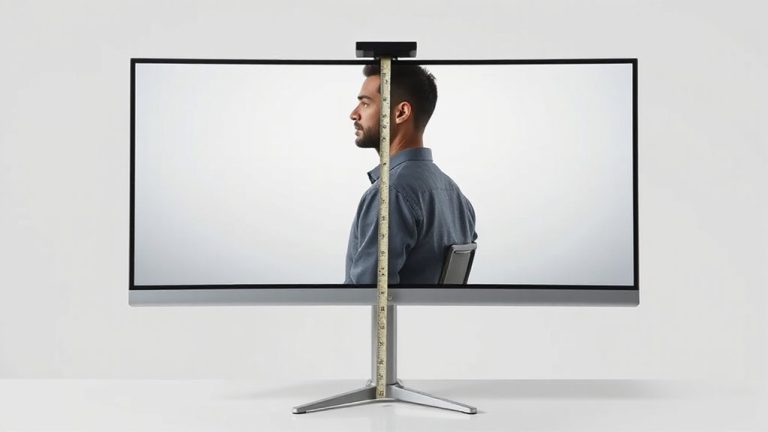
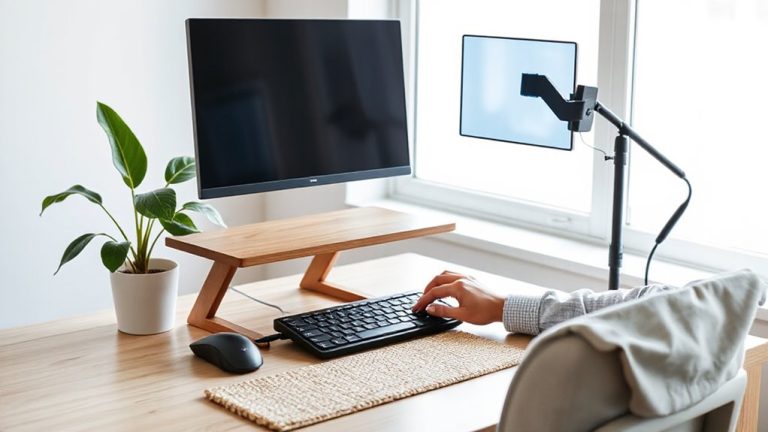
You can substantially reduce neck joint stress by positioning your monitor at eye level. Proper monitor placement prevents you from tilting your head up or down, which strains cervical joints over time. Eye alignment with the top of the screen guarantees neutral posture, minimizing fatigue during long sessions. Here’s how three common setups compare:
| Setup Type | Eye Alignment | Adjustability |
|---|---|---|
| Laptop on desk | Poor | Low |
| Monitor on stand | Ideal | High |
| Stacked books | Fair | Medium |
Use a monitor arm or riser for reliable height control-many models offer 6+ inches of vertical adjustment and hold up to 20 lbs. While stands work well, avoid unstable bases. Even with perfect equipment, take hourly microbreaks to reset posture. Results vary if you wear progressive lenses-consider a dual-monitor setup. A well-chosen monitor riser can enhance both comfort and workspace ergonomics.
Adjust Chair Height to Reduce Joint Stress in Hips and Knees
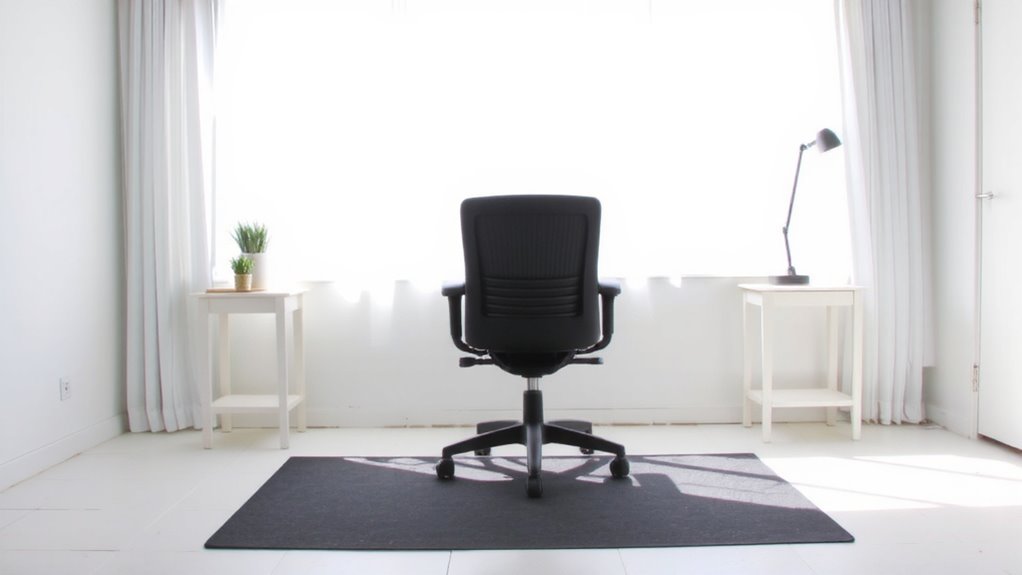
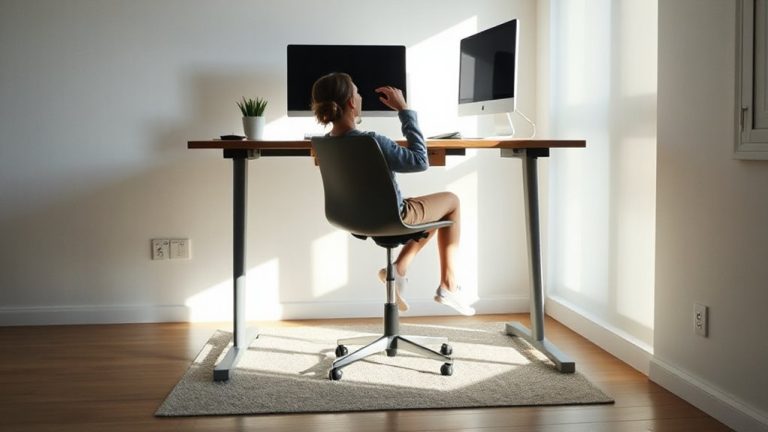
The best way to reduce joint stress in your hips and knees at a desk is by setting your chair height so your feet rest flat on the floor with thighs parallel to the ground. This position optimizes hip alignment and maintains a knee angle close to 90 degrees, minimizing strain on both joints. If your chair doesn’t adjust low enough, use a footrest to support proper posture. Avoid sitting too high-this can cause your feet to dangle, increasing pressure on the back of the thighs and disrupting circulation. While most ergonomic chairs offer at least two inches of height adjustment, check seat depth and leg clearance to guarantee compatibility with your body and desk. Poorly adjusted chairs may worsen discomfort, even if they’re expensive. Always test adjustments while seated for several minutes to confirm stability and comfort across typical work movements. Choosing one of the best office chairs for posture can further enhance spinal alignment and overall joint support.
Use Lumbar Support to Relieve Lower Back Pressure
If your lower back feels strained after sitting for long stretches, adding proper lumbar support can make a real difference-just make sure it matches your spine’s natural curve. A well-placed lumbar cushion helps maintain healthy posture and reduces disc pressure, especially during extended work sessions. When making a lumbar cushion selection, look for adjustable or contoured designs that fit snugly in your lower back without pushing you forward. Memory foam or inflatable cores offer targeted support but vary in durability-check compression ratings and warranty length. Combine cushion use with posture correction techniques like keeping feet flat and shoulders relaxed to maximize benefit. Don’t rely on support alone; without periodic movement, even the best cushion can’t prevent stiffness. Test options for at least a week, and replace cushions that lose shape. Results vary by chair and body type-what works for one person might not suit you.
Position Keyboard and Mouse to Prevent Wrist Joint Pain
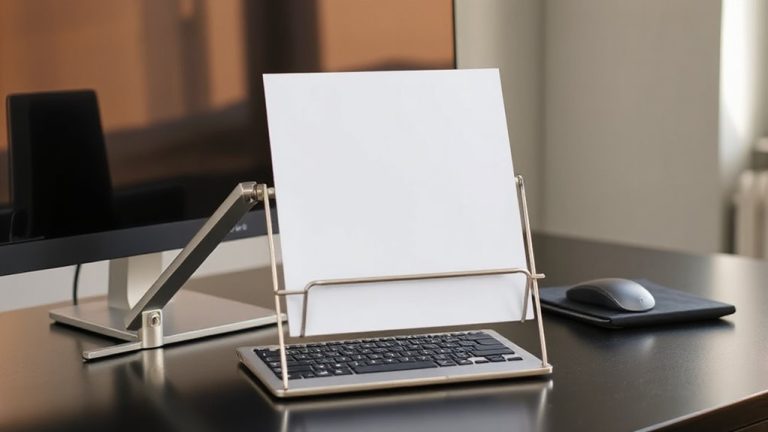
While comfort and long-term joint health depend heavily on how you set up your workspace, positioning your keyboard and mouse correctly stands out as one of the most effective ways to avoid wrist pain. You should keep your wrists in neutral positioning-flat and straight-to maintain natural wrist alignment and reduce strain over time. Place your keyboard directly in front of your body, about 1–2 inches from the desk edge, so your forearms stay level and your wrists don’t bend up or down. Keep your mouse close, within a “hand’s reach,” to avoid overreaching. Use an external keyboard and mouse if your laptop forces awkward angles, though this adds clutter. Adjustable trays can help, but only if your desk supports them. Some ergonomic keyboards claim to reduce pain, but real-world testing shows benefits vary-choose fit over features.
Choose a Desk for Natural Arm and Shoulder Alignment
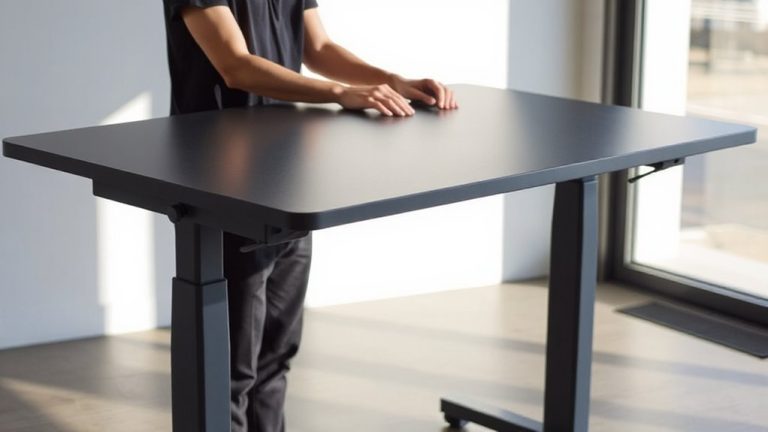
You’re already keeping your wrists flat and your mouse close-now make sure your desk supports your arms and shoulders just as well. Choose a desk with proper desk depth-usually 24 to 30 inches-so your arm reach stays natural when typing or using the mouse. If the desk’s too deep, you’ll hunch forward, straining shoulders; too shallow, and you won’t have room for essentials. Aim to sit with upper arms close to your torso and elbows bent at 90 degrees. A fixed-height desk can work, but sit-stand models offer flexibility for posture shifts. Just verify stability at full height. Desks with rounded front edges reduce shoulder tension by allowing arms to rest comfortably. Test clearance under the desk if you’re tall-some designs limit leg and arm reach. Most reputable brands offer at least a 5-year warranty, but real-world tests show frame sturdiness matters more than extras like cable trays.
Add Anti-Fatigue Mats or Footrests to Reduce Leg Joint Load
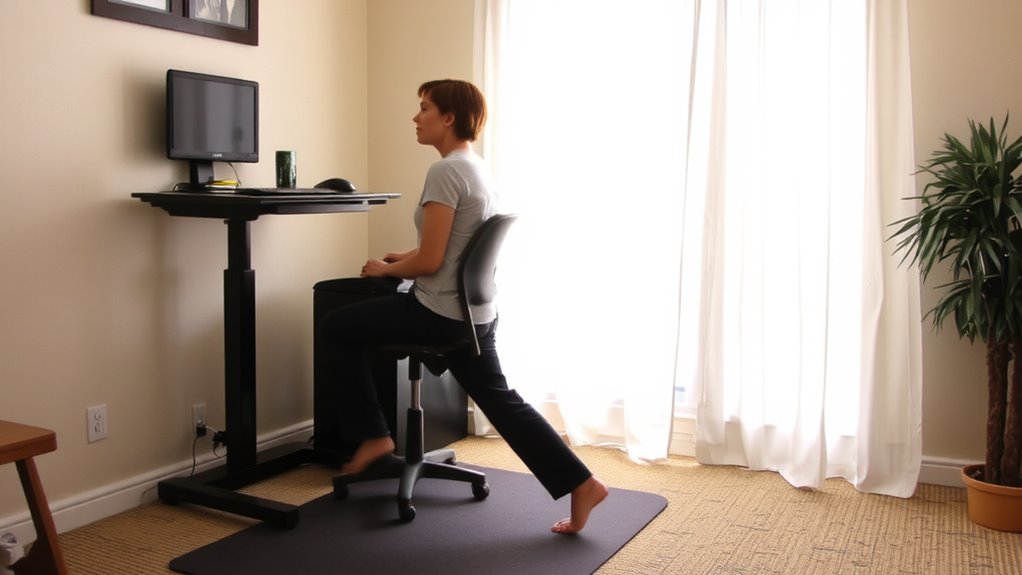
Standing for long periods strains leg joints, especially in the knees and hips, so adding an anti-fatigue mat or footrest helps maintain comfort and alignment-just don’t expect magic from thin, foam floor pads. These tools improve foot support and promote even pressure distribution, reducing fatigue over time. A quality mat with 3/4″ thickness and beveled edges offers better stability and durability than flat pads. For seated work, adjustable footrests help keep your knees at 90 degrees, easing hip and lower back strain.
| Product Type | Key Benefit |
|---|---|
| Anti-fatigue mat | Enhances pressure distribution under feet |
| Footrest | Improves foot support and posture |
| Gel-filled mat | Offers cushioning, but may degrade over time |
| Tilted footrest | Encourages active sitting, may require adjustment period |
Check for non-slip backing and warranties of at least 1 year. Results vary based on daily use and individual biomechanics.
On a final note
You’ll reduce joint stress best by aligning gear with your body’s natural posture. Set your monitor at eye level, adjust chair height so knees bend at 90 degrees, and use lumbar support that fits your spine’s curve. A height-adjustable desk helps, but even a stable surface at elbow height works. Anti-fatigue mats offer subtle relief, but only with supportive footwear. No setup eliminates all strain-consistency matters more than cost.