Using Task Lighting That Doesn’t Interfere With Webcam Exposure Settings
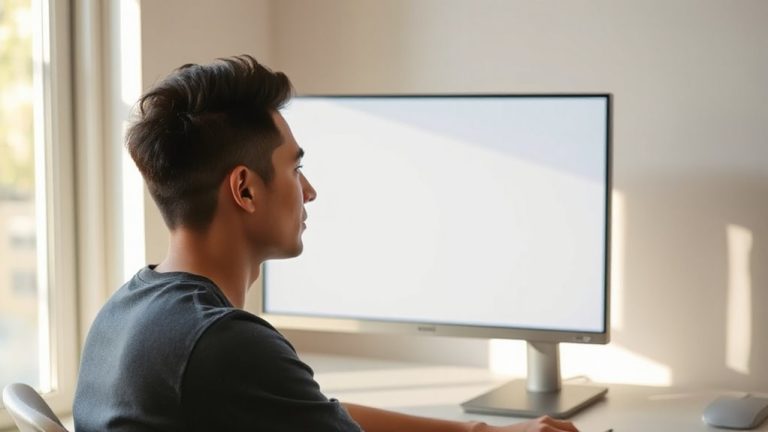
Place your task light 30–45 degrees in front of you and slightly above eye level to evenly illuminate your face without messing up your webcam’s auto-exposure. Use a warm-white LED (3000K–3500K) with high CRI (90+) for natural skin tones, and diffuse the light with a softbox or fabric to soften harsh shadows. Avoid windows behind you-use blackout curtains or opaque film to prevent backlighting issues. Pair with dim ambient lighting under 4000K to balance contrast. There’s more to get right for consistent, flatter lighting all day.
Notable Insights
- Position task lighting 30–45 degrees in front of your face to evenly illuminate features without overexposing the webcam feed.
- Use LED lights with a color temperature between 3500K and 4500K for natural skin tones and minimal exposure distortion.
- Employ diffusers like softboxes or frosted panels to soften light and prevent harsh highlights that confuse webcam sensors.
- Avoid placing lights behind or directly beside you to prevent backlighting issues and facial underexposure.
- Combine task lighting with warm ambient light below 4000K to balance exposure and reduce high-contrast scenes.
Position Your Task Light for Flattering Webcam Lighting
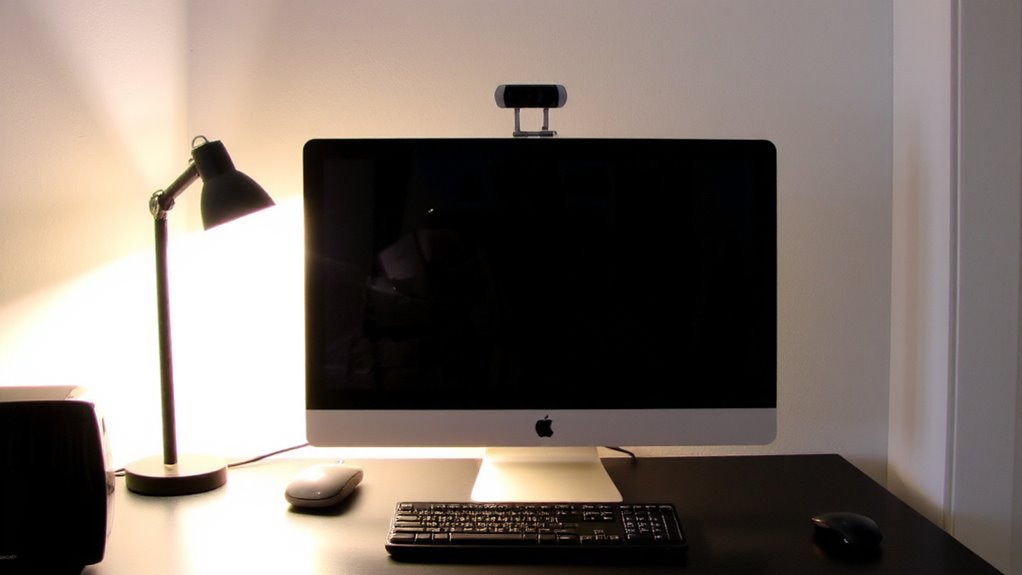
A well-placed task light can make a real difference in how you look on camera, especially if your natural lighting is uneven or too harsh. You want soft, even illumination that enhances facial symmetry and avoids unflattering shadows. Position your light slightly above eye level and 30–45 degrees in front of your face to control light direction effectively. This setup reduces glare on glasses and minimizes harsh nose or cheek shadows. A desk lamp with adjustable arms and a diffuser works best-look for models with gooseneck or articulated joints for fine-tuning. Avoid placing light directly behind or beside you, as it skews exposure and distorts facial balance. While overhead lights often wash you out, floor lamps may be too tall to adjust precisely. Real-world testing shows consistent results with LED panels at 3500–4500K, but don’t ignore room reflections-they alter perceived brightness. For added comfort during long calls, consider pairing your setup with a portable kneeling chair to maintain better posture and reduce back strain.
Choose Warm-White Light for Natural-Looking Skin Tones
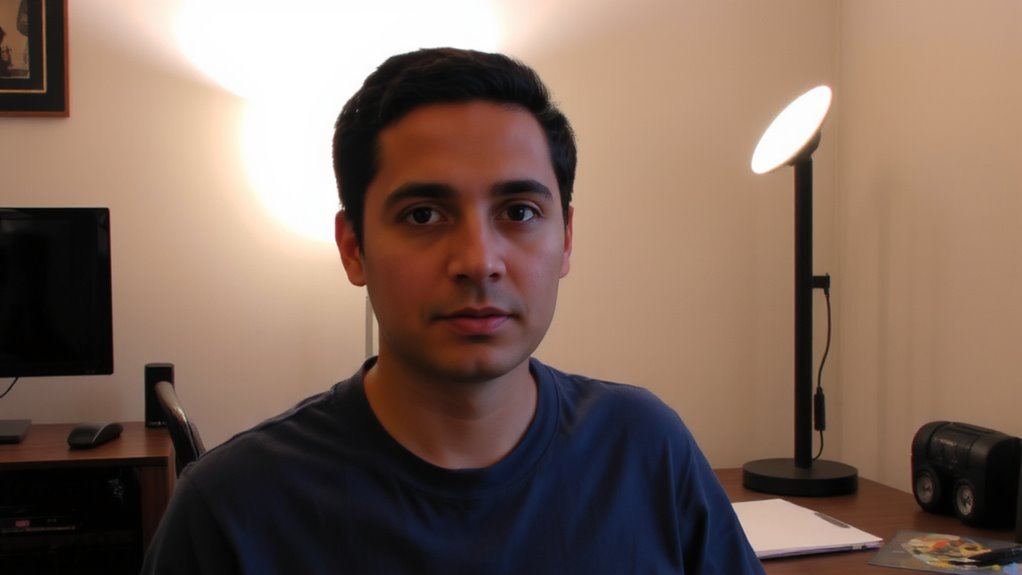
Warm-white light between 3000K and 3500K delivers the most natural skin tones on camera, so stick with that range for a polished but not overly clinical look. This color temperature mimics indoor ambient lighting, reducing harshness and keeping your face balanced. Cooler tones above 4000K can wash you out and shift skin tones toward ashy or gray, especially under strong light intensity. Aim for adjustable brightness so you can fine-tune output without overexposing your webcam feed. LED panels or bulbs labeled “warm-white” with a high CRI (90+) will render colors more accurately. Avoid cheap LEDs with flicker or inconsistent color temperature, as they create uneven exposure. While warm-white enhances warmth, too much intensity-even at ideal color temperature-can still flatten facial features. Test your setup in still shots before calls. A dimmable, 3000K–3500K source gives control without compromising realism.
Diffuse Light to Soften Shadows and Highlights
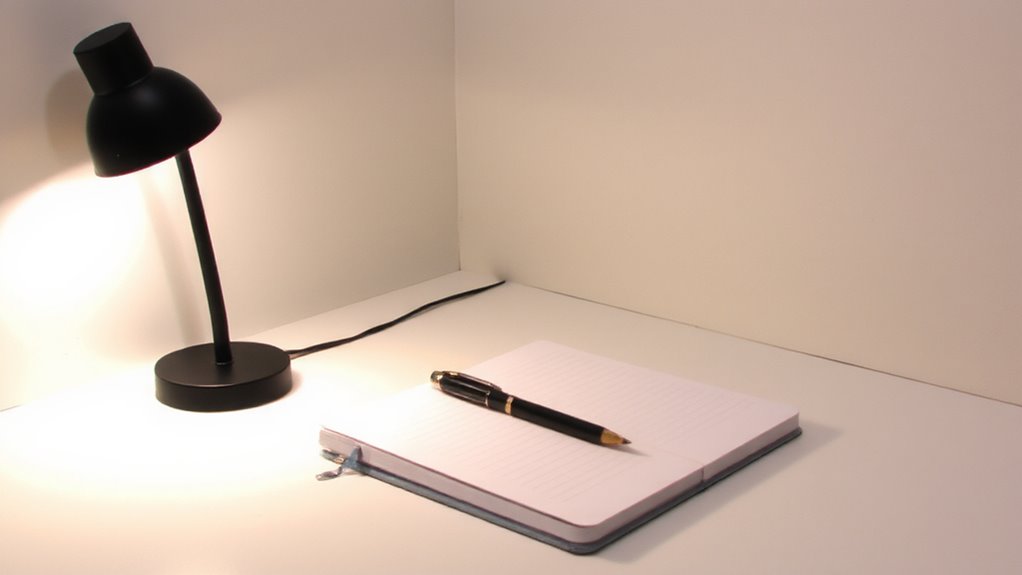
Since harsh light creates unflattering shadows and blown-out highlights on camera, diffusing your light source is essential for a balanced, professional look. Proper light diffusion evens out brightness, while shadow softening reduces facial contrast for a more natural appearance on screen. You don’t need expensive gear-simple solutions work well. A well-placed ergonomic desk lamp can provide adjustable, diffused task lighting that minimizes glare and optimizes webcam exposure.
| Material | Effectiveness | Best For |
|---|---|---|
| White fabric | High | Desk lamps |
| Translucent shade | Medium | Ring lights |
| Frosted panel | High | Studio panels |
| Paper diffuser | Low-Medium | Emergency fixes |
| Softbox | Very High | Dedicated setups |
Most softboxes offer the best shadow softening but take up space. Fabric diffusers are affordable and portable but may yellow over time. Always test camera exposure after adjusting diffusion. While diffusion improves image quality, overdoing it can dim light too much, forcing your webcam to compensate with noise. Balance is key.
Block Windows Behind You to Prevent Backlighting
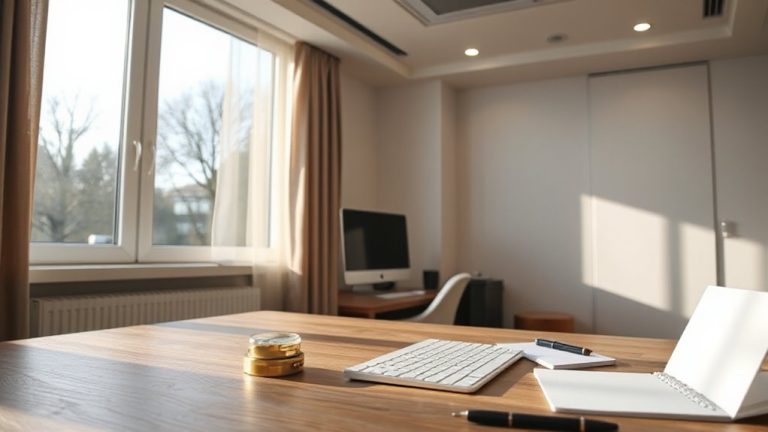
You’ve got your light diffused just right-shadows softened and highlights under control-so don’t let an unmanaged window undo that progress. Backlighting from a window behind you forces your webcam to overexpose the background and underexpose your face, washing out details. Blocking that light is essential. Install blackout curtain panels-they’re affordable, easy to mount, and instantly eliminate glare. For a more permanent fix, apply opaque window film, which dims incoming light while still allowing ventilation and visibility during the day. Both options maintain room brightness without sacrificing your on-camera exposure. Keep in mind: curtain panels need to be fully closed to work, which might feel stuffy, and window film can’t be removed without residue. Test each solution during peak daylight hours to see how your webcam responds. Results vary by room and window size, so what works in one space might need adjusting in another.
Ditch Harsh Overhead Lights for Better Video Quality
Even if your overhead lights seem bright and efficient, they’re likely working against you when it comes to clean, flattering webcam footage. These fixtures often create harsh shadows, overly saturated skin tones, and unflattering glare-especially under cool light color temperatures (above 5000K), which can make your face look washed out or uneven. Switching to adjustable task lighting gives you more control, and proper lamp placement just above or slightly in front of you reduces contrast and evens out facial features. Aim for a light color around 3000K to 4000K for a natural, warm-but-balanced look that complements most skin tones. Unlike ceiling fixtures, desk lamps let you fine-tune angles and intensity, though results depend on room size and reflectivity. Be careful not to place the lamp too close, or you’ll introduce new hotspots. It’s a simple change, but only if you test positioning and color carefully.
Pair Task Lighting With Ambient Light for Balance
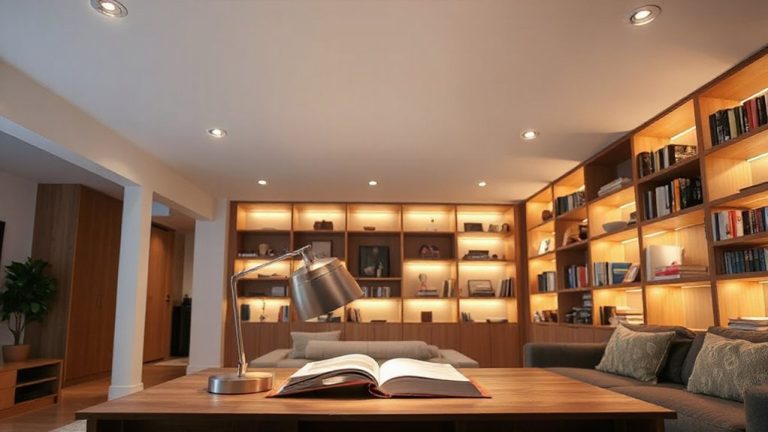
While task lighting improves clarity and facial balance, relying on it alone can create stark contrasts that make your background appear flat or overly dark. You’ll want to pair it with ambient lighting to achieve balanced exposure and maintain color accuracy across your entire frame. Soft, indirect ambient light fills in shadows and reduces the risk of glare reduction issues on screens or reflective surfaces. Combining a desk lamp with a warm-white floor lamp or ceiling fixture gives depth to your space and prevents your webcam from overcompensating. Just make sure ambient sources aren’t too bright-uneven lighting can confuse your camera’s auto-exposure. Use LED bulbs with a CRI above 90 for true color representation and set color temperatures between 3000K and 4000K. Test different brightness levels to find a natural look without washing out your face or surroundings. Consider models with USB-powered lamps for added convenience and streamlined charging during video calls.
Adjust Lighting Based on Time of Day
How you light your workspace should shift with the sun-because midday glare and evening shadows demand different fixes. You’ll want to adjust light temperature to align with your circadian rhythm: cooler, blue-rich 5000–6500K light in the morning boosts alertness and mimics daylight, while warmer 2700–3000K tones in the evening reduce eye strain and support melatonin release. Use dimmable LED task lamps with adjustable color temperature settings-brands like BenQ and Nanoleaf offer reliable options tested for flicker-free performance. But don’t rely solely on manual changes; smart bulbs with scheduling features can automate this shift. Keep in mind, though, that overly warm evening lighting may underexpose your webcam feed, requiring manual exposure tweaks in software. Balance is key-pair adjustable task lighting with consistent ambient levels to maintain image clarity without disrupting your natural sleep-wake cycle.
On a final note
You’ll get clearer, more professional video calls by using task lighting that doesn’t overwhelm your webcam. Position a warm-white (2700K–3000K), diffused LED lamp to the side or front to soften shadows and avoid glare. Pair it with dim ambient light for balance-especially if you’re near a bright window, which you should block with curtains. Avoid overhead fluorescents; they create harsh contrast. While dedicated ring lights work well, even a shaded desk lamp helps. Just don’t overbrightness-webcams easily wash out. Test settings morning and night, since natural light shifts. Strong lighting fixes 80% of video quality issues, but precision matters more than price.