Creating a Hidden Cable Channel Inside a DIY Desktop With Wood Inlays
You can build hidden cable channels into your DIY desktop by routing ¾-inch-wide grooves into hardwood like maple or walnut, then covering them with matching wood inlays for a clean look. Plan paths carefully to avoid structural cuts and test-fit cables first. Use wipe-on polyurethane for a smooth finish that won’t hide the grain. Just remember: inlays are permanent, so measure twice-mistakes mean patching or replacement. There’s more to get right for lasting function and looks.
Notable Insights
- Route ¾-inch-wide channels into the desktop surface to accommodate standard cables and power cords.
- Use a flush-trim router bit to cut precise grooves in hardwoods like walnut or maple for clean, durable channels.
- Drill entry and exit holes at the desk’s back edge to direct cables toward legs or drawers invisibly.
- Test-fit all cables and power bricks before final assembly to ensure proper bend radius and fit.
- Install matching wood inlays over the channels and finish with wipe-on polyurethane for a seamless look.
Design a Desk That Hides Cables in Wood
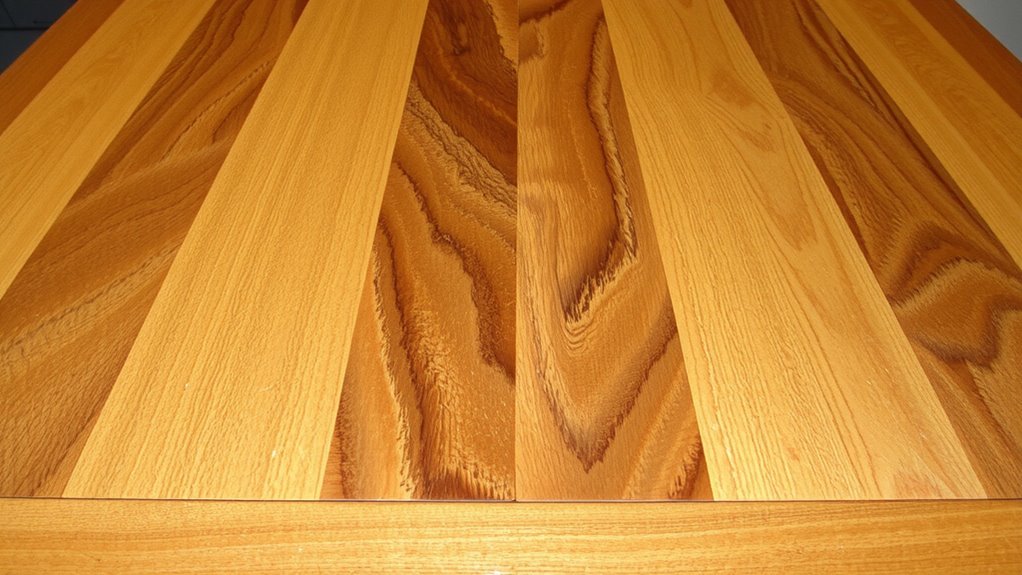
A clean workspace starts with smart design-especially when you’re routing power and data cables through solid wood. You want cable management aesthetics that feel seamless, not like an afterthought. Plan channels just wide enough-¾ inch fits most cords-so they disappear under thin wood inlays. This is where concealed tech integration shines: power strips mount underneath, USB hubs tuck into routed recesses, and cords flow quietly from monitor to outlet. Drill entry and exit holes at the back edge, near desk legs or drawers, so cables drop straight down to floor outlets. But don’t overbuild-too many channels create structural weak spots. And alignment must be precise; a misrouted channel means visible gaps or unusable paths. Test-fit every cord before sealing wood. Done right, your desk looks minimalist and functions smoothly-no dangling wires, no visual clutter. Done wrong, it’s a costly rebuild. For added convenience, consider integrating best cable management solutions to ensure optimal organization and accessibility.
Pick the Best Wood for Cable Channels and Style
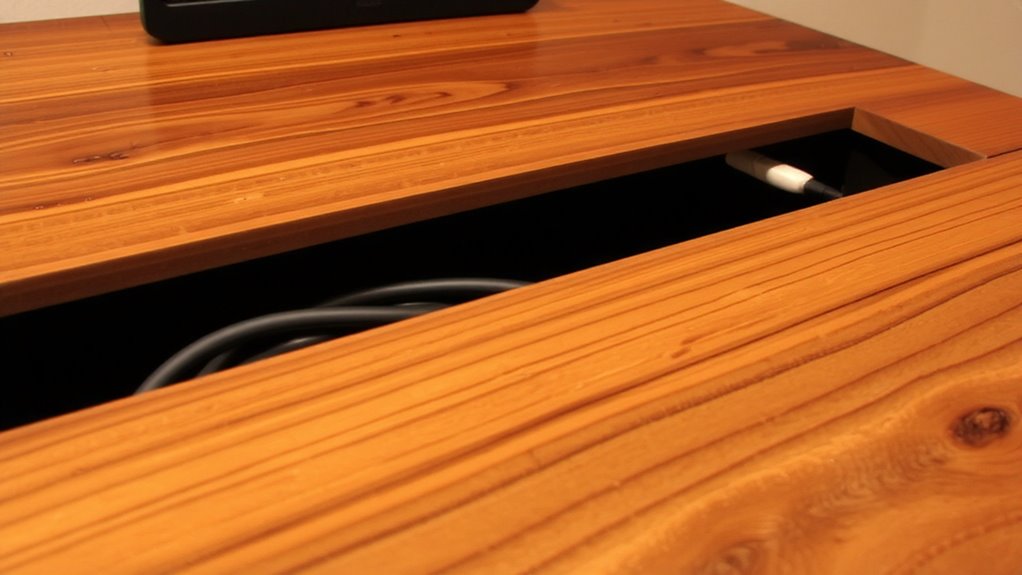
Hardwood is your best bet for routing clean cable channels without sacrificing desk strength or style. You’ll want maple, walnut, or oak-they’re dense enough to hold crisp grooves and resist warping over time. Their wood grain adds visual depth, especially when you align the inlay pattern with the desktop’s natural flow. Use a flush-trim router bit for precise channels, but go slow to avoid tear-out on softer areas of the grain. Finishing techniques matter just as much: a wipe-on polyurethane seals the wood evenly, while still letting the grain show through. Avoid thick lacquers-they’ll obscure detail and create bumps under your wrists. Keep in mind, exotic woods look great but can be brittle or costly; stick with domestic hardwoods for balance. Test your finish on scrap first. A poorly executed seal can darken the wood unevenly or weaken edges near the channel.
Plan Your Desktop’s Hidden Wiring Route
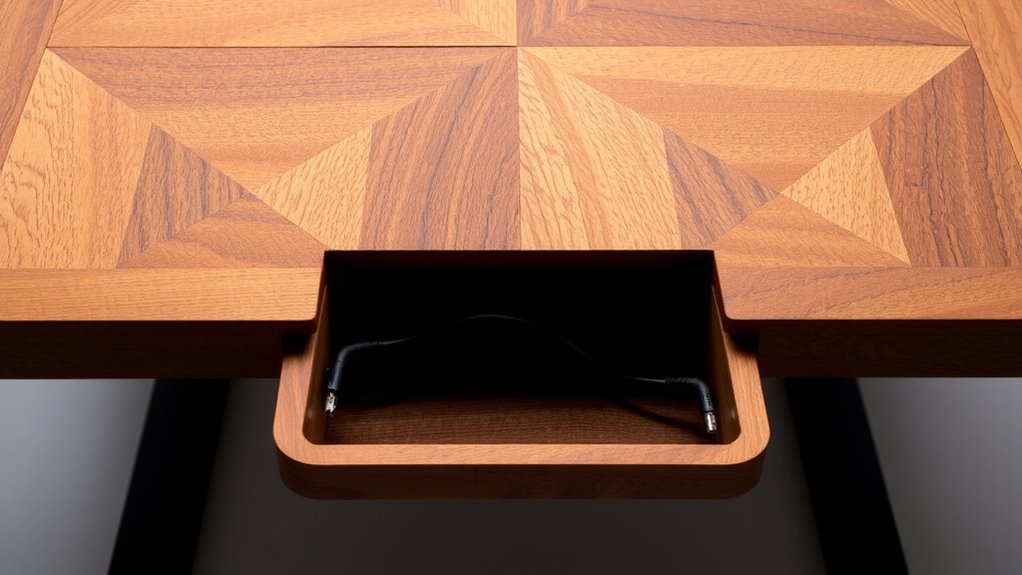
Now that you’ve picked your hardwood and understand how finish affects both looks and durability, it’s time to map out how wires will travel invisibly across your desktop. Start by sketching your device layout-monitor, keyboard, power strip-then trace ideal cable paths from outlets to gear. Opt for channels routed just beneath the surface, wide enough for thick power bricks but discreet under finish. Include space for cable labeling so you’re not guessing which wire goes where later. Think ahead: future expansion means leaving room for USB-C hubs or extra monitors, even if you don’t need them now. A tight, rigid route might look clean today but could force desk rebuilds tomorrow. Test your plan with actual cables before cutting wood. Some bends exceed minimum bend radii and strain insulation. Precision matters-offcuts or misaligned grooves compromise both safety and aesthetics. A well-planned route keeps things tidy now and adaptable later. For added organization, consider integrating a cable management solution tailored to keep connections secure and out of sight.
Build the Frame With Built-In Cable Access
While you’ve already mapped your cable pathways, building the frame with built-in access means turning that plan into physical channels you can rely on. You’ll cut precise grooves or recesses directly into the desk’s support rails or legs, aligning them exactly with your pre-planned routes. This frame integration guarantees cables run invisibly from your desktop to the floor without external clips or trays. Use a router or dado blade for clean, consistent channels-aim for ¾-inch width and depth to fit common power and data bundles. Proper cable management here prevents snagging and strain, especially near joints or seams. Note that routing too deep weakens structural members, so avoid cutting into load-bearing edges. Test fit your cables before final assembly. The result isn’t just cleaner-it’s more functional, provided you balance access with frame integrity. For enhanced organization, consider incorporating best cable management solutions to complement your built-in channels.
Finish With Wood Inlays That Hide Wires
A seamless finish elevates your DIY desktop from functional build to polished workstation, and wood inlays are your best bet for hiding wires without sacrificing style. You’ll enhance wood aesthetics while maintaining clean access through routed cable channels beneath the surface. Choose inlay patterns that align with your desktop’s grain direction-maple or walnut work well for contrast and durability. Fit each piece precisely, leaving no gaps where dust or debris can collect. A tight fit guarantees stability, but be careful: imperfect cuts ruin both function and look. Sand smooth and finish with wipe-on poly to match the rest. While inlays conceal messes, they’re permanent-mess up, and you’ll need to patch or replace entire sections. Measure twice, cut once. Done right, your desktop blends form and utility without overpromising.
Keep Cords Tidy and Upgradable
If you want your desktop build to stay functional over time, you’ll need to manage cords so they’re both out of sight and easy to modify. Good cable management isn’t just about looks-it guarantees airflow, reduces clutter, and simplifies troubleshooting. Route cables through the hidden channel you built, using adhesive clips or braided sleeves to keep them aligned. Leave a little slack, but not so much that it creates bulk. This balance makes future modular upgrades possible without tearing apart the entire desk. For example, swapping out a power supply or adding a USB-C hub should take minutes, not an hour. Use velcro ties instead of zip ties-they’re reusable and won’t damage insulation. Keep labels on cables if you’re running multiple devices. While wood inlays add style, they can limit access, so plan entry and exit points wisely. Test your layout with all devices powered on before finalizing.
On a final note
You’ll get a clean, professional desk if you build in hidden cable channels during construction-just use solid hardwood like maple or walnut for durability and clean routing. Measure channel width to fit common cables (e.g., 1.5″ for power strips). While wood inlays hide cords well, they make upgrades slightly harder. Always leave access points and avoid gluing permanent covers. Results look great, but balance aesthetics with easy maintenance.