How to Reconfigure Under-Desk Cabling After Furniture Adjustments
Start by unplugging all under-desk cables to inspect for fraying or corrosion-discard any damaged ones to avoid short circuits. Measure new paths after furniture moves and pick cables with 6–12 inches of extra length; too much slack causes clutter, too little strains ports. Group by type-power, data, display-and keep high-interference lines away from signal cables. Use Velcro ties and adhesive clips every 10–12 inches for clean, adjustable runs. Apply braided sleeving for durability and a tidy look, then test every connection under real-use conditions. Label both ends with clear tags like “MON” or “SW” to save time later-details on optimizing each step follow.
Notable Insights
- Unplug and inspect all cables after furniture movement to identify damage and ensure safe reconnection.
- Re-measure cable lengths needed based on new desk and device positions to avoid strain or excess slack.
- Regroup cables by type-power, data, display-and use labels or colored tape for easy identification.
- Re-secure cables with Velcro straps and adhesive clips, maintaining separation between power and signal lines.
- Test all connections under normal usage and update labels to reflect any changes in setup.
Unplug and Audit Your Under-Desk Cables
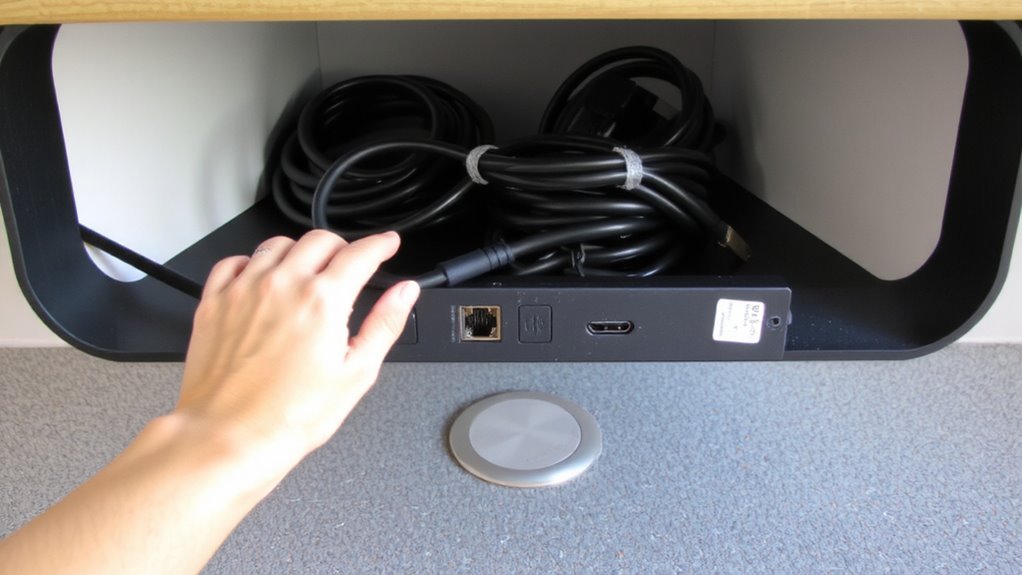
Start by unplugging everything under your desk-yes, all of it. This step lets you audit each cable thoroughly and spot hidden issues like frayed cable insulation or connector corrosion. Inspect every inch: damaged insulation can expose wires and create short-circuit risks, while corroded connectors often cause intermittent power or signal loss, especially on USB or power cables near humid areas. Label each cable before setting it aside to avoid confusion later. You’ll likely find old chargers, obsolete peripherals, or mismatched adapters that no longer serve your setup. Toss anything clearly compromised-repairing or taping over faulty insulation rarely lasts. Use this reset to separate high-quality cables from low-tier ones, noting build quality and shielding. Don’t assume expensive means better; some third-party cables outperform pricier OEM models in real-world bend and pull tests. A well-organized setup begins with choosing the right top cable management solutions to maintain accessibility and minimize clutter.
Choose the Right Cable Lengths for Your Layout
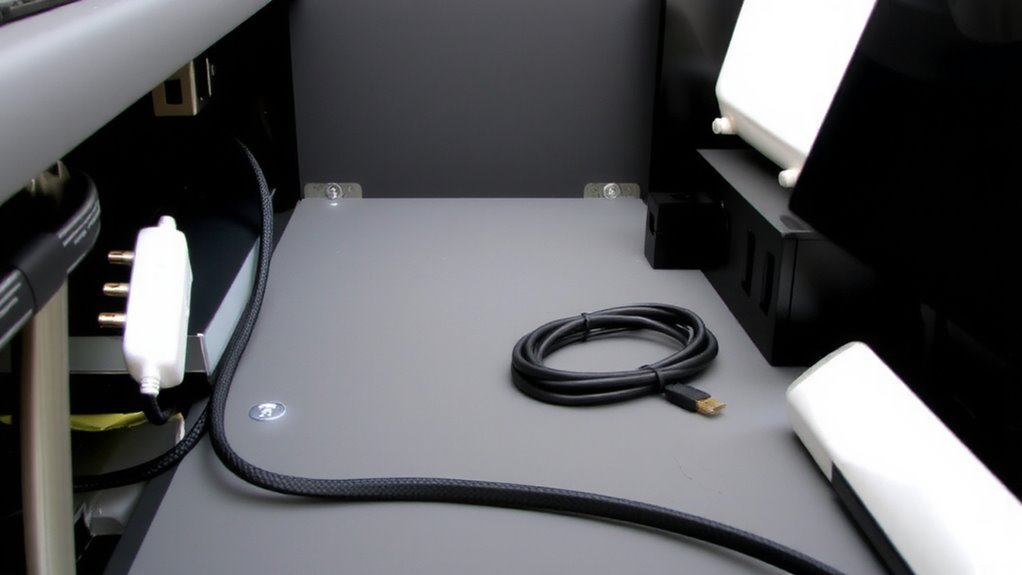
You’ll want each cable just long enough to reach its destination with a few spare inches-typically 6 to 12 inches-for adjustment and tension relief, but not so long that excess becomes a clutter trap. Too much slack increases cable strain, especially when devices shift during daily use, which can loosen connector types like USB-C or HDMI over time. Shorter cables reduce strain and improve airflow, but only if they don’t stretch taut when equipment moves-even a few millimeters matter. Measure the full path from port to port, including bends and clearances, then add your margin. Avoid universal “one-length-fits-all” assumptions; a 3-foot HDMI may work for a monitor, but your keyboard needs might differ. Pre-terminated cables in standard lengths (3ft, 6ft, 10ft) offer reliability, but verify bend radius and jacket thickness. Poor fit risks wear, disconnections, or stress on solder joints, especially with frequent adjustments. Effective cable management starts with selecting the right tools, such as cable management solutions, which can streamline setup and reduce visual clutter in a professional office environment.
Bundle Cables by Type and Run Them Neatly
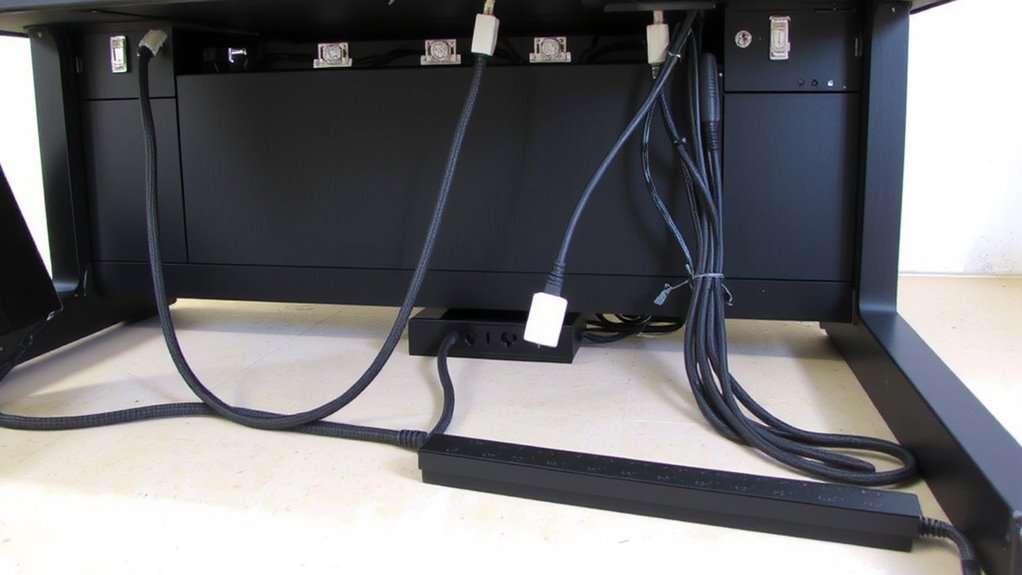
While routing every cord individually might seem manageable at first, bundling cables by type-such as power, data, and display-keeps connections predictable and reduces visual chaos under your desk. Grouping them supports a clear routing strategy, making future troubleshooting faster and cleaner. Use consistent cable identification, like colored tape or printed labels near connectors, so you can spot a USB-C from an Ethernet without tracing the whole line. Velcro ties work better than zip ties for adjustments, letting you add or remove cables without cutting. Keep high-interference lines like power separate from signal cables when possible to avoid noise. A poor layout can compress airflow or strain ports, so leave slight slack without looping excess. This method scales well if you upgrade monitors or docks later. Though it takes time upfront, it pays off in reliability and ease-just don’t over-tighten bundles, which can damage individual wires over time. Consider using a dedicated cable management tray to secure bundled lines and maintain a clean workspace.
Secure Wires With Clips, Ties, and Sleeving
A solid cable management setup relies on secure, accessible fastening-clips, ties, and sleeving keep bundles in place while allowing room for adjustments. You’ll want to use adhesive clips along the desk frame to anchor cables and prevent tugging, which adds essential cable strain relief. Nylon zip ties work well for fixed runs, but go easy-overtightening can damage insulation. For better wire management aesthetics, consider using braided sleeving on grouped cords; it hides clutter and resists tangling. Velcro straps are smarter near joints or frequently moved areas, since they’re reusable and gentle on wires. Mount clips every 10–12 inches to avoid sagging, but leave slight slack for adjustments. Cheaper clips may lose adhesion over time, so test load limits. Well-secured cables last longer and look cleaner, but don’t sacrifice accessibility for neatness-modular setups beat perfect symmetry.
Test and Label for Easy Access
Reliability starts with verification-once cables are secured, testing each connection guarantees power and data links work before labeling locks in access. You should test functionality thoroughly: plug in devices, confirm network handshakes, and check for intermittent drops under light load. Any issue now means easier troubleshooting than later. Then label every cable at both ends with consistent tags-use clear, durable labels aligned with port locations or device types. Label consistency prevents confusion during future swaps or resets. Don’t rely on color alone; ink can fade, and colors lack specificity. A consistent system using abbreviations like “MON” for monitor or “SW” for switch saves time. While labeling takes effort, it pays off during upgrades. Just remember-no test is perfect under ideal conditions, so recheck under real use. Labeling mistakes are harder to fix later, so double-check placements now.
Prevent Future Tangles With Simple Habits
You’ve tested and labeled every connection, so now it’s time to keep things running smoothly with habits that prevent future messes. Good cable routing isn’t just a one-time fix-it’s an ongoing practice. Route cables along the same side of the desk, using clips or sleeves to group similar types, like power and data, separately. This reduces friction and accidental pulls. Desk anchoring is just as important; a wobbly desk stresses connections and disrupts your layout. Secure adjustable desks to the floor if possible, or use non-slip pads to minimize movement. Avoid overloading cable ties-tight bundling can damage insulation over time. Recheck routing every few months, especially after repositioning equipment. While under-desk trays help, they’re only effective if cables are secured first. These habits take minutes but save headaches later.
On a final note
You’ve streamlined your workspace, and it shows-clean cable runs boost both function and focus. Proper lengths prevent slack, while Velcro ties and adhesive clips keep bundles tight without damage. Labeling saves time during troubleshooting. Just remember: neatness demands maintenance. Even the best setup sags over time from daily use. Recheck every few months. Avoid over-tightening sleeving; it can pinch wires. Test connections first-then secure.