Installing a Wireless Charging Pad Into Your Desk Surface for Seamless Use
Choose a Qi2 or Qi-certified charging pad with at least 15W output and a one-year warranty for reliable, fast charging. Install it to the left or right of your keyboard-never centered or near the edge-and cut flush using a fine-tooth blade, securing it with epoxy. Route the USB-C cable through a grommet to a 15W adapter under the desk to reduce clutter. Test charging with your phone in a thin case, ensuring it hits at least 7.5W and doesn’t overheat. Keep away from ultra-slim models that lack proper heat dissipation for long-term use. Better results start with smarter placement and compatible hardware.
Notable Insights
- Choose a Qi2 or Qi-certified charging pad with at least 15W output for fast, safe, and compatible charging.
- Position the pad to the side of your keyboard for ergonomic access and optimal cable management.
- Test the placement over a full workday before permanently installing to ensure comfort and functionality.
- Cut a precise, depth-controlled opening using a jigsaw and seal the pad securely with epoxy or silicone.
- Route cables through desk grommets or raceways to maintain a clean, clutter-free, and tripping-free workspace.
Pick the Right Wireless Charging Kit
A solid wireless charging pad starts with the right kit, and your best bet is one that supports Qi2 or at least the older Qi standard-otherwise, you’re risking compatibility issues with modern phones. Look for clear Qi certification; it means the pad passed real-world charging tests and won’t damage your device. Opt for a model with at least 15W power output if you want fast charging, but know higher output can generate more heat. Most iPhones and Androids max out at 7.5W or 10W unless specifically designed for more. Avoid ultra-slim pads if you plan on charging overnight-they often lack heat dissipation. Check the warranty; reputable brands offer at least one year. Don’t assume price guarantees quality-some mid-tier models outperform premium ones in independent charge-cycle tests. For a truly clean setup, consider integrating one of the best wireless chargers into your desk surface during installation.
Choose the Best Desk Location
Where should you actually put your wireless charging pad on your desk? For ergonomic placement, position it just left or right of your keyboard, where your hand naturally rests-this reduces strain and keeps your phone visible. Avoid placing it too far back, which forces you to reach, or too close to the edge, where devices might fall. You’ll also want clear access for cable management; tuck the power adapter neatly underneath, routing the cord through a grommet or rear cable channel to avoid clutter. Make sure the spot doesn’t interfere with drawers or seated posture. While center placement looks symmetrical, it often disrupts workflow. Test the location first-temporarily set the pad on your desk surface and use it for a day. Real-world testing beats assumptions. Some kits include adhesive pads or mounts-use them to prevent sliding. Always check warranty details in case adjustments void coverage. A well-chosen location complements your best home office desks setup for optimal functionality.
Cut and Install the Charging Pad
Though you might be tempted to permanentize the setup right away, you shouldn’t cut or modify any surfaces until you’ve confirmed the charging pad’s position through at least a full workday of use-once validated, carefully measure the pad’s footprint and any attached cable channels before marking cut lines. Use a circular saw or jigsaw with a fine-tooth blade for clean edges, and set your drill depth just shy of the desk’s thickness to avoid damaging the underside. Sand the opening slightly to prevent splintering. When installing, your adhesive choice matters: double-sided mounting tape works well for temporary setups, but for permanence, use epoxy or silicone adhesive to guarantee stability without cracking the desk. Press firmly and let cure 24 hours. Improper installation can weaken the structure or misalign the pad. Keep the charging coil accessible-don’t over-seal.
Hide Wires for a Clean Look
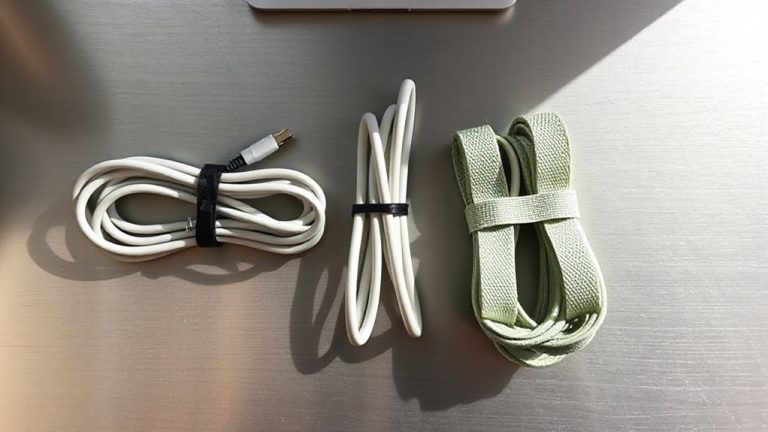
Your desk’s clean look hinges on smart wire management-cutting visual clutter without sacrificing function. Effective cable management isn’t just about tucking wires away; it’s about ensuring easy access and long-term durability. Use adhesive raceways or desk grommets for seamless cord concealment. For a built-in appearance, route the charging pad’s USB cable through a pre-drilled hole and connect it to a power source beneath the desk. This approach hides excess length and prevents tripping hazards. A well-organized setup also enhances productivity and reduces stress, making best cable management essential for both functionality and aesthetics.
| Method | Pros & Considerations |
|---|---|
| Adhesive Clips | Easy install; limited load capacity |
| Raceways | Robust coverage; visible if poorly placed |
| Desk Grommets | Clean finish; requires precise drilling |
| Cord Channels | Low-profile; best for multiple devices |
| Under-Desk Trays | Hidden storage; may reduce airflow |
Test Your Built-In Charger
How do you know your built-in charger is ready for daily use? Test it first with your most frequently used device. Place it centered on the pad and confirm it starts charging within 10 seconds. Check the charging speed-most modern phones should hit at least 7.5W or 10W, depending on model and support. Don’t assume it’ll match your wall charger’s pace; wireless is usually slower. Verify device compatibility: iPhones from 8 onward and recent Androids with Qi support work, but cases thicker than 3mm may block charging. Test with your actual case on. If alignment feels finicky or charging drops often, recheck your pad’s positioning under the surface. A 124°F temperature or consistent coil noise means something’s wrong. Real-world reliability matters more than specs-use it like you would daily before calling it done.
Optimize for Faster Charging
While wireless charging offers convenience, you’ll get the best speeds by matching your pad and phone to the right conditions-start with a charger that supports 15W if your device allows it, like the Samsung Galaxy S23 or later models, since those can take full advantage of faster Qi2 or Extended Power Profile (EPP) standards. Charging efficiency drops markedly with misalignment or poor power output, so center your phone precisely and use a dedicated 15W USB-C power adapter. Cases thicker than 3mm can slow charging, so test yours before assuming compatibility.
| Device | Max Power Output |
|---|---|
| iPhone 15 (MagSafe) | 15W |
| Samsung Galaxy S23 | 15W |
| Google Pixel 8 | 7.5W |
You’ll see slower top-off times compared to wired, but daily top-ups benefit most from high-efficiency pads.
On a final note
You’ll love the convenience of a built-in wireless charger if you hate plugging in daily. Cutting a precise 4.5-inch hole for a Qi2 pad gives clean, fast 15W charging. Route the USB-C cable through a rear grommet to hide it. Just know thicker phone cases may slow charging, and misalignment cuts speed. Test with your device first-some brands charge more efficiently. It’s a solid upgrade, but only if your setup allows easy access to the desk underside.