Using a Monitor Riser With Storage to Elevate Screen and Hide Devices
You’ll reduce neck strain and tidy your desk by using a monitor riser with storage to lift your screen and hide devices like routers or chargers. Most models raise your monitor 3–6 inches-ideal if the top of the screen aligns with your eyes when seated. Solid wood or aluminum bases stay stable and support daily use, while rear cutouts and cable clips keep cords managed. Just avoid overloading it, since too much weight can cause wobble. Pick one with adjustable height to fine-tune posture and space. The right setup balances ergonomics, access, and durability-everything you need for a cleaner, more comfortable workspace.
Notable Insights
- Elevate your screen to eye level using a riser to reduce neck and shoulder strain during long work sessions.
- Choose a riser with open shelves or low barriers to store devices while keeping them easily accessible.
- Use built-in rear cutouts and cable clips to manage cords neatly and prevent clutter under the monitor.
- Opt for durable materials like solid wood or aluminum to ensure stability and longevity under heavy monitors.
- Balance storage height and screen position to avoid elevating the monitor too high for comfortable viewing.
Why Your Monitor Riser With Storage Improves Posture and Productivity
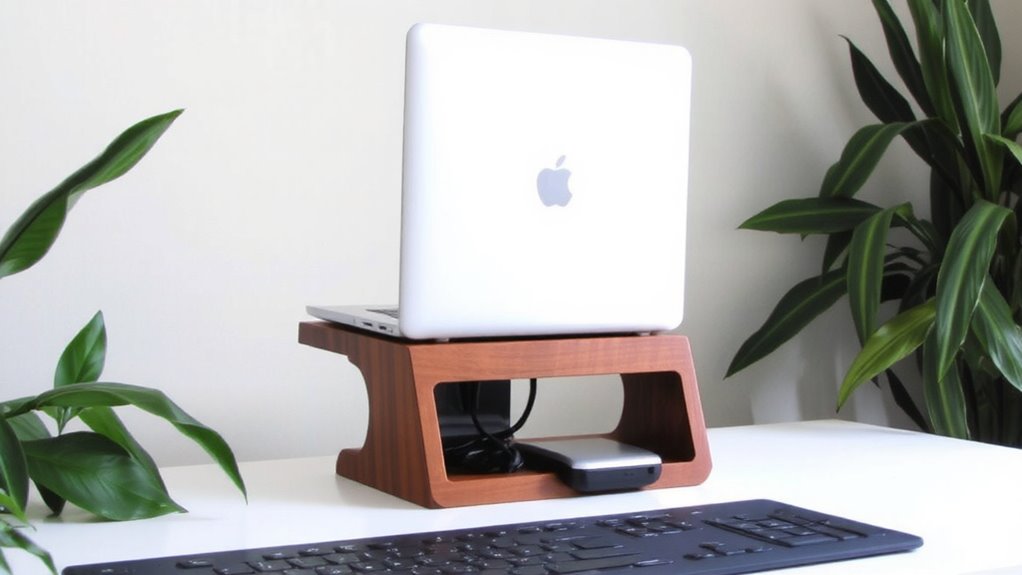
While you might think a monitor riser is just about saving desk space, using one with built-in storage can actually help you sit better and work more efficiently-if it’s set up right. Elevating your screen to eye level promotes proper ergonomic alignment, reducing neck and shoulder strain during long work sessions. A clutter-free desk, thanks to smart under-monitor storage, supports mental clarity by minimizing distractions. You’ll find focusing easier when your space feels open and organized. Most models offer 3–6 inches of lift, which suits standard seating setups. But be cautious: if the riser’s too high or too deep, it can force poor posture. Sturdy materials like aluminum or solid wood hold monitors securely, while wobble reduces comfort. Always check weight limits and desk dimensions before buying. Though not a fix-all, the right riser with storage supports better posture and sharper focus-when matched to your body and workspace. For even greater flexibility, consider a monitor riser with drawers that combines elevation, storage, and easy access to small office essentials.
What You Can Store Under a Monitor Riser (And How It Stays Accessible)
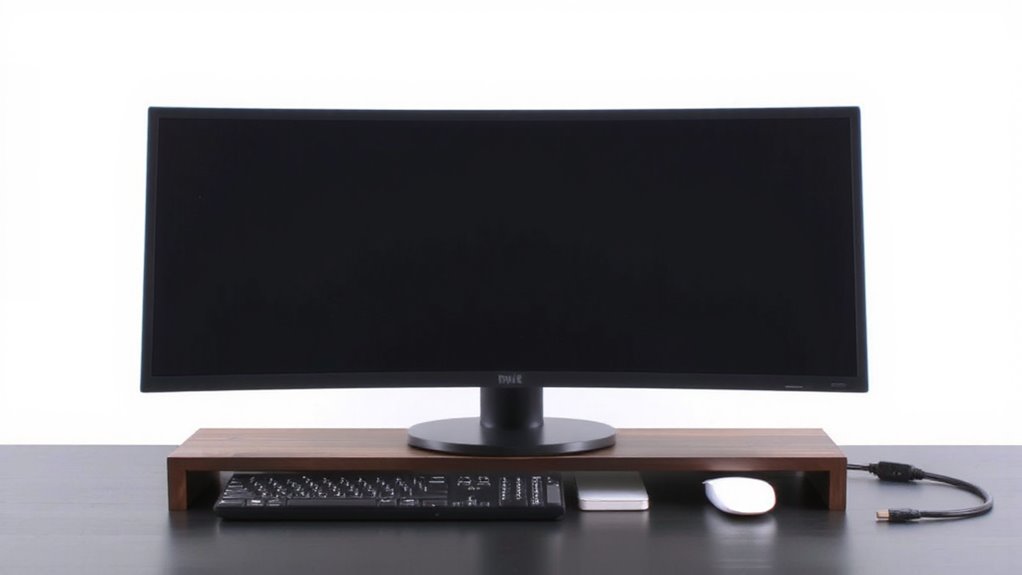
You get real value from a monitor riser with storage when you use the space wisely-keeping the most-used items within easy reach without sacrificing stability or screen positioning. You can store small electronics like routers, power strips, or docks under the riser, along with notebooks, chargers, or cables. Hidden compartments help conceal clutter while maintaining a clean desk line. Look for models with open shelving or low barriers so you don’t have to lift the monitor to grab something. Easy access is key-solid designs include rear cutouts for cable management and front openings for frequent-use items. Just avoid overloading the base, as too much weight can compromise sturdiness or wobble the screen. Most quality risers support up to 30 lbs, but always check load ratings. Solid wood or steel frames hold up best over time.
How to Use a Monitor Riser With Storage for Perfect Screen Height
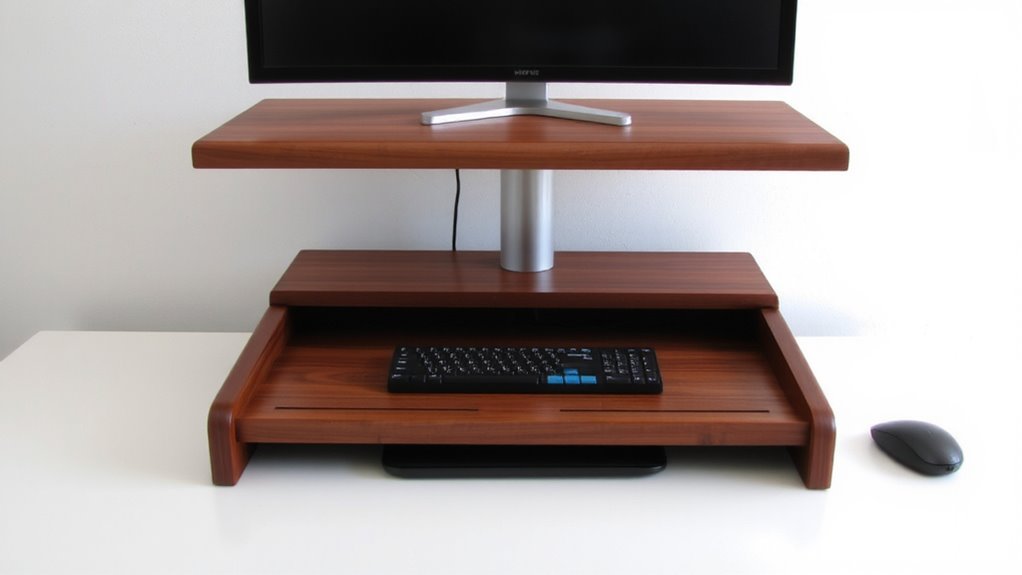
Ergonomics start with elevation-getting your screen at the right height is the main reason to use a monitor riser with storage, and doing it right means balancing comfort with functionality. For best ergonomic alignment, the top of your screen should be at or slightly below eye level, so you’re not straining your neck up or down. This screen positioning helps reduce fatigue during long work sessions. Most users need 6 to 12 inches of lift, depending on desk and chair setup. Measure your current monitor height and adjust the riser accordingly. Keep in mind: if the riser’s storage compartment is too tall, it might force your screen too high. Aim for models that let you fine-tune height with minimal trade-offs in storage space. Test different configurations to match your seated posture. Proper setup improves alignment, but getting it wrong can cause more strain than no riser at all. A well-chosen stand can offer both lift and space efficiency, making best monitor stands a smart investment for any workspace.
Best Materials for a Durable, Stylish Monitor Riser With Storage
A well-built monitor riser with storage needs materials that balance strength, weight, and aesthetics-solid wood and aluminum top the list for durability and style. You get reliable structural integrity with solid wood, especially hardwoods like walnut or birch, which support heavy monitors without sagging over time. Aluminum offers a lighter yet rigid option, resistant to warping and ideal for modern desks. Both materials allow for high-quality aesthetic finishes, from matte lacquers to brushed metal coats, that resist fingerprints and scratches. While wood warms up a workspace, it can dent under sharp impacts; aluminum stays sleek but may feel colder and transmit vibrations. Check for reinforced corners and non-slip pads-key details that affect longevity. Look for manufacturers offering 1–2 year warranties as a baseline confidence marker. Real-world testing shows these materials outlast plastic alternatives by years when properly maintained.
Simple Cable Management Hacks for Under Your Monitor Riser
Solid wood and aluminum aren’t just smart picks for a sturdy, good-looking riser-they also make managing cables underneath much easier thanks to their flat, stable profiles and built-in design advantages. Use cable clips to secure loose cords along the riser’s underside, keeping them off the desk and reducing tangles. Pair them with Velcro ties for adjustable, reusable bundling that won’t damage insulation. For best results, route power, HDMI, and USB cables together in a neat bundle, anchored every 6–8 inches. Best Cable Management Solutions can further enhance organization by incorporating trays and sleeves designed to complement your riser setup.
| Method | Best For |
|---|---|
| Cable clips | Short runs, fixed routes |
| Velcro ties | Frequent changes, grouping |
| Both combined | Long-term, clean setups |
| None | Constant reconfiguration |
Don’t overcrowd the space-ensure airflow and access. While these hacks work well, overly tight bundling can strain connections over time.
On a final note
You should get a monitor riser with storage-it boosts posture and clears desk clutter. Its raised platform brings your screen to eye level, reducing neck strain, while the hollow base holds keyboards or peripherals within reach. Solid wood or steel models support up to 30 lbs and often include anti-slip pads. Just confirm your monitor fits; risers typically add 3–6 inches of height and may limit airflow if devices overheat.