Choosing the Right Height and Tilt for a Curved Monitor in a Dual-Display Setup
Set both monitors’ top edges at your eye level to maintain neutral neck posture and align with the natural gaze. Tilt the curved screen 10–15° down if you sit within 30 inches; use minimal tilt if farther. Match heights exactly, especially with mixed panel types, to avoid visual strain. Angle the curved monitor slightly inward (2–5°) to harmonize with the flat display. Use VESA-compatible, adjustable mounts for precision, and pick matte screens to cut glare-small tweaks make a noticeable difference in comfort and clarity.
Notable Insights
- Align the top of both monitors with your eye level to maintain neutral neck posture and reduce strain.
- Position the curved monitor’s center at eye level and tilt it 2–5 degrees inward to match the flat screen’s viewing angle.
- Use adjustable mounts to synchronize screen heights, especially when mixing curved and flat displays.
- Set tilt between 10–15 degrees downward if seated within 24–30 inches to minimize glare and eye strain.
- Ensure both monitors are at a similar distance from your eyes to maintain visual coherence and depth perception.
Set Both Monitors at Eye Level
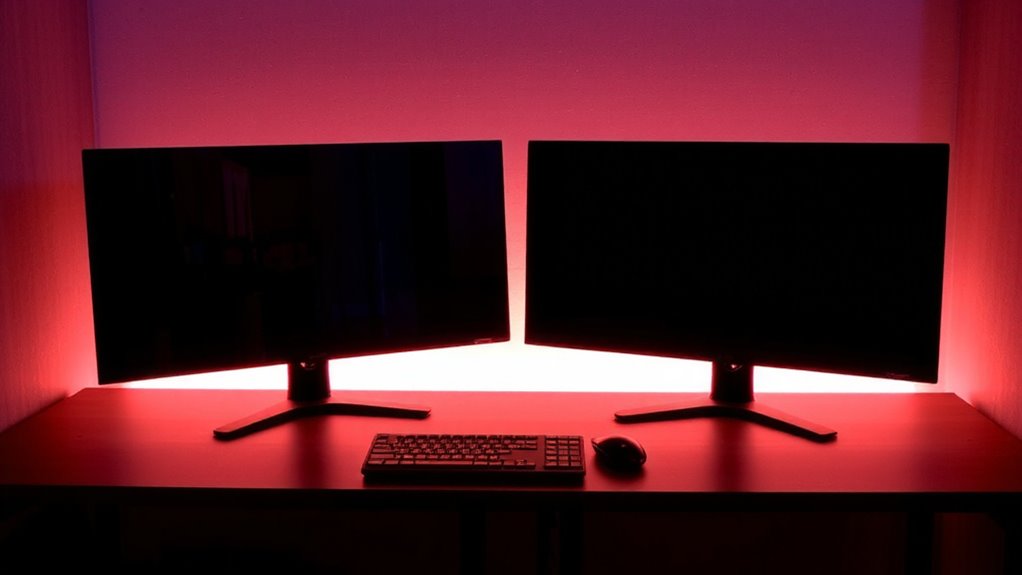
Eye strain and neck pain aren’t just annoyances-they’re red flags your monitor’s height is off. You should set both monitors at eye level to maintain visual alignment and reduce fatigue. The top of each screen should align with your horizontal eye line when seated, ensuring you’re not tilting your head up or down. This setup supports monitor symmetry, especially essential in dual-display arrangements where mismatched heights strain focus and depth perception. While arms or risers can help achieve ideal positioning, not all desks offer enough vertical adjustability-measure clearance before buying. Some stands include tilt or swivel, but check compatibility with your monitor’s VESA pattern. Remember, even slight height mismatches disrupt workflow over time. Though perfect alignment demands effort, the payoff-reduced strain and sharper focus-is measurable in both comfort and productivity. Test setups for at least a half-day before finalizing. For greater flexibility in achieving optimal positioning, consider using a monitor arm designed for ergonomic workspace setups.
Adjust Curved Monitor Tilt by Seating Distance
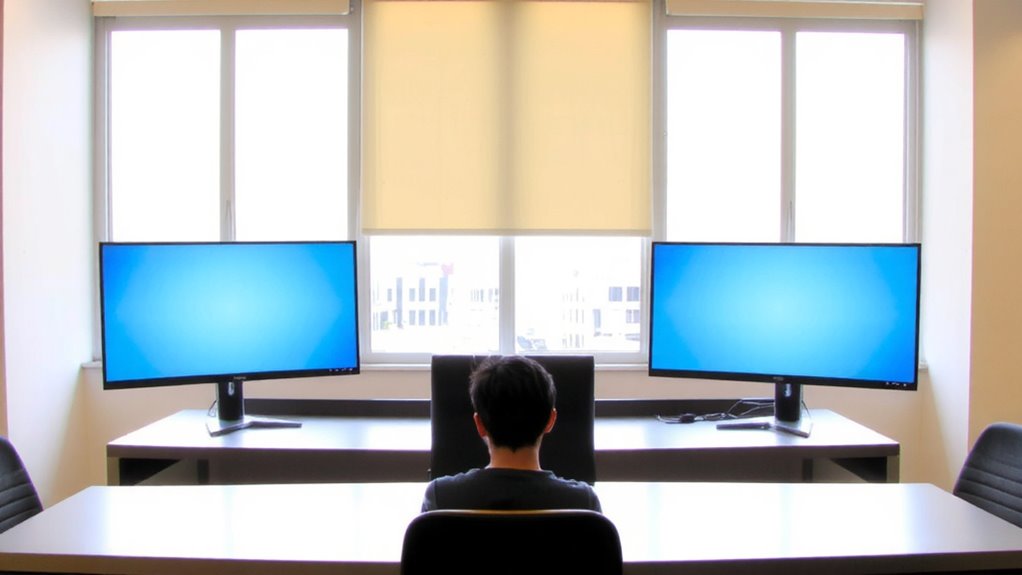
How far are you sitting from your curved monitor? Your seating distance directly affects viewing comfort and screen usability. If you’re within 24–30 inches, tilt the monitor slightly downward-about 10 to 15 degrees-so the center of the screen aligns with your natural eye level. This reduces glare and maintains an even focal plane across the curve. Sit farther than 36 inches? You might need less tilt or even a neutral angle, since the monitor’s arc will naturally follow your field of view. Always fine-tune based on how the edges and center appear-distortion or eye tracking strain means the tilt or distance needs adjusting. While most premium mounts allow precise tilt control, test movement range before buying. Don’t assume one setting fits all-even small changes in seating distance can undermine long-term viewing comfort.
Sync Heights to Prevent Neck Strain
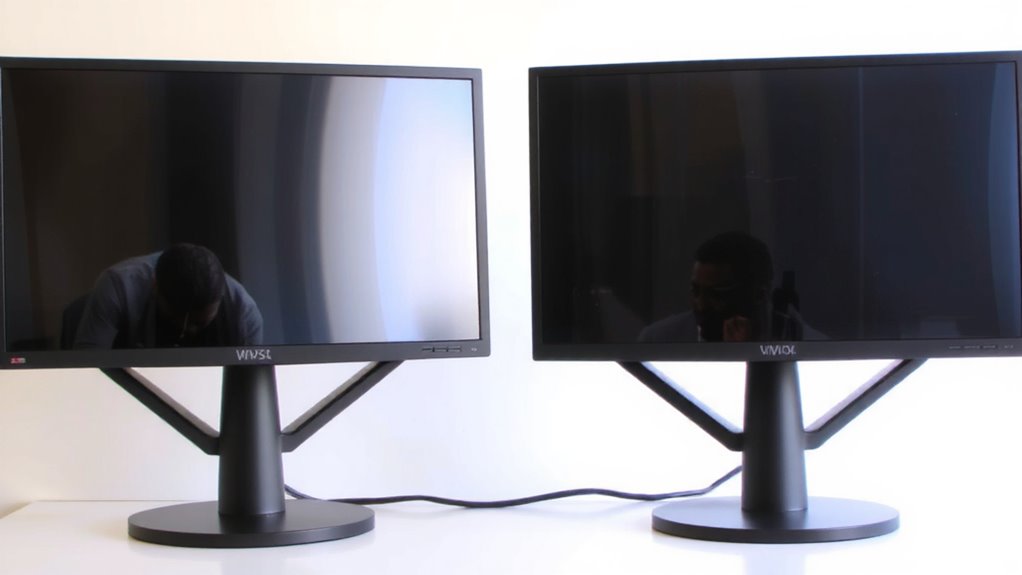
When your monitor sits too high or too low, you’re setting yourself up for hours of neck strain without even realizing it-so get this right from the start. Sync both screens’ heights so their top edges align with your natural eye level, about 15–20 degrees below horizontal gaze, to maintain a neutral neck posture. This guarantees monitor symmetry, minimizing head tilting and reducing fatigue during long work sessions. Use adjustable monitor arms or risers to achieve precise alignment, especially when mixing display sizes or stands. Poor height matching forces constant visual recalibration, degrading focus and comfort. While optimizing for posture, don’t neglect cable management-neatly routed cables reduce clutter and make adjustments easier. However, avoid over-tightening mounts or using low-quality arms that compromise stability. Monitor symmetry improves ergonomics, but only if hardware supports fine, repeatable adjustments. Test positioning after setup: small tweaks often yield big comfort gains. For reliable hardware options, consider one of the Top Desk Riser Picks based on stability and ease of adjustment.
Balance Curved and Flat Screen Angles
Why do some dual-monitor setups feel off even when the heights match perfectly? It’s likely due to mismatched angles between your curved and flat screens. For true screen symmetry, align the center of the curved monitor with the flat one so both face your eyes directly. A curved display typically works best at a slight inward tilt-around 2–5 degrees-while flat panels should stay perpendicular to your line of sight. This balance helps achieve visual harmony and reduces eye travel. But here’s the catch: too much angle difference causes glare or distortion, especially on ultrawide curved screens with 1800R curvature. You’ll need to adjust viewing distance-usually 24 to 30 inches-for both monitors to blend naturally. Keep in mind, perfect alignment isn’t always possible, so prioritize comfort over ideal geometry.
Use Adjustable Mounts for Fine-Tuning
You’ll get the most precise alignment with adjustable mounts that let you tweak height, tilt, and swivel-critical when blending a curved monitor into a mixed setup. These mounts offer flexibility most desk stands lack, letting you match screen planes and reduce eye strain. Good cable management features-like built-in channels or clips-keep wires tidy and improve airflow. Look for mounts with solid build quality; aluminum or reinforced steel guarantees mount durability under constant use. VESA compliance (typically 75×75 or 100×100 mm) is standard, but verify compatibility with your monitor’s back panel. Some arms include gas-spring mechanisms for smooth motion, though they cost more. Extended warranties (3–5 years) often signal reliable engineering. Keep in mind: heavier curved monitors may challenge weaker arms, so check weight limits. Installation takes patience-clear instructions and included tools matter. For top-performing options, consider models from the best monitor mounts list, which are tested for ergonomics, stability, and ease of use.
Reduce Glare With Proper Screen Angles
Most curved monitors benefit greatly from careful angle adjustments to minimize glare and maintain visual clarity. You should tilt your screen slightly downward to reduce reflections from overhead ambient lighting, especially in bright rooms. Position the monitor so its curve follows your natural field of view, keeping the center of the screen perpendicular to your line of sight. This helps preserve image quality and lowers glare. Your monitor’s screen finish-whether matte or glossy-plays a key role. Matte finishes diffuse light better, cutting glare effectively but may reduce contrast slightly. Glossy finishes offer richer colors but reflect more light. Pair proper tilt with room lighting adjustments to avoid washed-out visuals. While ideal angles vary by setup, a 10–15 degree tilt often works well. Be cautious not to over-tilt, which can distort the image or cause neck strain over time.
On a final note
Set both monitors at eye level to avoid neck strain, especially during long work sessions. Tilt the curved screen between 10°–15° based on your seating distance-closer means less tilt. Match heights precisely between curved and flat displays using adjustable mounts for seamless gaze shifts. Sync angles to align viewing planes, reducing glare and boosting comfort. While dual-monitor setups improve productivity, imprecise alignment risks discomfort-invest time in fine-tuning position and tilt.