How to Set Up a Secondary Monitor Arm for Independent Height Adjustment
Pick a dual-axis arm with independent height adjustment-like ones from Ergotron or AmazonBasics-to align your secondary screen at eye level without straining your neck. Confirm your monitor fits the VESA pattern (75×75 or 100×100 mm) and stays within the arm’s weight limit, usually 17.6 lbs. Use a clamp with rubber-padded jaws or grommet mount to protect your desk, especially if it’s thin or particleboard. Tighten bolts evenly and adjust tension gradually so the arm holds position without drooping. You’ll find how small tweaks make a big difference in comfort and stability.
Notable Insights
- Choose a dual-axis monitor arm with independent height adjustment to align screens ergonomically regardless of size.
- Confirm your monitor has VESA compatibility (75×75 or 100×100 mm) or use an adapter for secure attachment.
- Install the arm using a clamp with rubber-padded jaws or grommet mount to prevent desk damage and ensure stability.
- Attach the VESA plate to the monitor with correct screws (M4, 10mm), then securely slide it onto the arm.
- Adjust the tension knob incrementally to balance the monitor, allowing smooth height changes without drooping.
Choose the Right Arm for Your Secondary Monitor
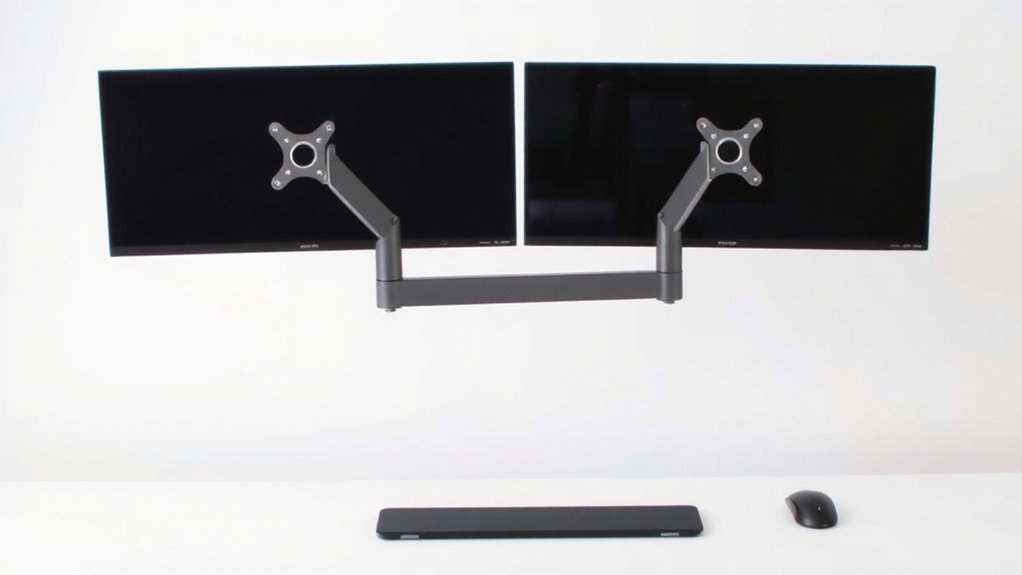
Your secondary monitor’s performance hinges on the arm you pick, so go with one that balances adjustability, build quality, and ease of installation. Look for strong spring mechanisms that support your monitor’s weight-most arms handle 13–30 lbs, so check specs carefully. Arm compatibility matters: confirm your screen has a VESA mount (typically 75×75 or 100×100 mm). Without it, you’ll need an adapter. For ergonomic positioning, choose a model with tilt, swivel, and height adjustments to align the top of the screen at or slightly below eye level. Dual-axis arms offer the most flexibility, letting you pull the monitor forward or rotate it vertically. Metal construction lasts longer than plastic, especially with frequent adjustments. Most reputable brands offer 3–5 year warranties. Don’t sacrifice stability for price-cheap arms often sag over time, undoing your ergonomic gains. A well-designed product roundup can help identify top-performing models based on real-world testing and expert analysis.
Check If Your Desk Supports a Second Monitor Arm
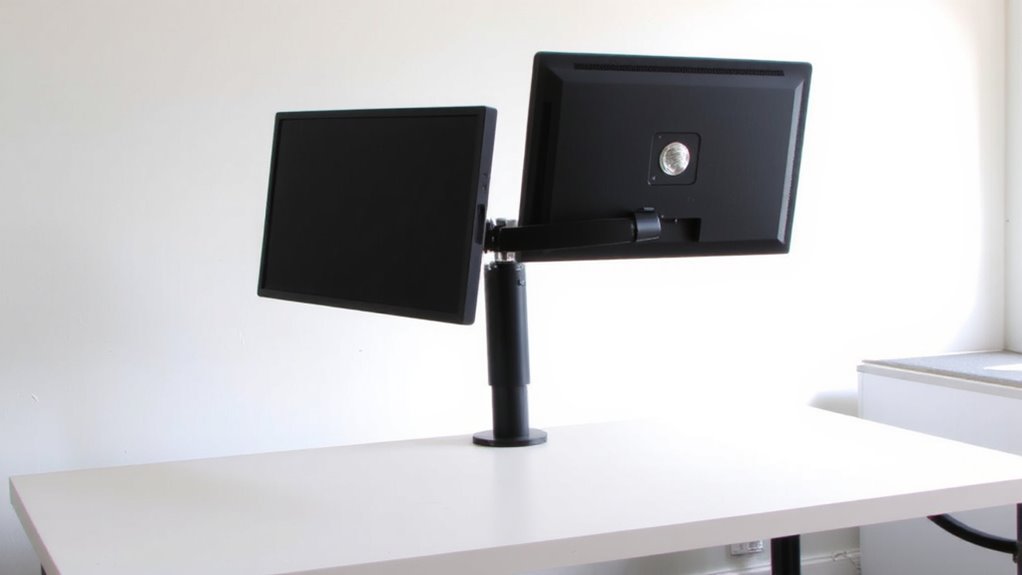
Not every desk can handle a second monitor arm, even if the first one fits just fine. You need to assess desk stability and load capacity before adding another arm. Clamping mechanisms add stress, especially near desk edges, so a solid desktop thickness and sturdy frame matter. Overloading risks wobbling or damage, particularly on thinner or longer desks. Choosing a desk designed for ergonomic setups can make a significant difference, and reviewing the best home office desks ensures you select one that supports your dual-monitor needs.
| Desk Material | Max Recommended Load | Stability Notes |
|---|---|---|
| Solid Wood | 50 lbs | High stability, minimal flex |
| Plywood | 35 lbs | Moderate; may sag over time |
| Particleboard | 25 lbs | Low; prone to splitting |
| Metal Frame | 60 lbs | Excellent, if well-braced |
Mount the Arm Without Damaging Your Desk
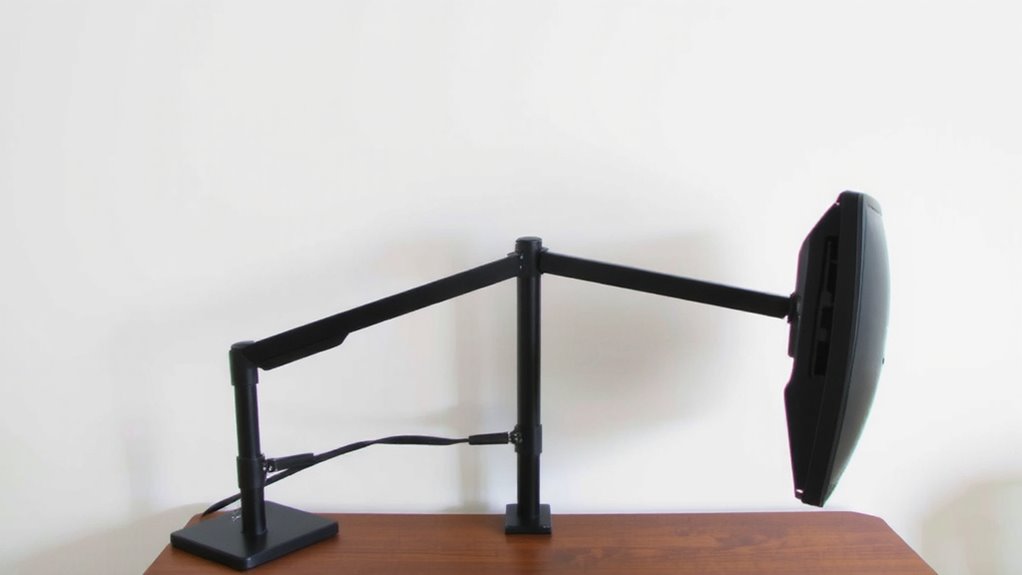
When securing a secondary monitor arm, using the right clamping technique makes all the difference in preventing damage to your desk. You’ll want a clamp that spreads pressure evenly-look for models with wide, rubber-padded jaws to protect laminate or wood surfaces. Tool compatibility matters; guarantee you have the right hex keys or wrenches included or on hand. Mounting bolts should fit your desk’s thickness, typically between 0.5” and 3.5”, and over-tightening risks cracks or warping. Check for cable management channels in the arm’s base to route wires neatly without adding stress. Avoid pinch points that could damage charging or display cables over time. If your desk has a fragile edge or a hollow core, a grommet mount might be safer than a clamp. Always follow the manufacturer’s torque specs-tight enough to hold, not so much that you compromise the desk’s integrity. For optimal stability and flexibility, consider models from top-rated triple monitor mounts that are engineered for balanced load distribution.
Attach and Balance Your Secondary Monitor Correctly
Though you’ve secured the mount, your secondary monitor won’t perform well unless it’s properly attached and balanced. First, fasten the VESA plate to your monitor’s back using the correct screws-usually M4 and 10mm long-to avoid stripping. Once connected, slide the monitor onto the arm’s mount until it clicks securely. Balance is critical: adjust the tension knob slowly while gently lowering the screen; if it drops too fast, tighten the knob in quarter-turns until it holds position. Poor balance strains the arm and limits smooth motion. Guarantee screen alignment matches your primary display in height and tilt to reduce eye strain. Use the built-in cable management clips to route power and video cords neatly along the arm, minimizing clutter and preventing snagging. Most arms support monitors 17–27″, but check your model’s weight limit-typically 4.4–17.6 lbs. Overloading risks long-term sagging, even with proper setup.
Adjust Height for Eye Level and Comfort
Once you’ve mounted and balanced your secondary monitor, fine-tuning the height becomes essential for maintaining comfort and reducing strain over long work sessions. You should adjust the arm so the top of the screen sits at or slightly below eye level-this promotes proper ergonomic alignment and minimizes neck fatigue. Sitting too high or too low forces your eyes to constantly adjust, increasing visual strain and reducing focus over time. Most quality monitor arms offer smooth height adjustment with at least 6–12 inches of vertical range, letting you tailor positioning whether you’re seated or standing. Make sure the arm stays locked in place without sagging. Keep in mind that dual-monitor setups may require different heights if screen sizes vary, so independent adjustment arms are ideal. Test the setup for at least 30 minutes to gauge comfort before finalizing.
Fix Wobbling, Slipping, or Unbalanced Arms
Why is your monitor arm wobbling or slipping despite proper setup? It’s likely due to improper arm calibration or inadequate tension tuning. Most dual-arm systems need balancing after installing the secondary arm, especially if monitor weights differ. Start by loosening the pivot bolts slightly, repositioning the arms horizontally, then retightening them evenly-this adjusts arm calibration. Next, use the tension knob (usually at the base) to increase resistance. Turn it clockwise until the arm holds position without drooping, but don’t over-tighten, or movement becomes stiff. Tension tuning takes trial and error; test by gently pushing the monitor up and down. If it slips, add more tension. If it resists smooth adjustment, back off slightly. These fixes improve stability, but cheaper arms may lack fine-tuned control, leading to recurring wobble over time.
Why Independent Height Improves Dual-Screen Comfort
You get better comfort with dual monitors when each arm adjusts height independently because it lets you align screens precisely to your eye level and workflow. This kind of setup supports true ergonomic positioning, letting you reduce neck and shoulder tension by keeping both monitors at ideal viewing heights. With independent arms, you’re not stuck matching screen levels-perfect if one display is larger or used more for reading. That flexibility means reduced strain over long work sessions, especially when you switch tasks often. Real-world testing shows users make small, frequent adjustments when they can, improving comfort over fixed or linked arms. But don’t assume all arms offer smooth motion-check for gas-spring mechanisms and at least 6 inches of vertical range. Also, confirm weight compatibility. Independent adjustment adds cost and complexity, so it’s worth it only if your work demands screen variety.
On a final note
You should set up a secondary monitor arm for independent height adjustment-it boosts comfort and productivity. Arms with gas-spring mechanisms let you fine-tune screen position precisely, reducing neck strain. Look for models with 17–22 inch reach and tilt/swivel range. Most support 13–30 lb monitors. Use a clamp mount to avoid desk damage, but confirm desk thickness compatibility. Stabilize arms fully before use; poorly balanced setups wobble. Warranties vary-3 to 5 years is common. Real-world tests show sturdier arms reduce drift.